
If you're planning a trip to Rocky Mountain National Park with kids and want big mountain views without a hard, all-day hike, this is the plan we used. We spent two days in the park in mid-July with our 10-year-old. One day was the Trail Ridge Road scenic drive up to the Alpine Visitor Center. The other was Bear Lake Road, where we took the shuttle and hiked to Dream Lake.
Both days were very doable for a family, and both gave us some of the best scenery we've seen on any trip. Here's exactly what we did, what we skipped, and what we'd tell a friend before they go.
Quick Summary
- Day 1: Trail Ridge Road. Four scenic overlooks plus the Alpine Visitor Center at nearly 12,000 feet. Mostly driving, with short walks.
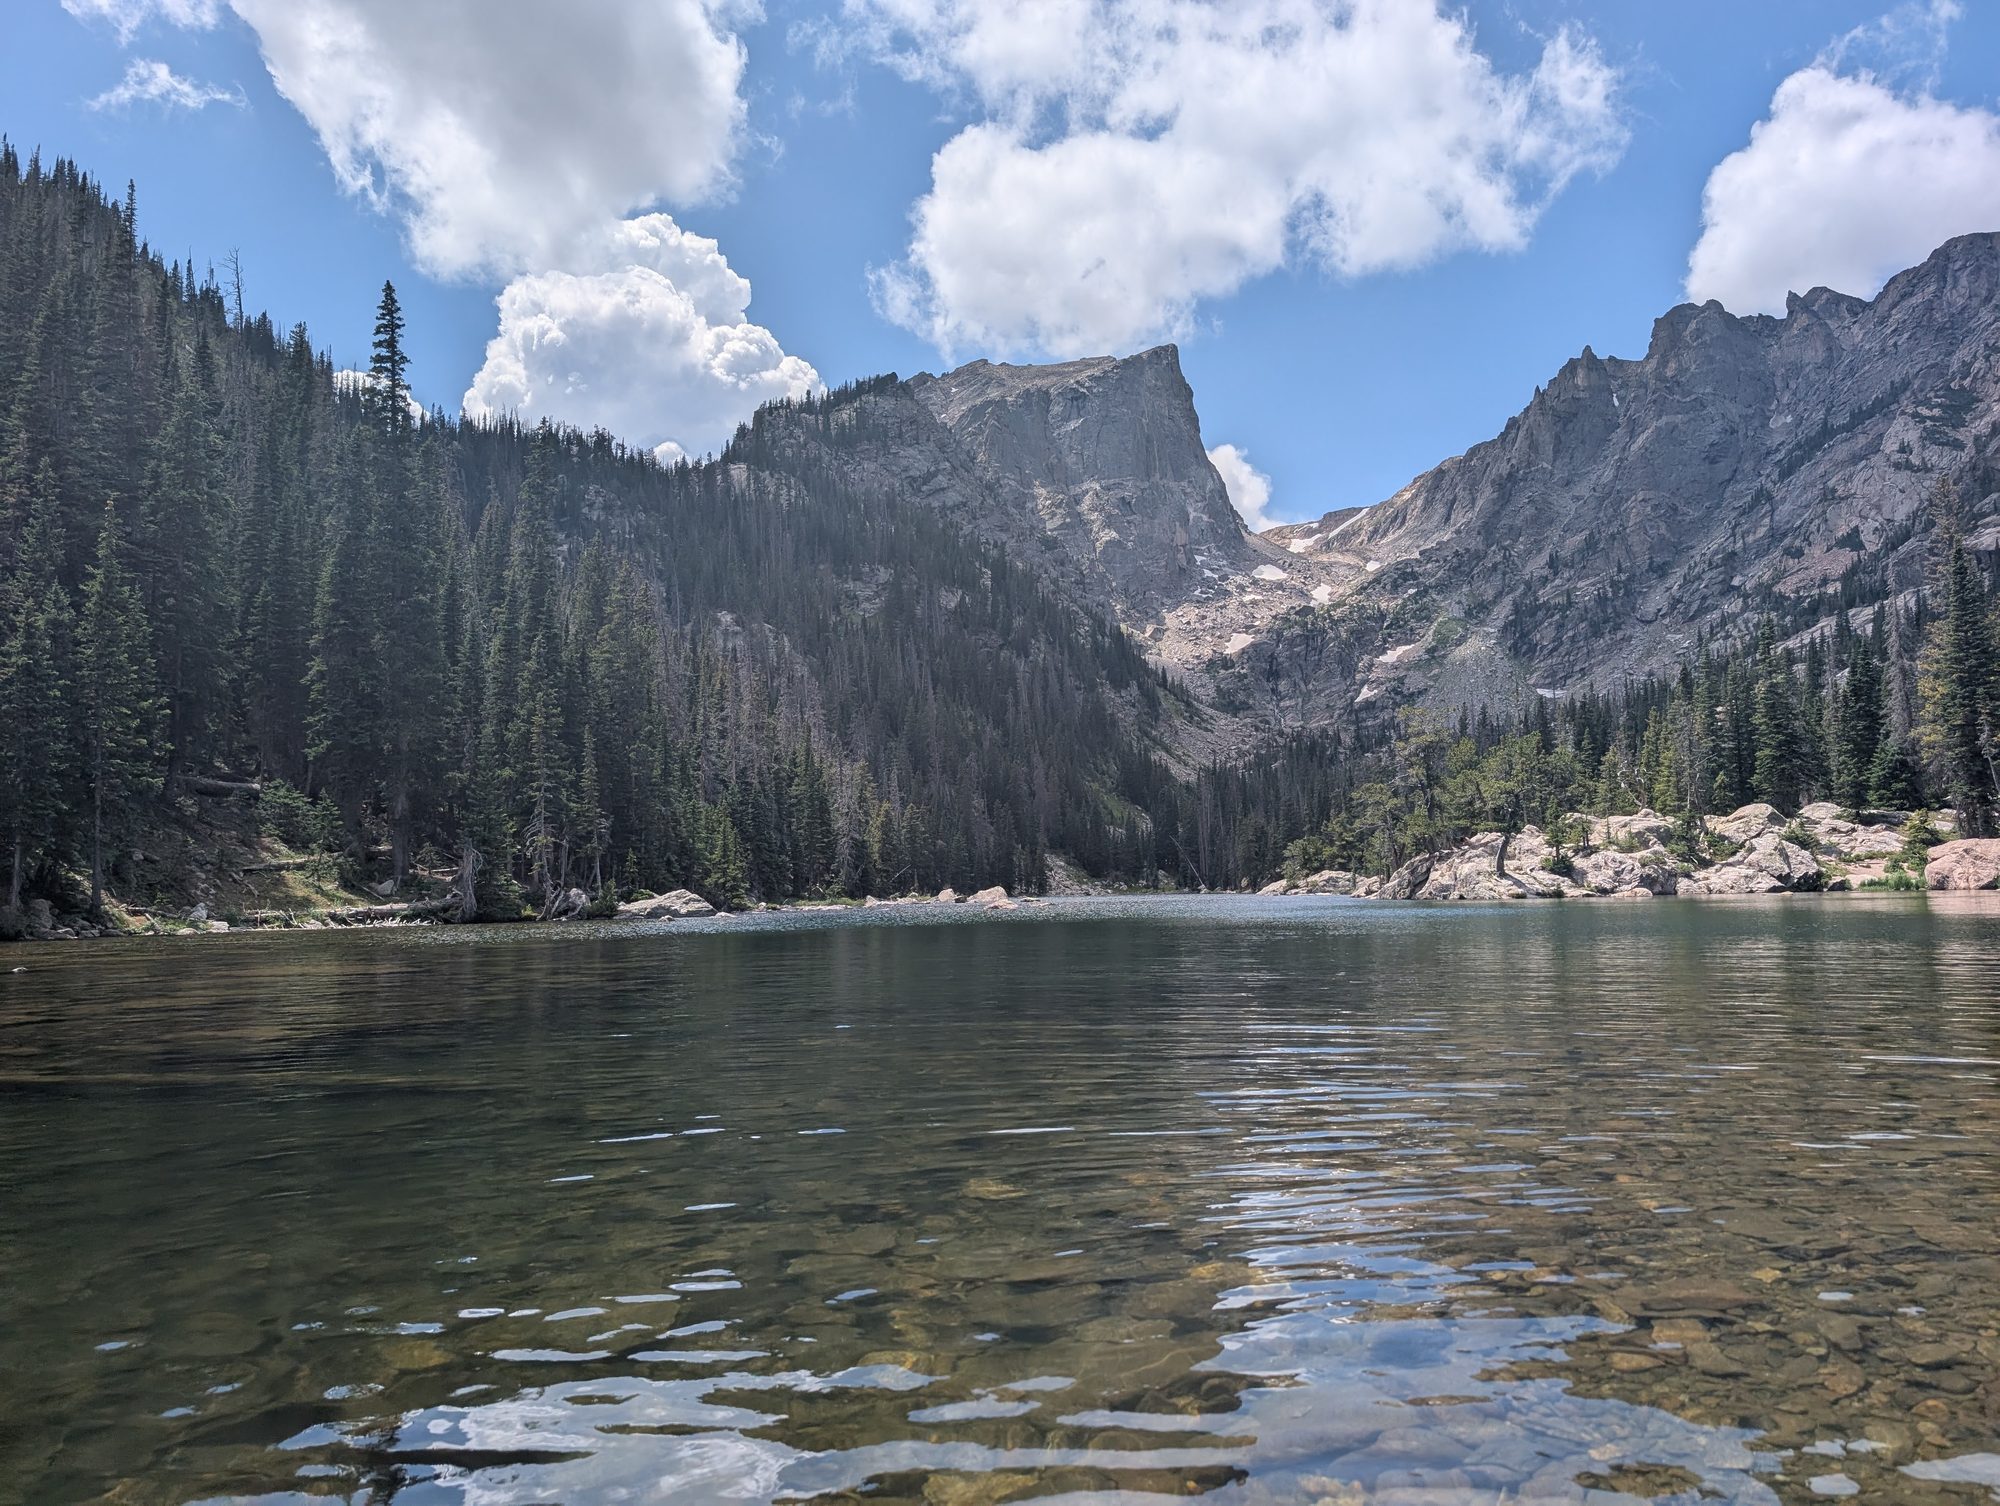
- Day 2: Bear Lake Road. Park & Ride shuttle to Bear Lake, then an easy-to-moderate hike past Nymph Lake to Dream Lake (about 2.2 miles round trip, roughly 474 feet of elevation gain). We finished with Sprague Lake and Moraine Park.
- Reservations: In summer you need a timed entry reservation, and Bear Lake Road needs its own reservation type.
- Best for: Kids about 6 and up who can handle a steady uphill walk at altitude.
- Where we stayed: Estes Park, about 15 minutes from the Beaver Meadows Entrance. See our Estes Park family guide for the hotel, the drive from Denver, and where we ate.
Rocky Mountain National Park Timed Entry: What Families Need to Know
From late May to mid-October, Rocky Mountain National Park uses a timed entry reservation system. This is the first thing to sort out, because popular days sell out. There are two types:
| Reservation type | What it covers | When you need it |
|---|---|---|
| Timed Entry+ (Bear Lake Road) | Bear Lake Road corridor plus the rest of the park | Entering between 5 a.m. and 6 p.m. |
| Timed Entry (park only) | Everything except Bear Lake Road, including Trail Ridge Road | Entering between 9 a.m. and 2 p.m. |
- Reservations open on Recreation.gov at 8 a.m. Mountain Time on the first of the month before your visit. A second batch is released at 7 p.m. the night before.
- The reservation itself only carries a $2 processing fee. You still need a park entrance pass. As of summer 2026, a private vehicle pass is $30 for one day or $35 for seven days, and an annual America the Beautiful pass is $80. Check the NPS fees page before you go.
- Each reservation is for a two-hour arrival window. You can stay as long as you like once you're in.
- Get the details straight from the official NPS timed entry page, since dates and hours can change each season.
We booked a Bear Lake Road reservation for 10 a.m. on our second day. It also lets you into the rest of the park, so it's the more flexible of the two. On a weekday in July, we didn't wait long at the gate either day. On our Bear Lake day we arrived between 10:30 and 11 a.m., and it took about two minutes to get through.
Day 1: Driving Trail Ridge Road with Kids
Trail Ridge Road crosses the park and climbs above 12,000 feet, so you go from pine forest to open alpine tundra in under an hour. It's the easiest way to see the high country with kids, because most of the views are a short walk from the parking lot.
Plan on most of a day for the round trip from Estes Park with stops. Bring layers. It was warm in town and noticeably cooler and windier at the top. We also watched a thunderstorm build over the tundra by early afternoon, which is common in summer, so an earlier start is better.
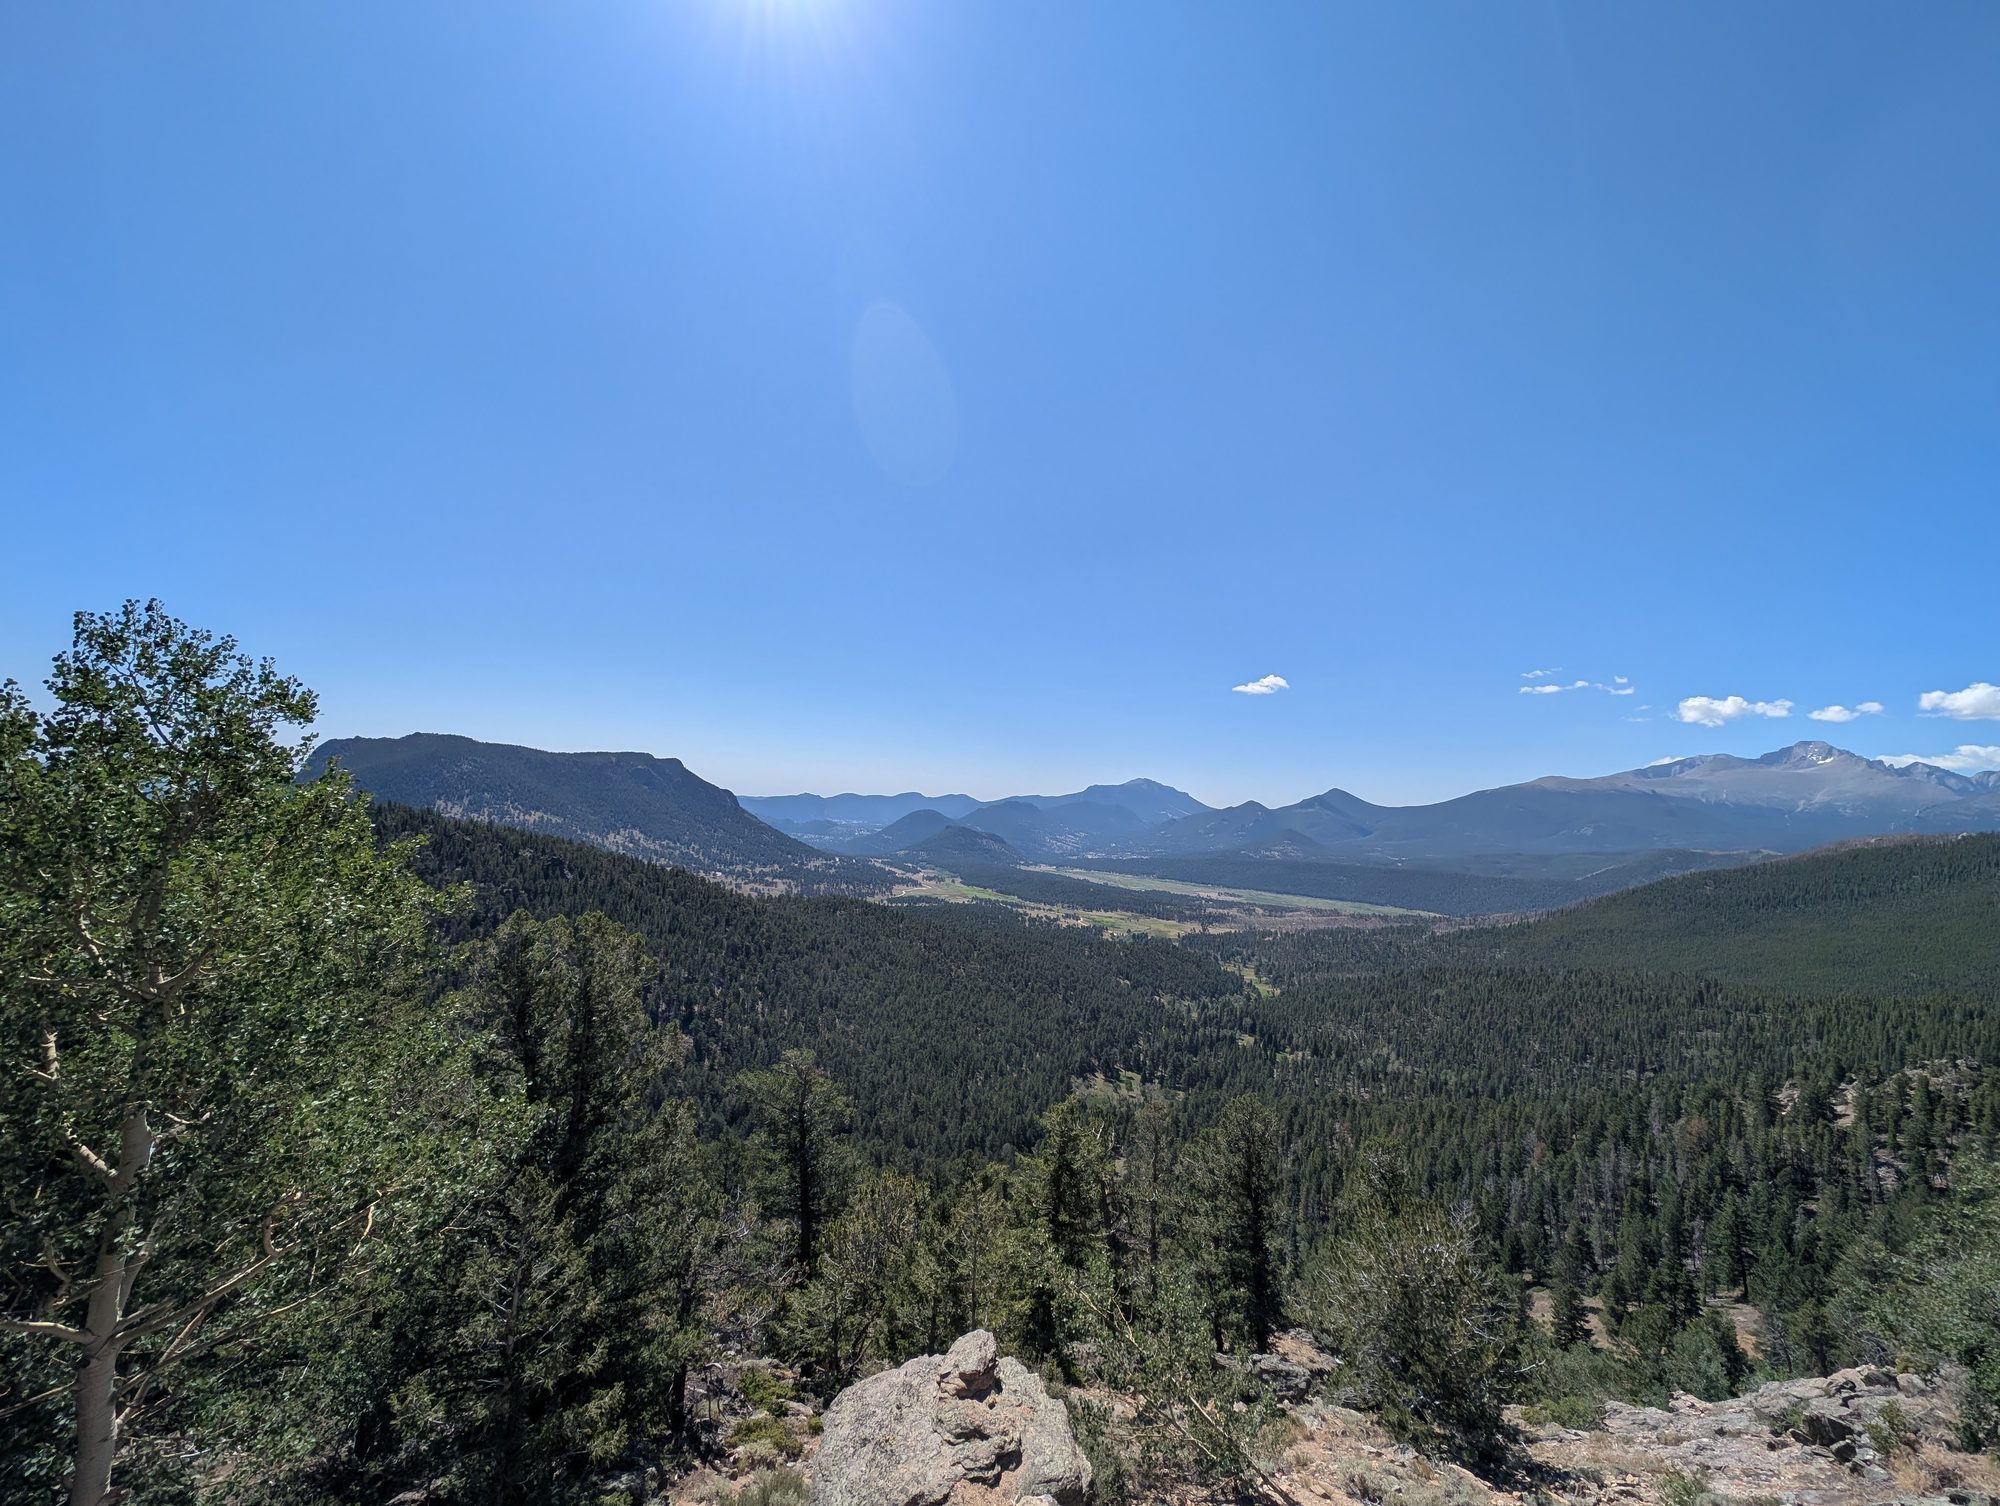
Many Parks Curve Overlook
This is the first big pullout as you climb. Plan on 10 to 15 minutes. You get wide views over the valleys and meadows below and the mountains around them. It's a good first stop to stretch your legs and let the kids get oriented.
Rainbow Curve Overlook
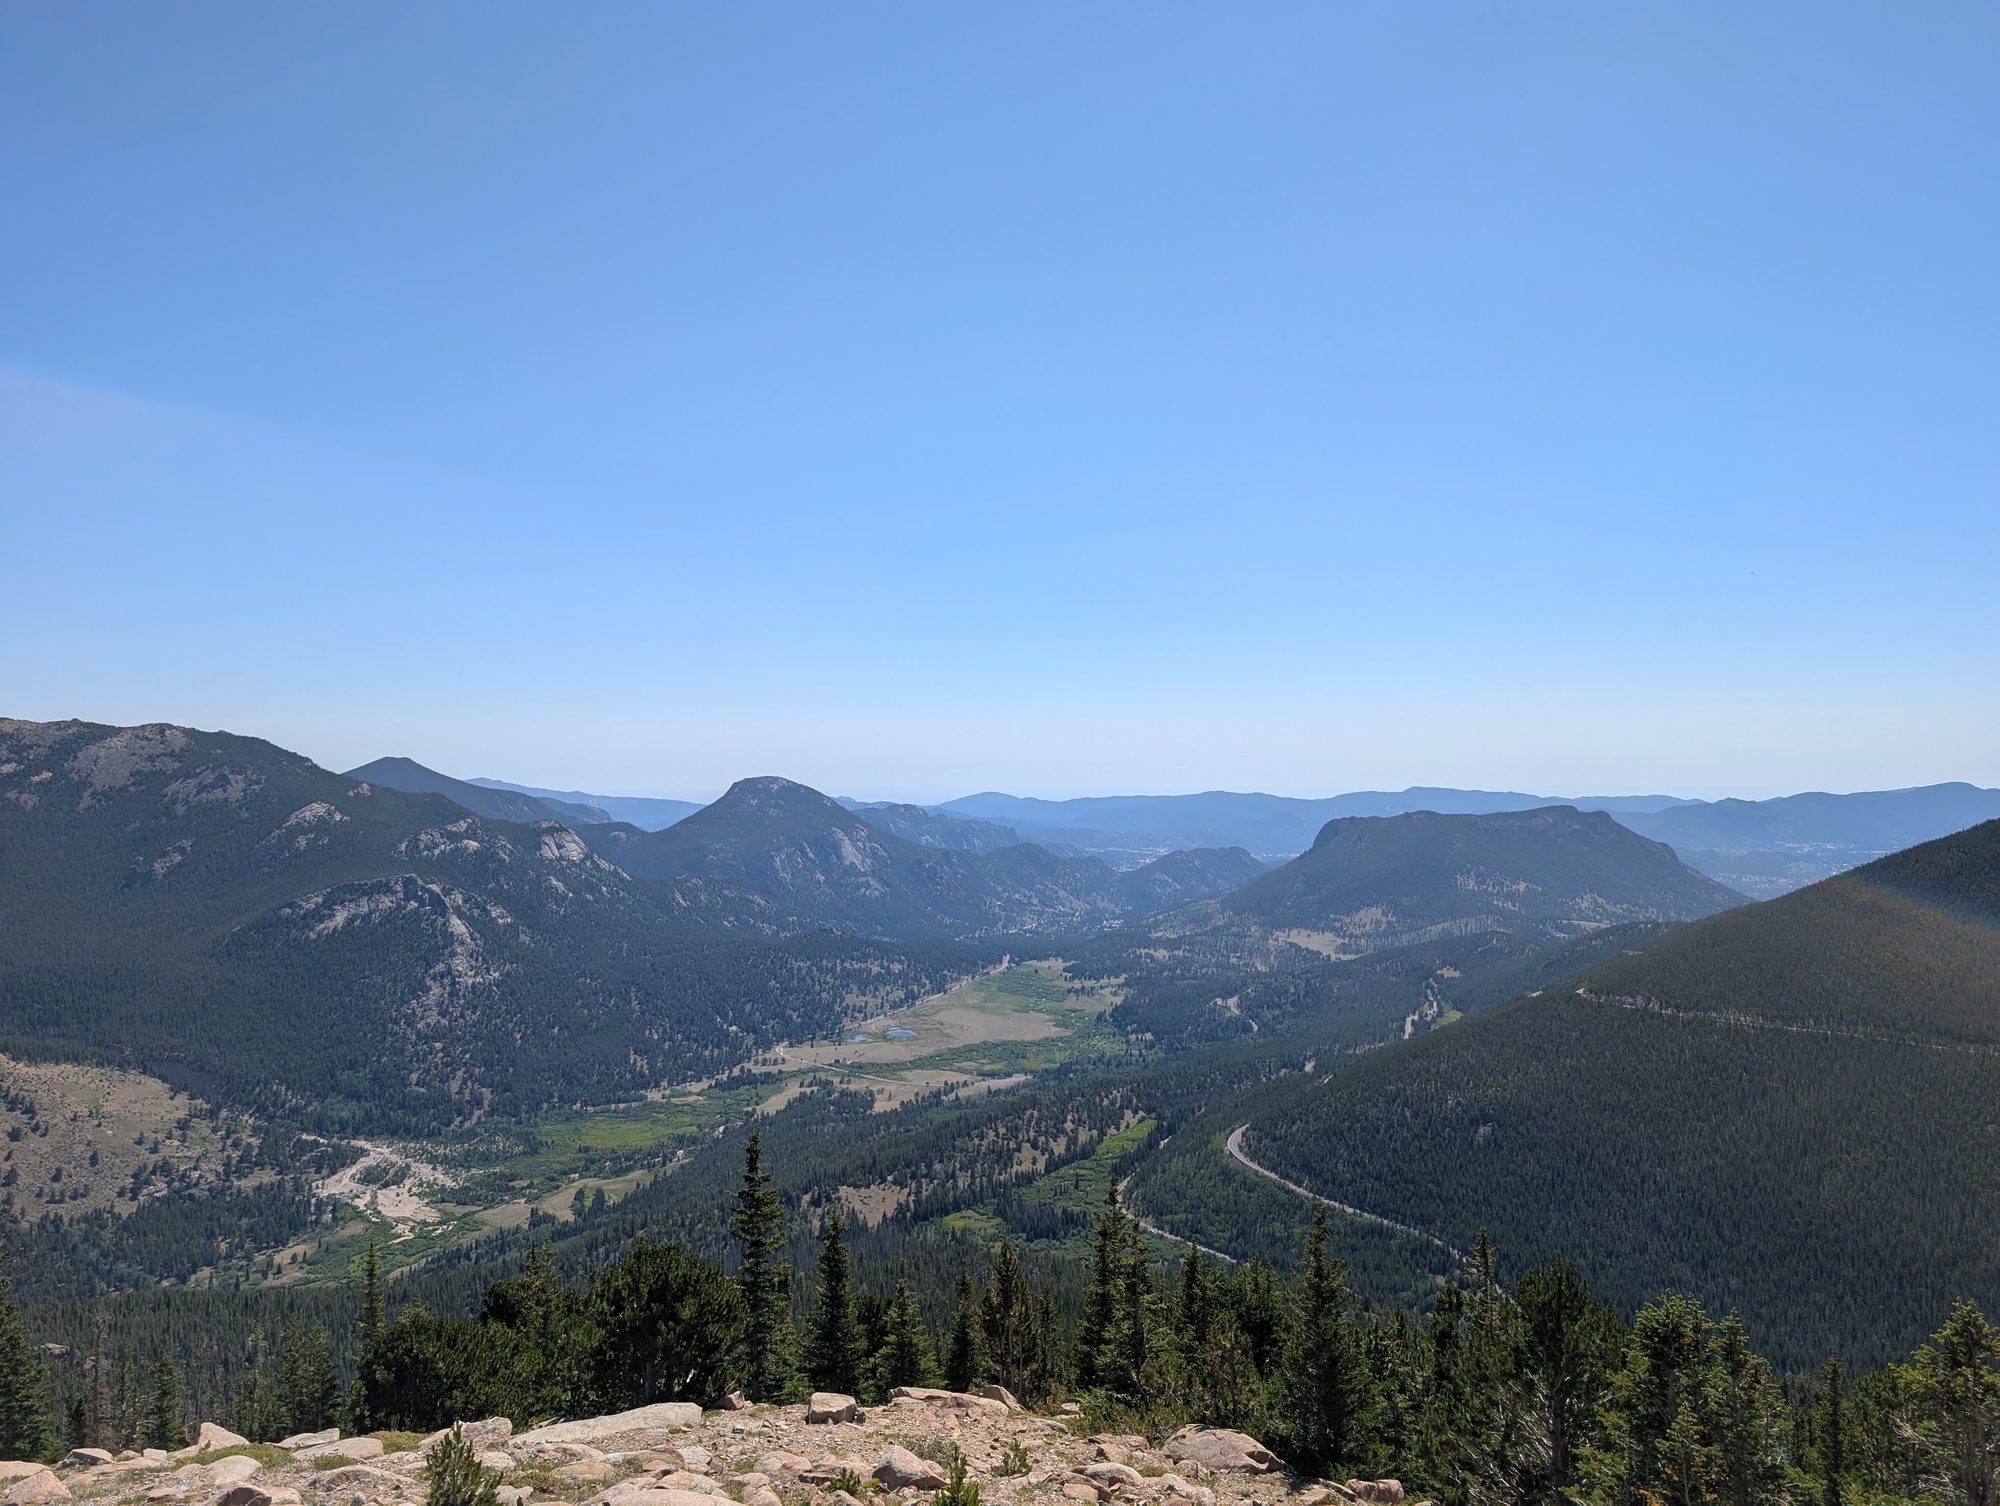
Another 10 to 15 minute stop, higher up, where the trees start thinning out. Parking here is limited and can fill up. If it's full, don't circle for long. Skip it and try again on the drive back down.
Forest Canyon Overlook
This was our favorite overlook. A short paved walkway leads out to a viewing platform looking straight into a deep glacier-carved canyon, with jagged peaks and summer snowfields on the far side. Give it 15 to 20 minutes. The interpretive signs are great for kids who like to know what they're looking at.
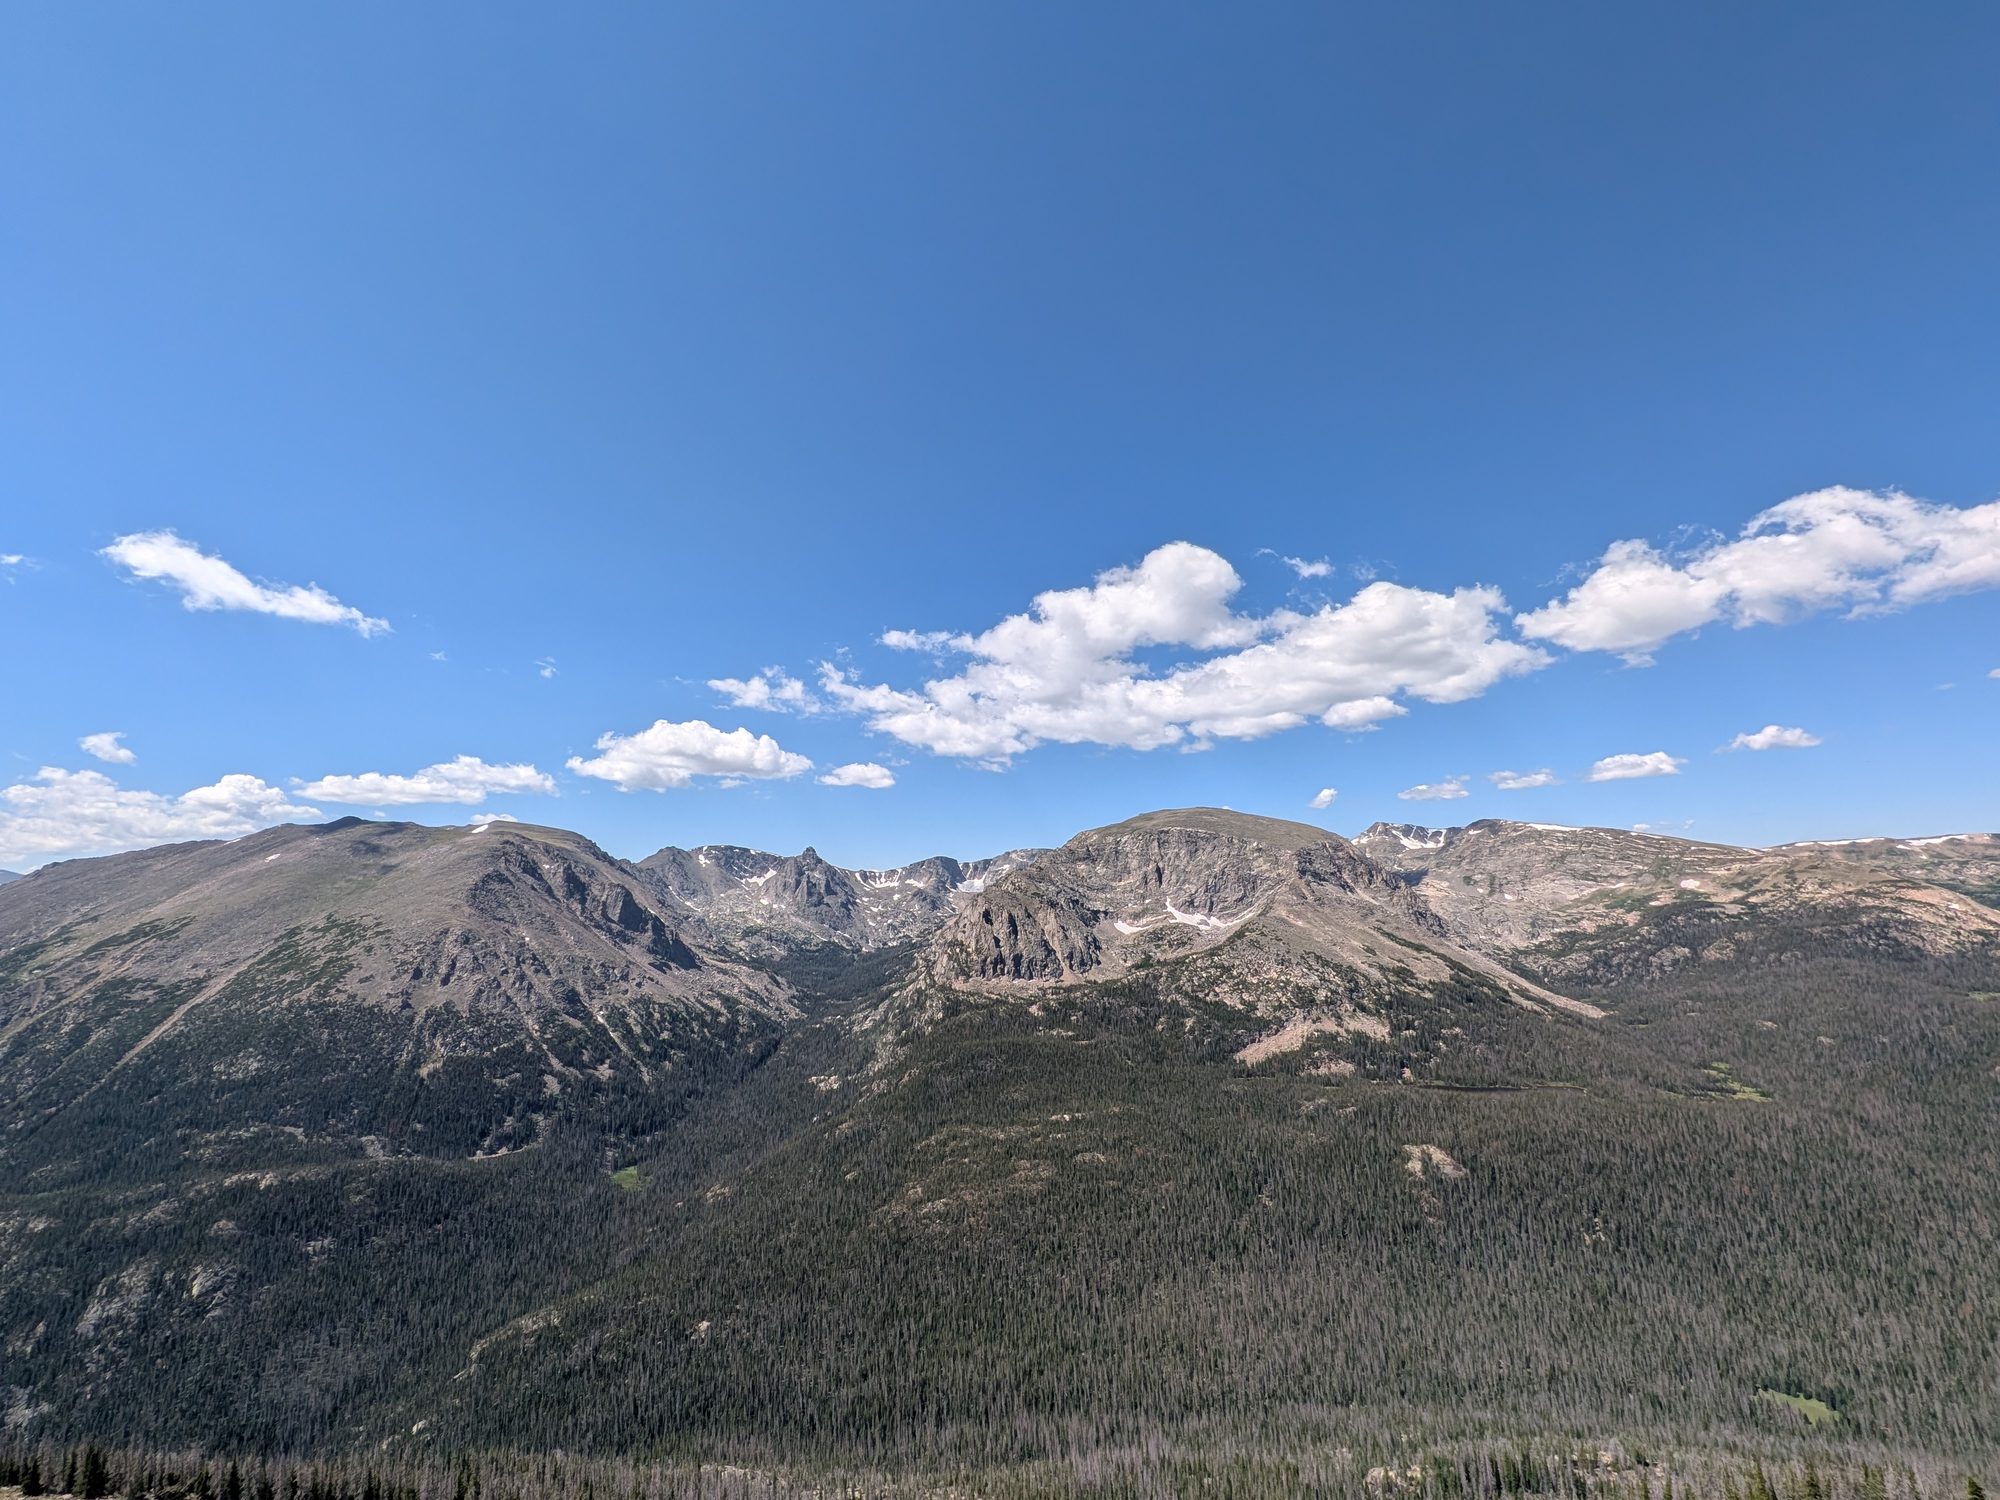
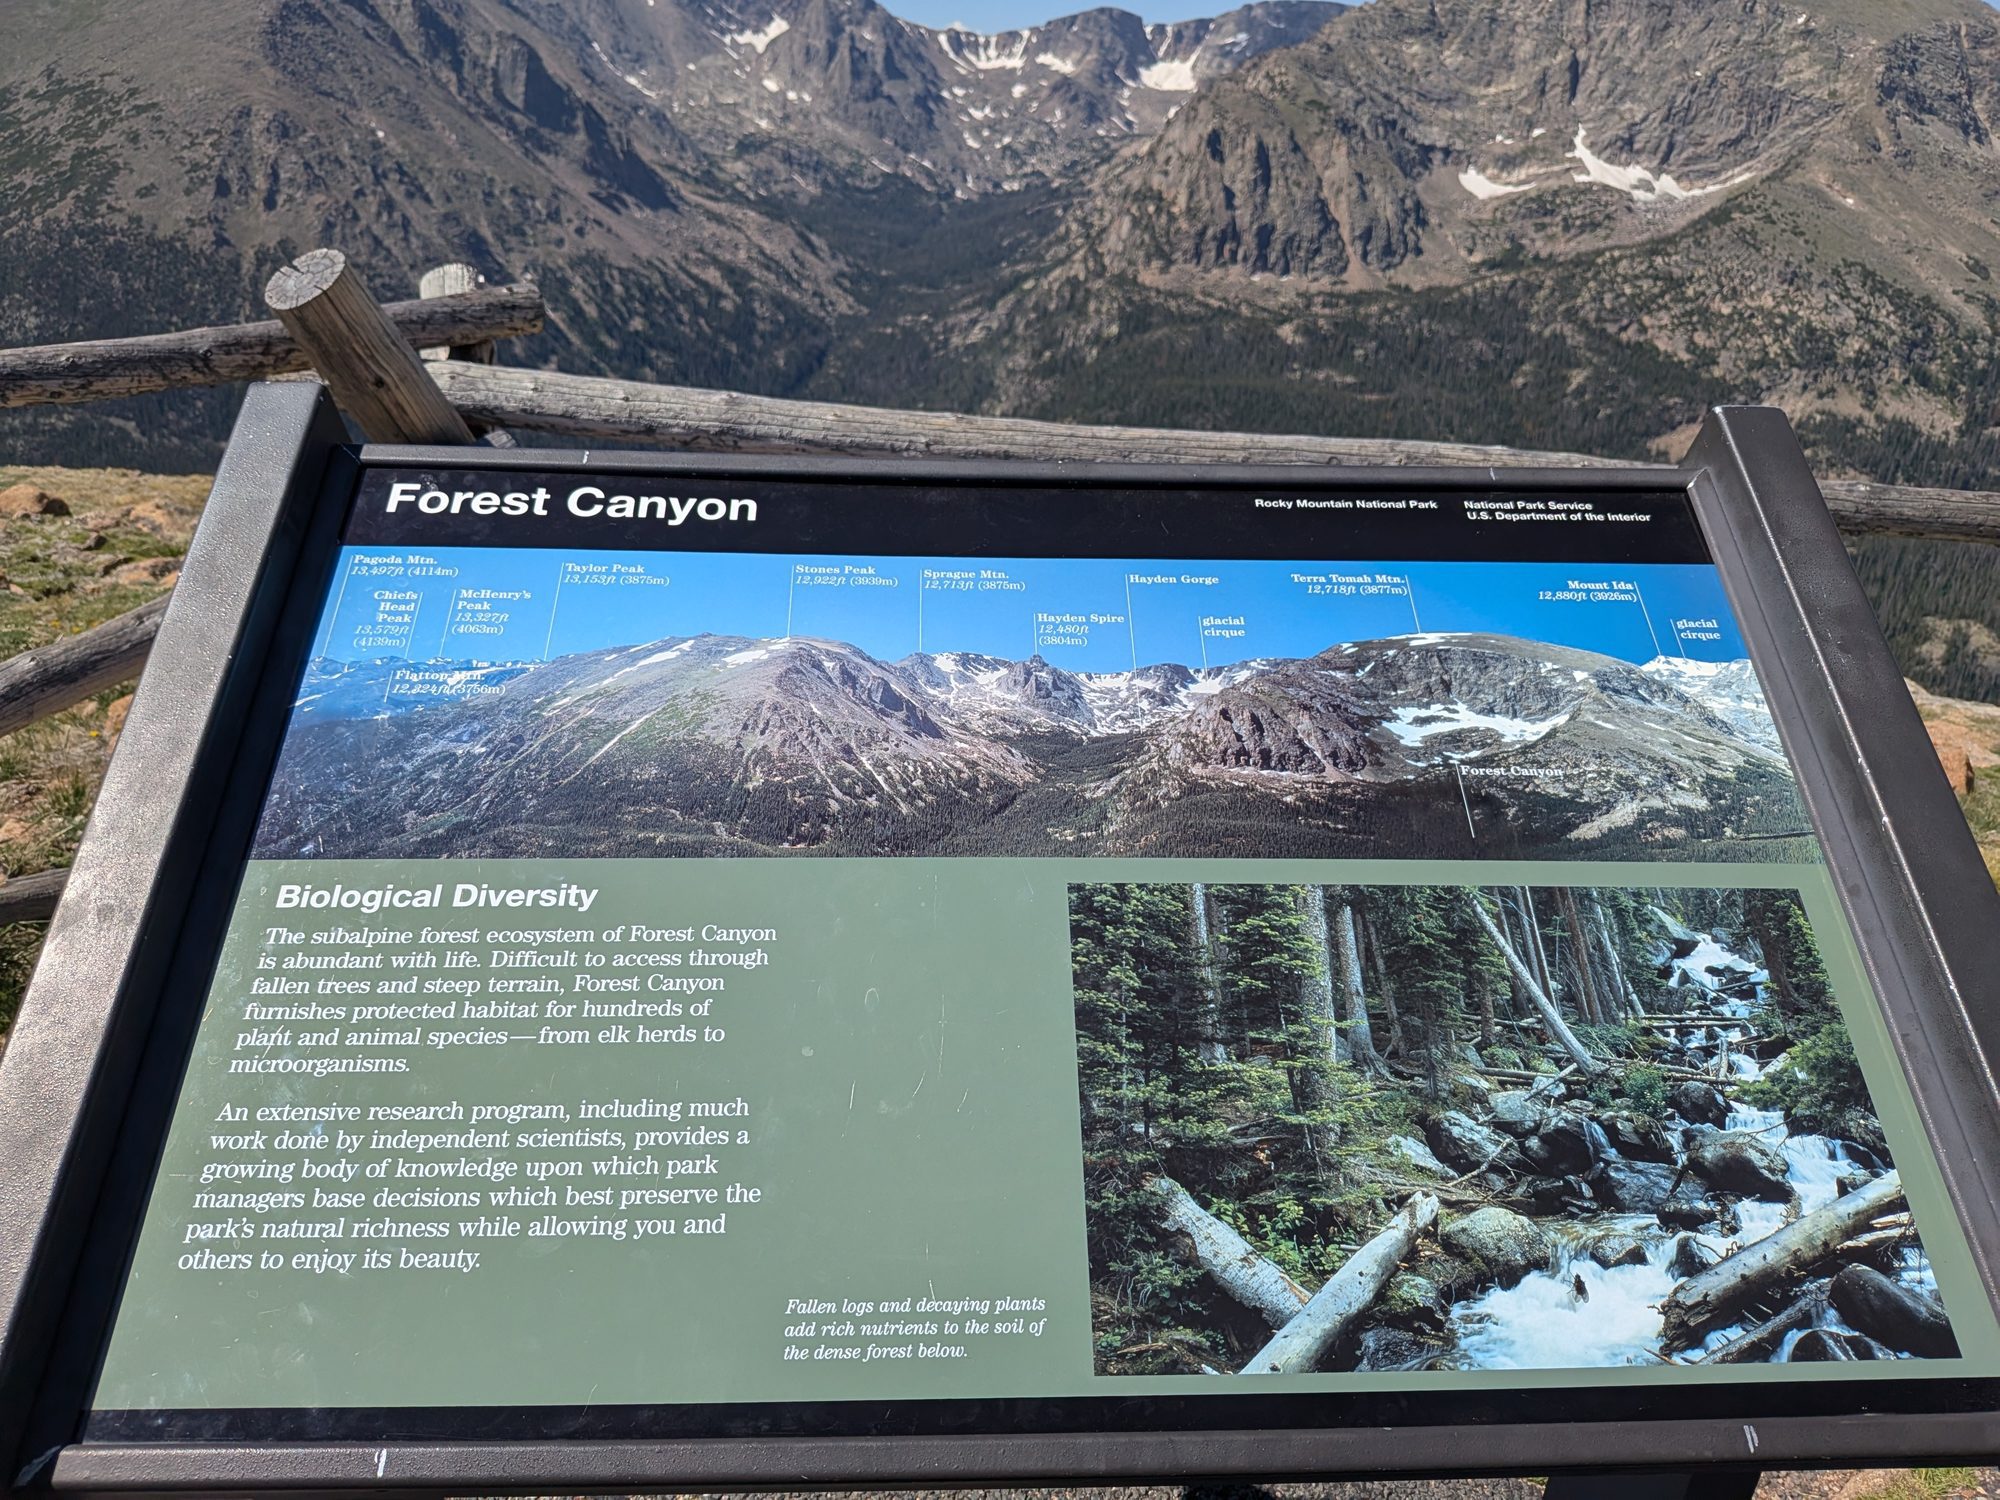
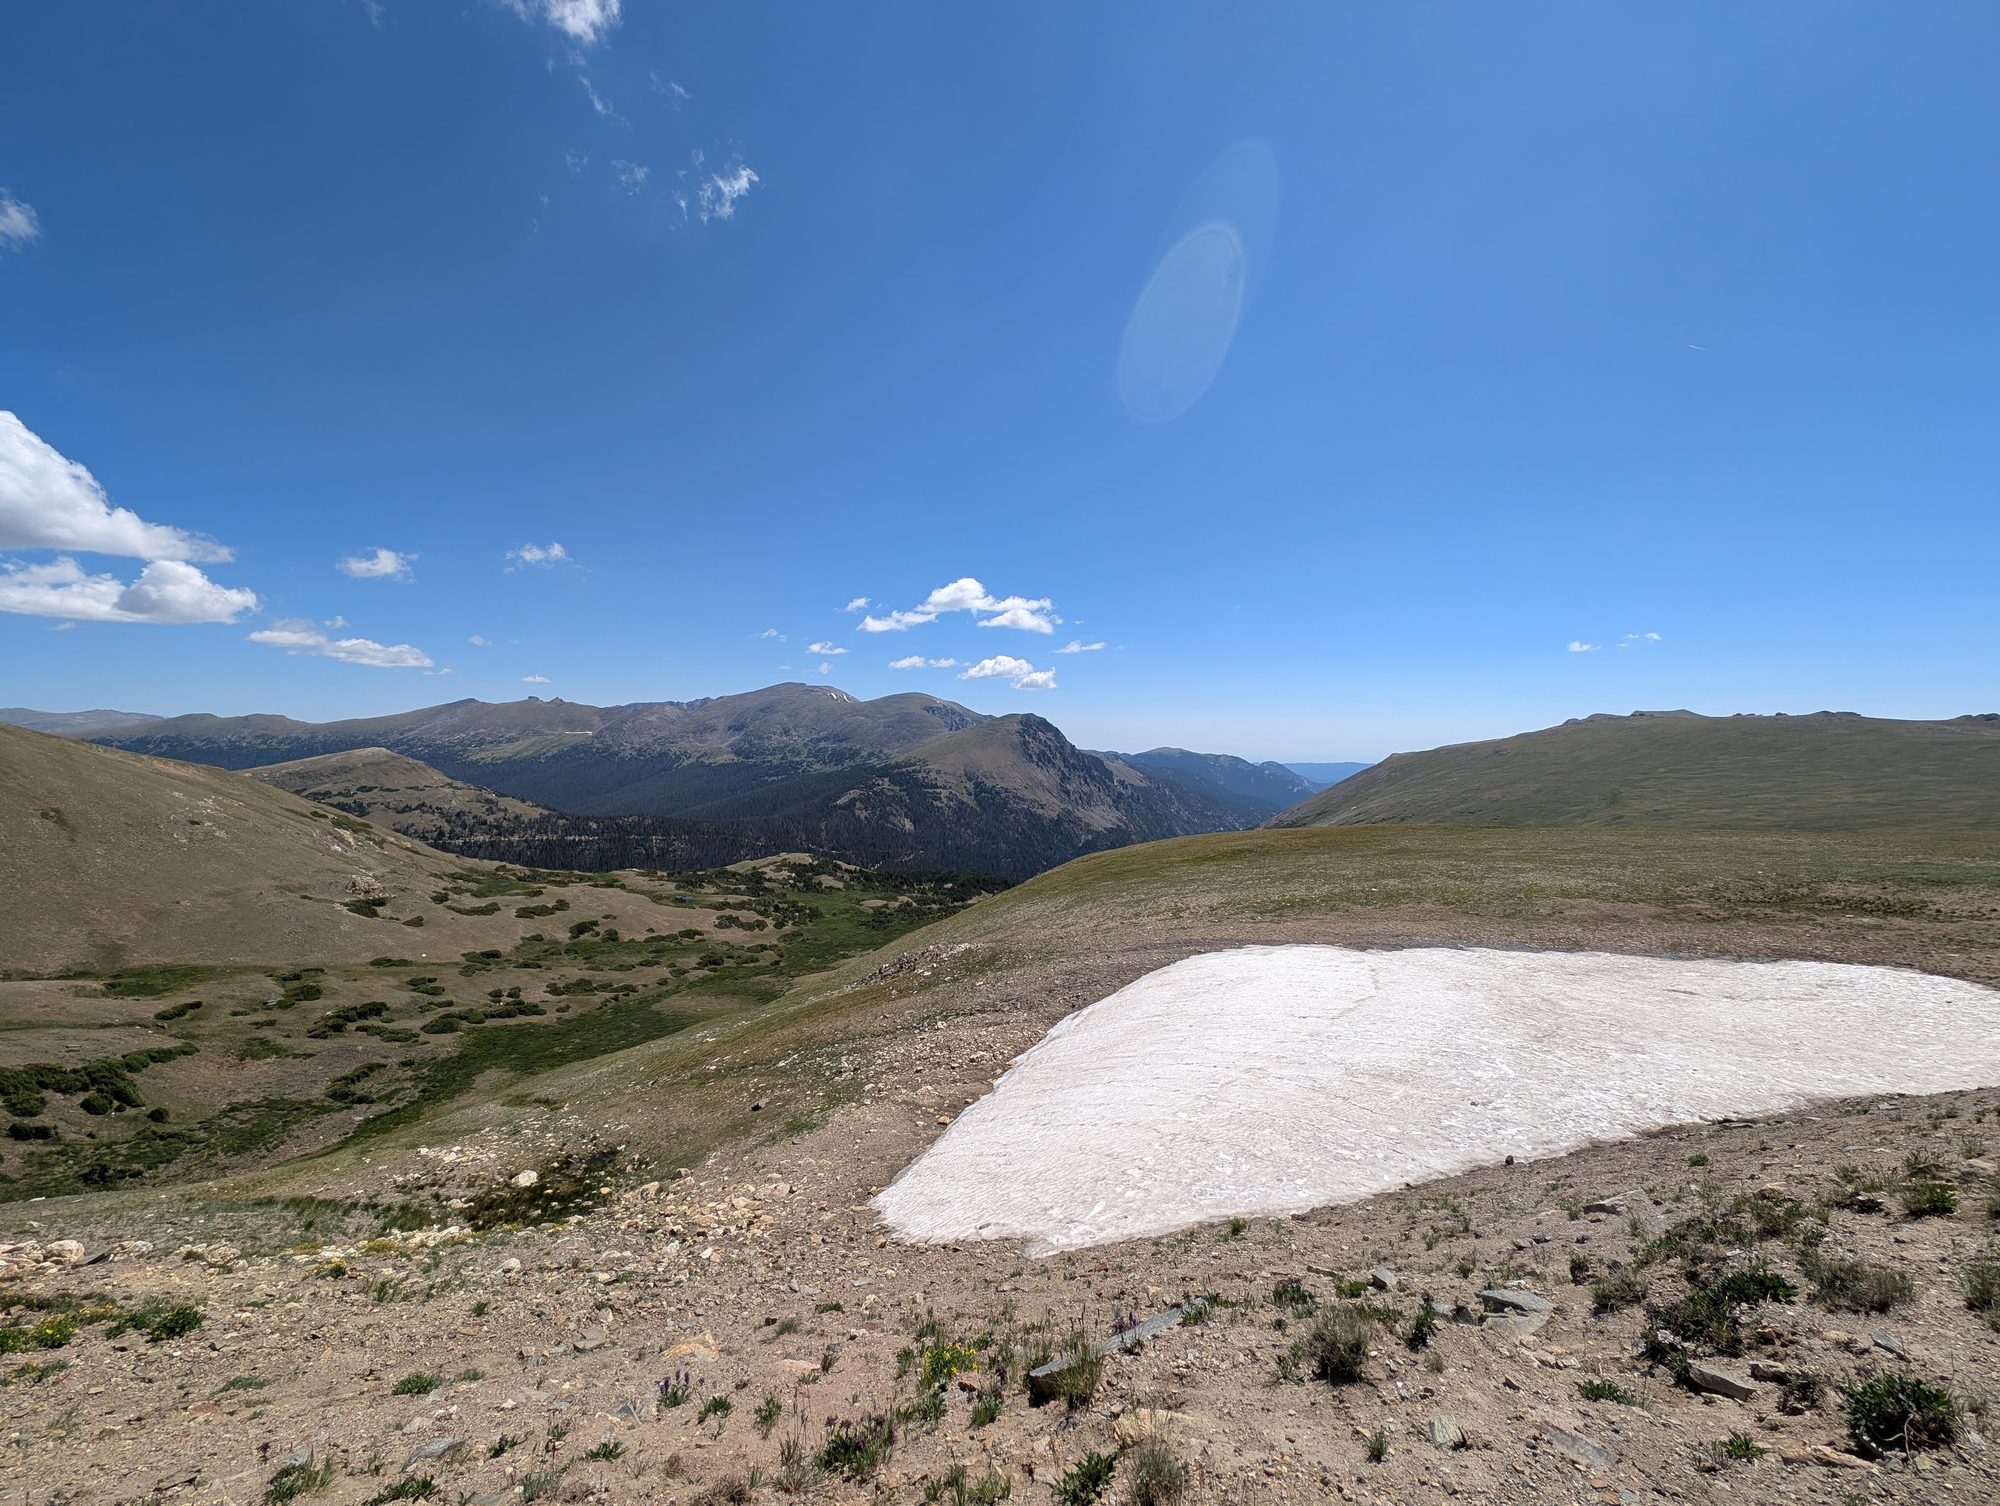
Past Forest Canyon you're fully above the treeline. Even in mid-July we saw snowfields right next to the road, which our son thought was the coolest thing of the day.
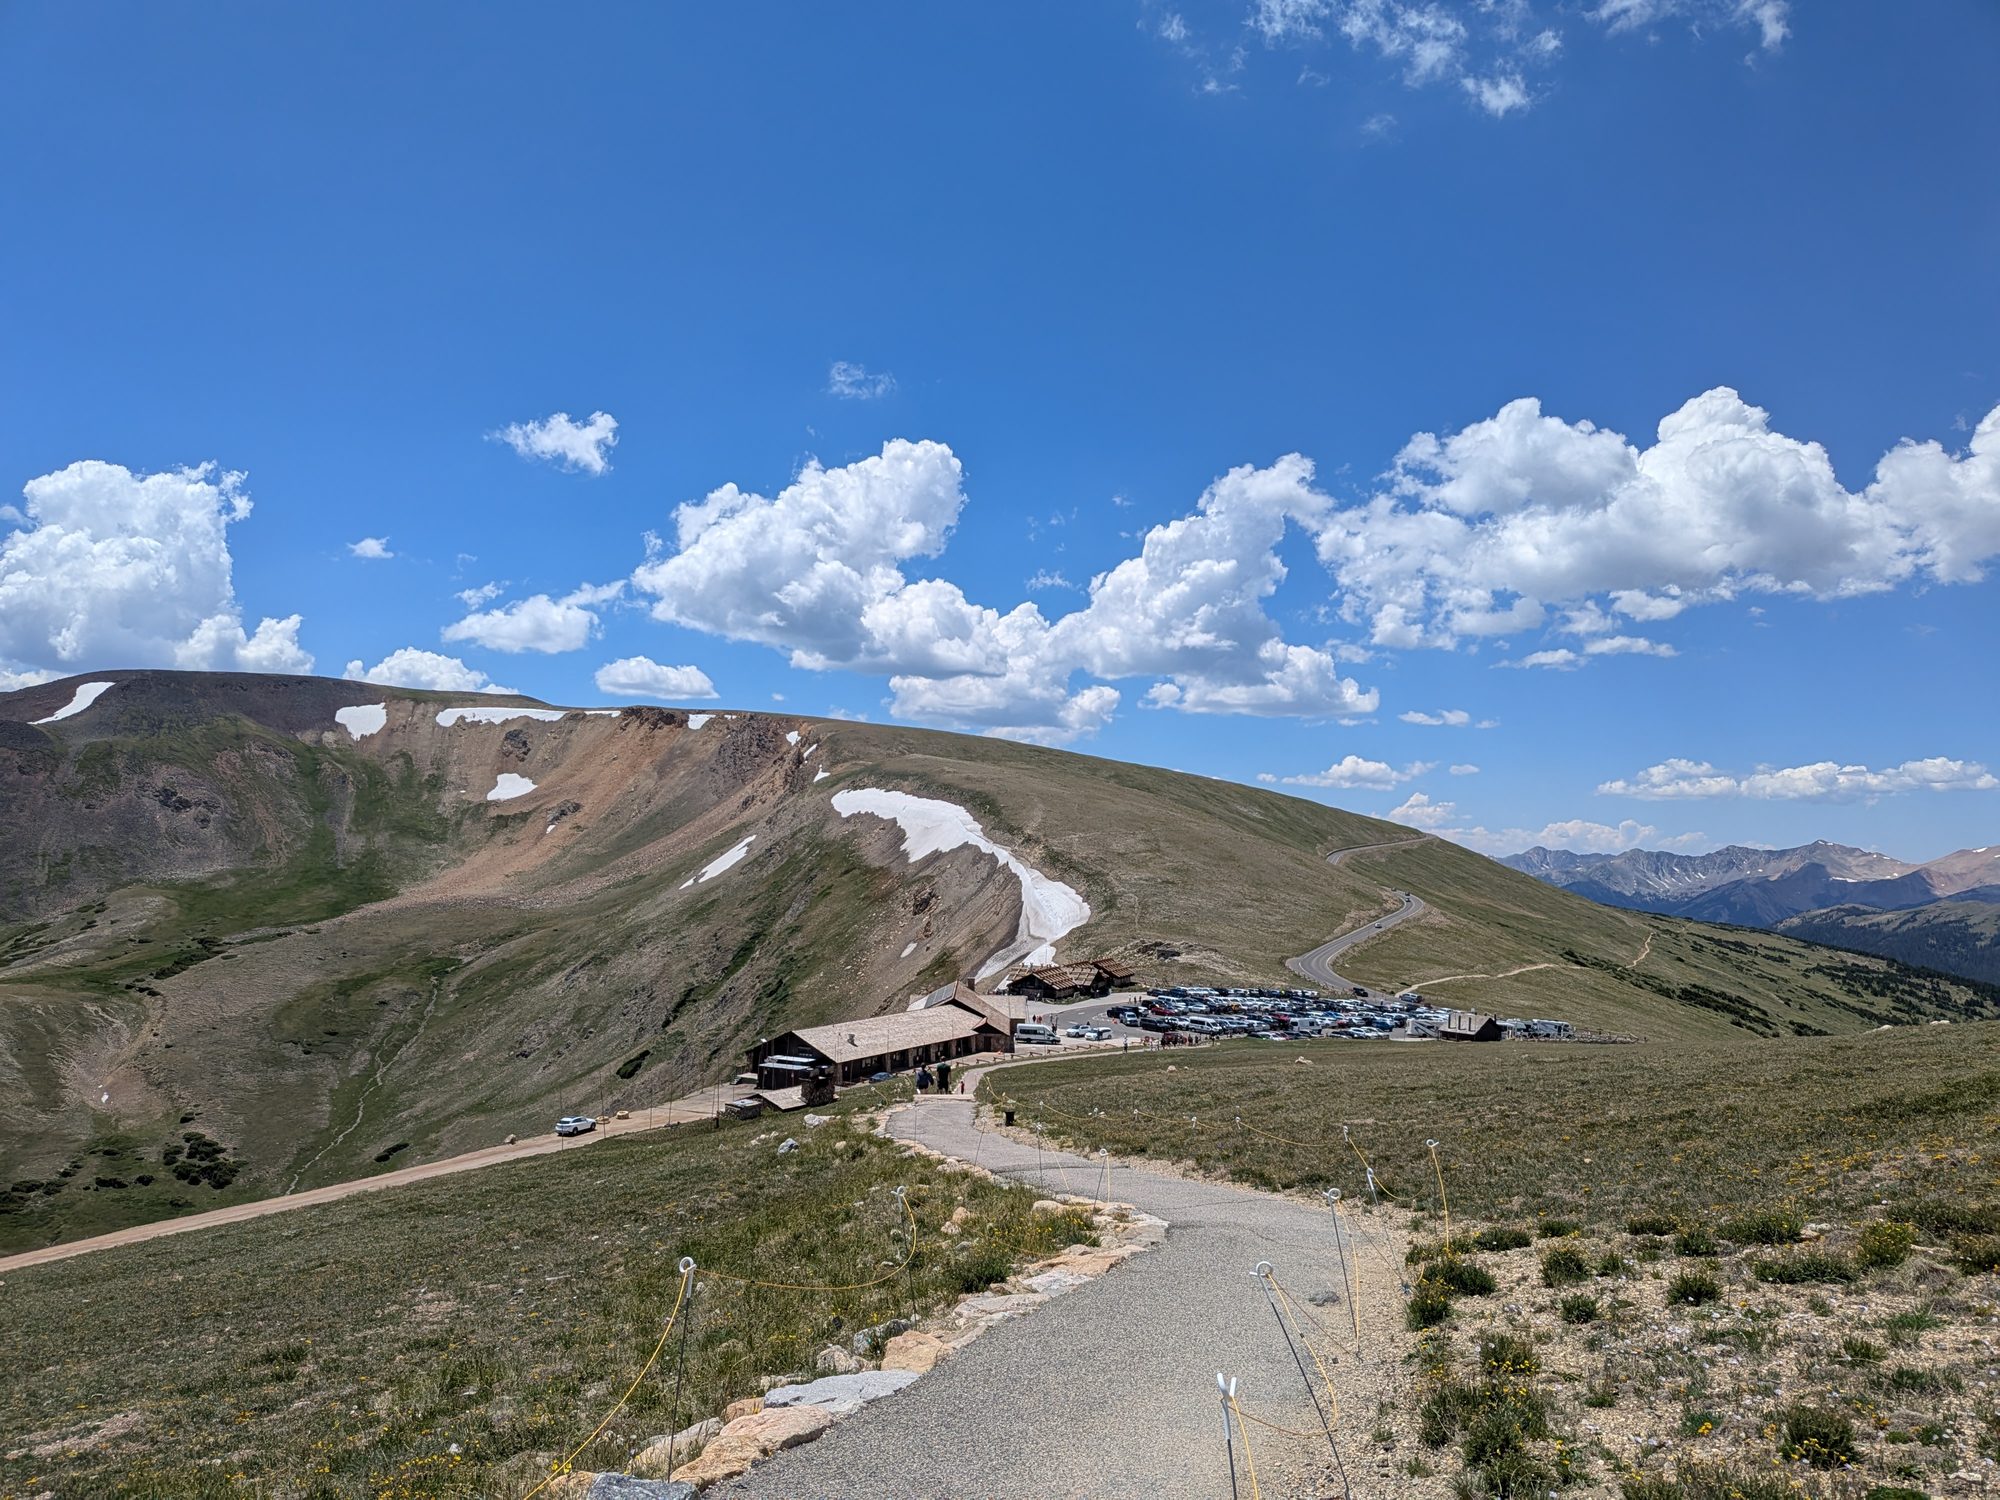
Alpine Visitor Center
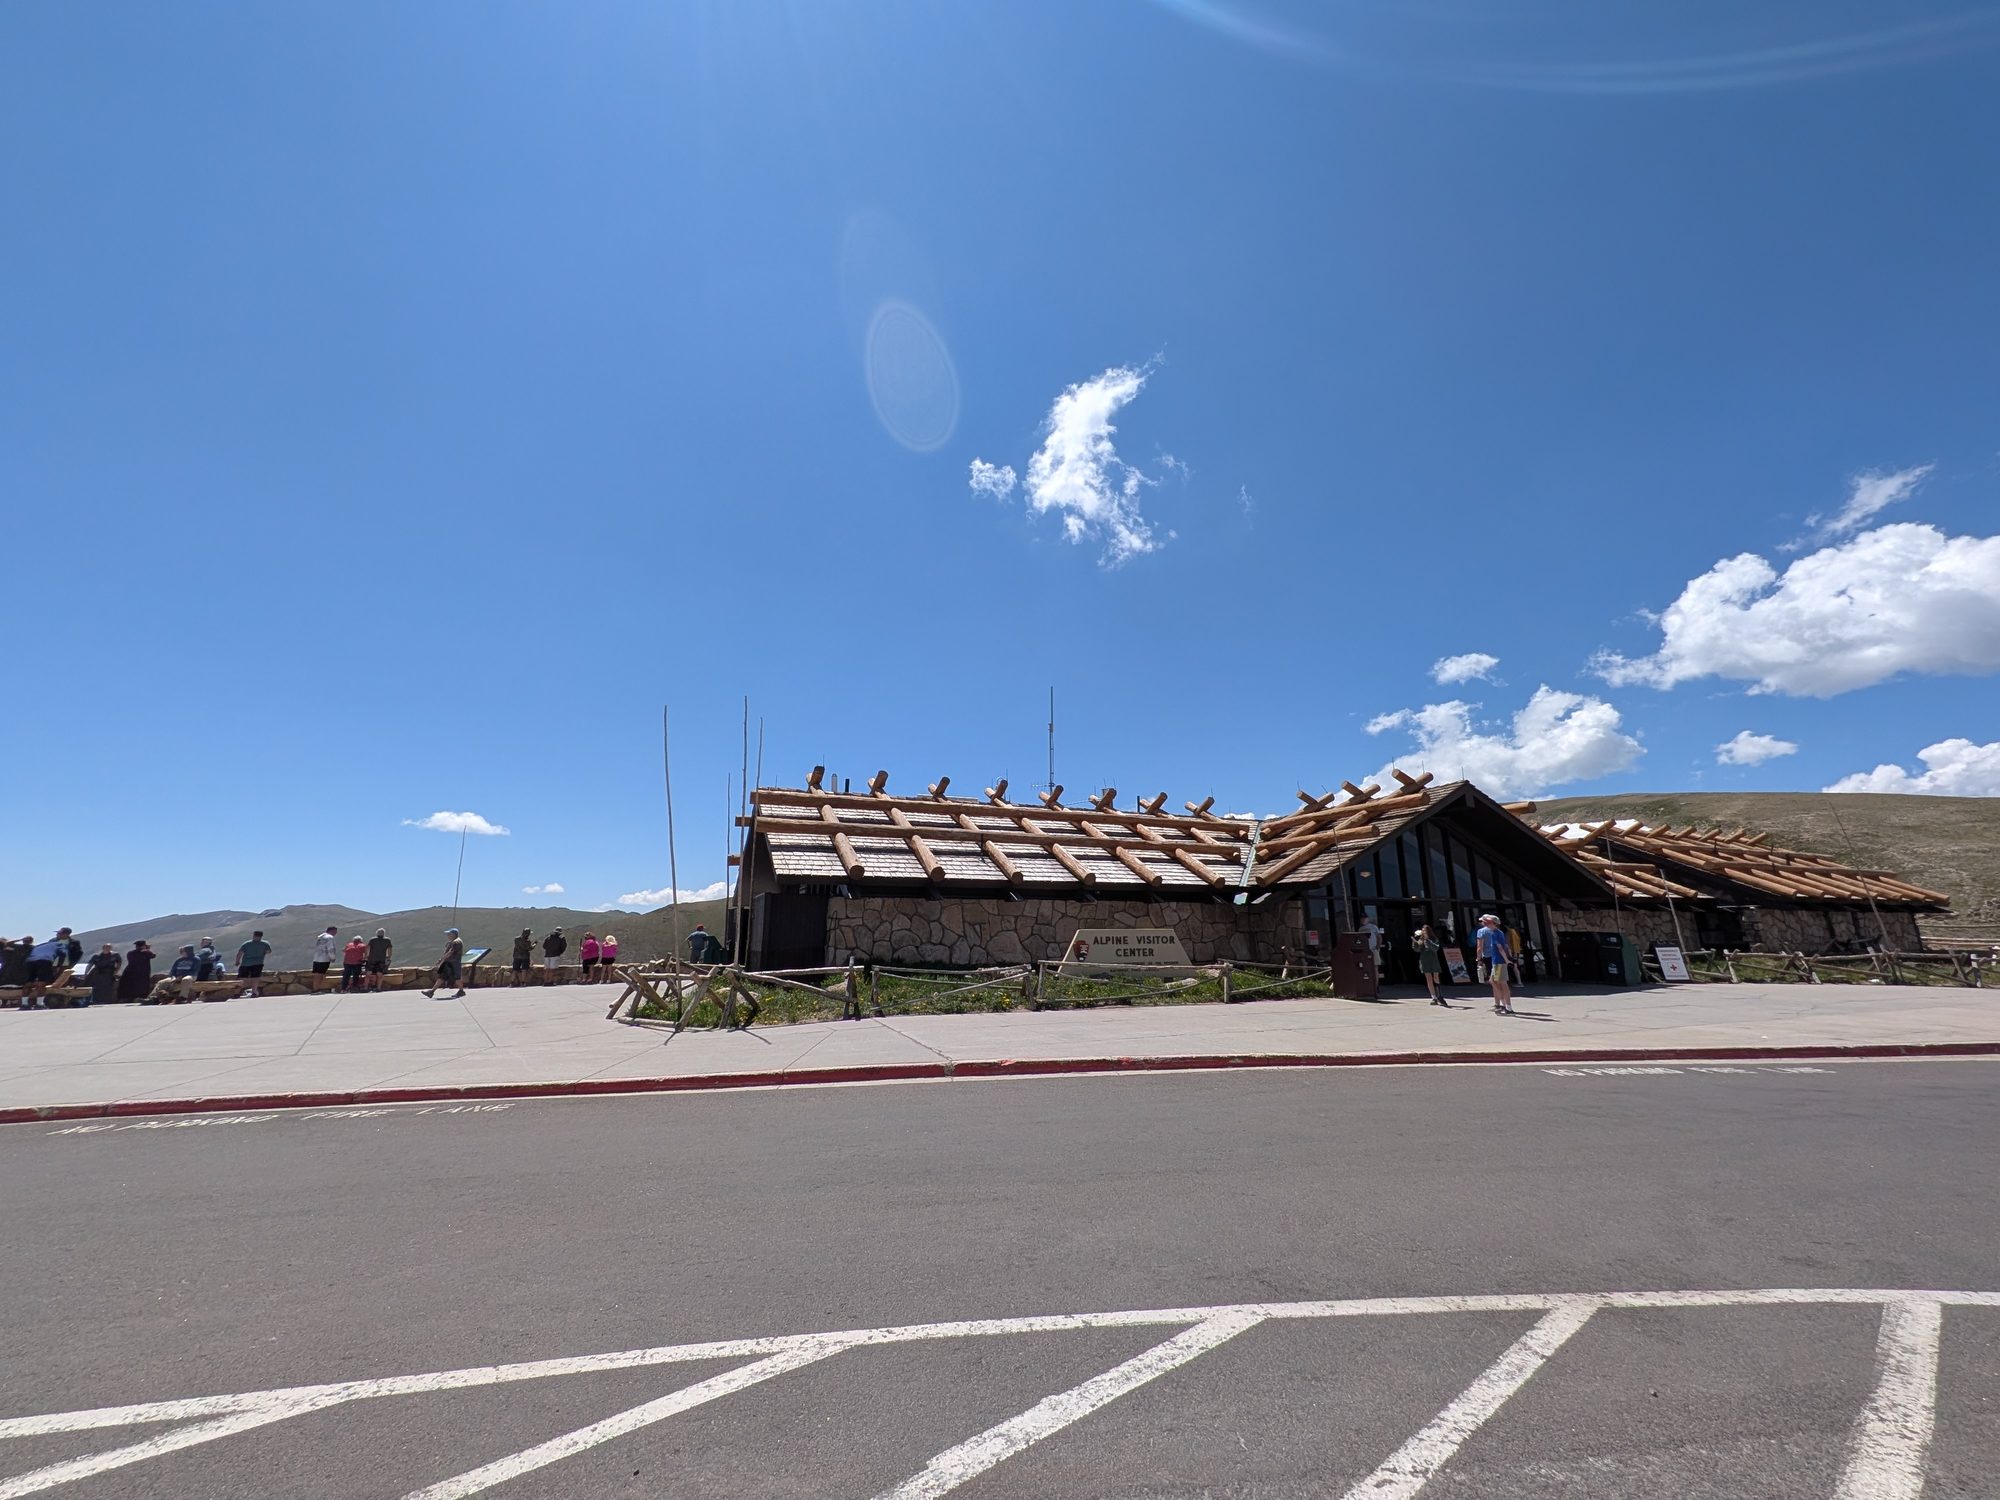
The Alpine Visitor Center sits at about 11,800 feet and is the natural turnaround point for families. Plan on 45 to 60 minutes. You'll find:
- Restrooms (the last real ones until you head back down)
- Visitor center exhibits and park rangers
- The Trail Ridge Store with a cafe and a gift shop
- Viewpoints right off the parking lot, and a chance to spot marmots, elk, or bighorn sheep
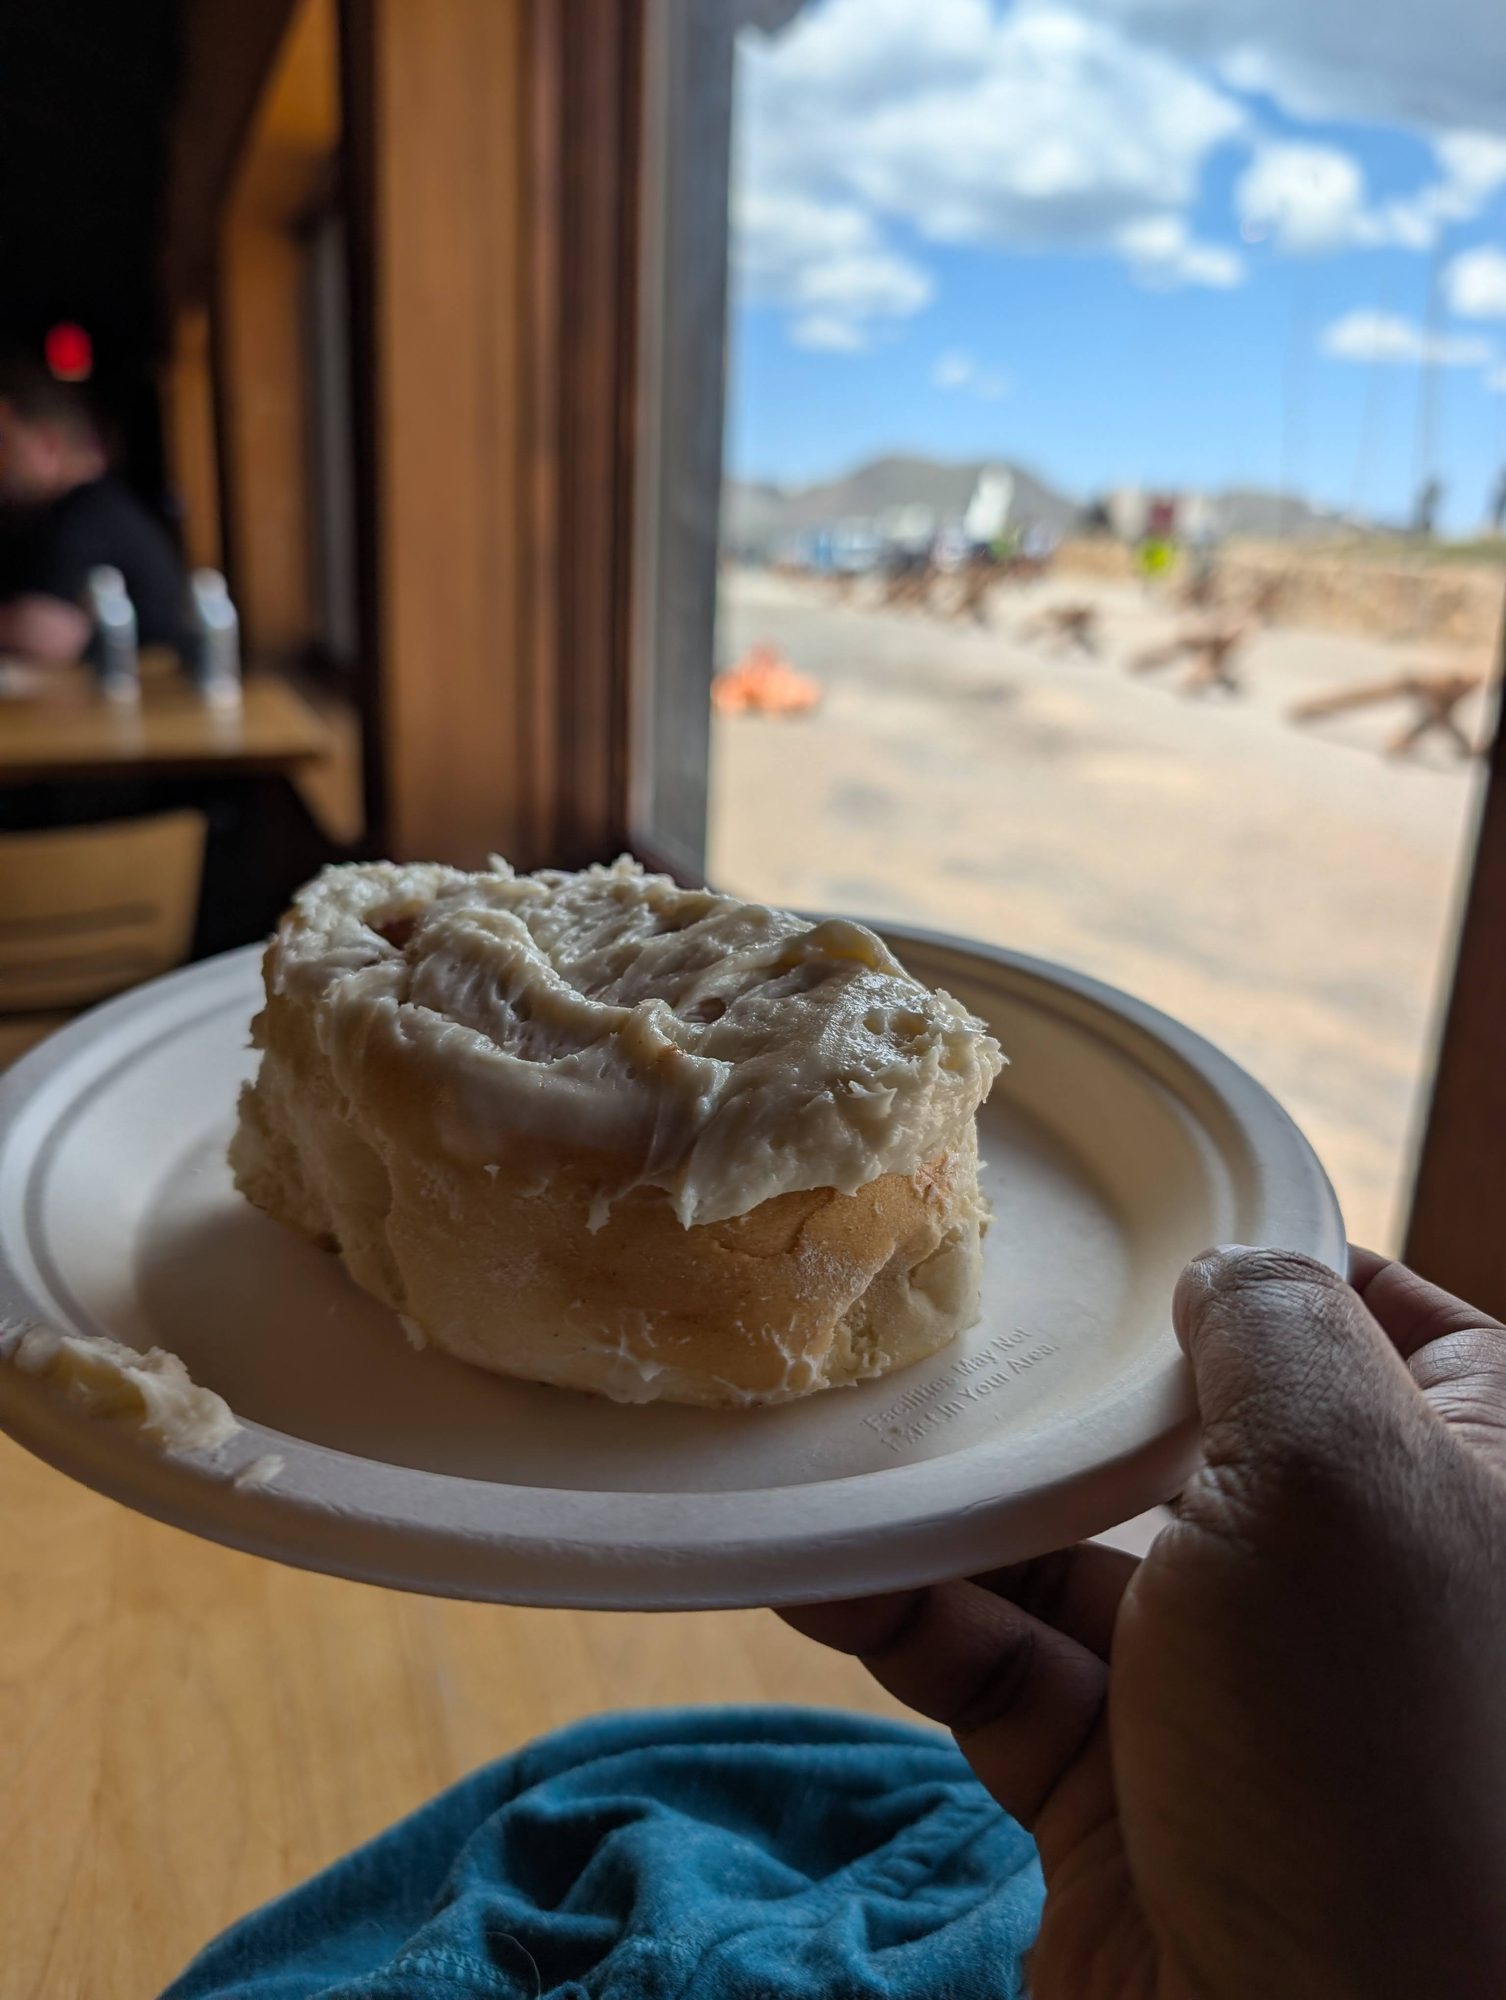
The cafe was better than we expected. Their cinnamon roll has a reputation, and it lived up to it. We also tried the elk bratwurst, which was really good and a fun thing to try in the park. Food is ordered at a counter, cafeteria style, and lines can build around lunchtime.
Food allergy note: The cafe is a busy counter-service spot, and the menu is mostly sandwiches, hot dogs, bratwurst, and baked goods. If your child has food allergies, pack safe snacks and a lunch for this day. There's nowhere else to buy food on the high part of Trail Ridge Road.
Alpine Ridge Trail
The Alpine Ridge Trail starts right from the visitor center parking lot. It's only about 0.6 miles round trip, but it's almost all stairs and gains around 200 feet to a high point just over 12,000 feet. At that altitude it feels much harder than the distance suggests. We made it about halfway up before turning around, and that was plenty. You don't need to reach the top to get the view back down over the visitor center and tundra. Take it slow and turn around whenever someone needs to.
On the Way Down: Alluvial Fan
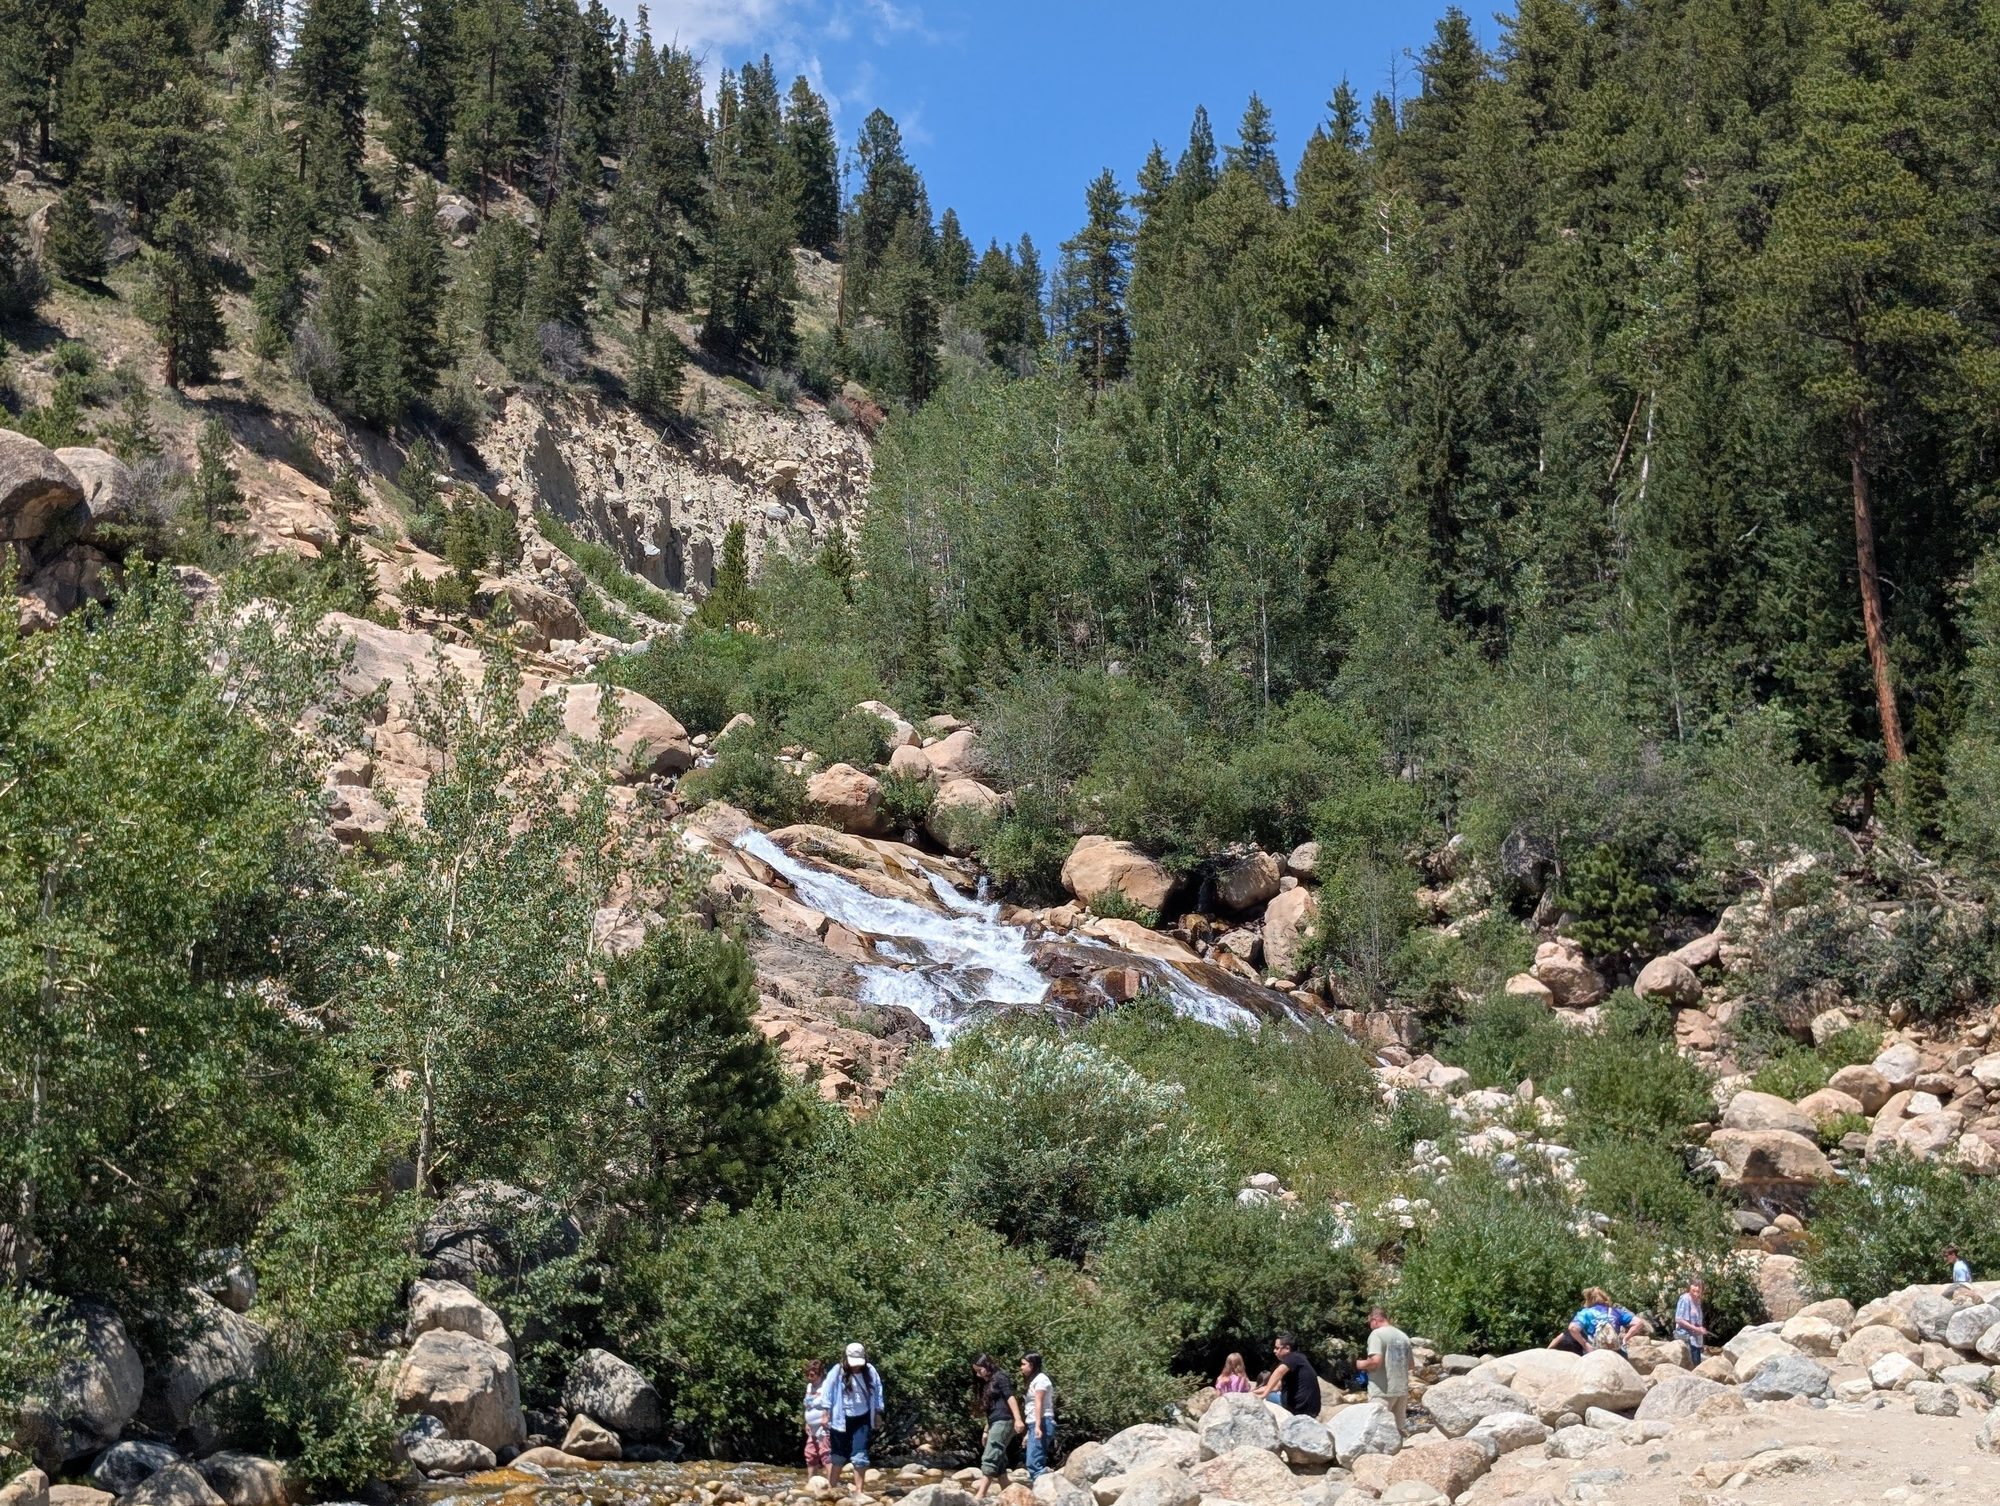
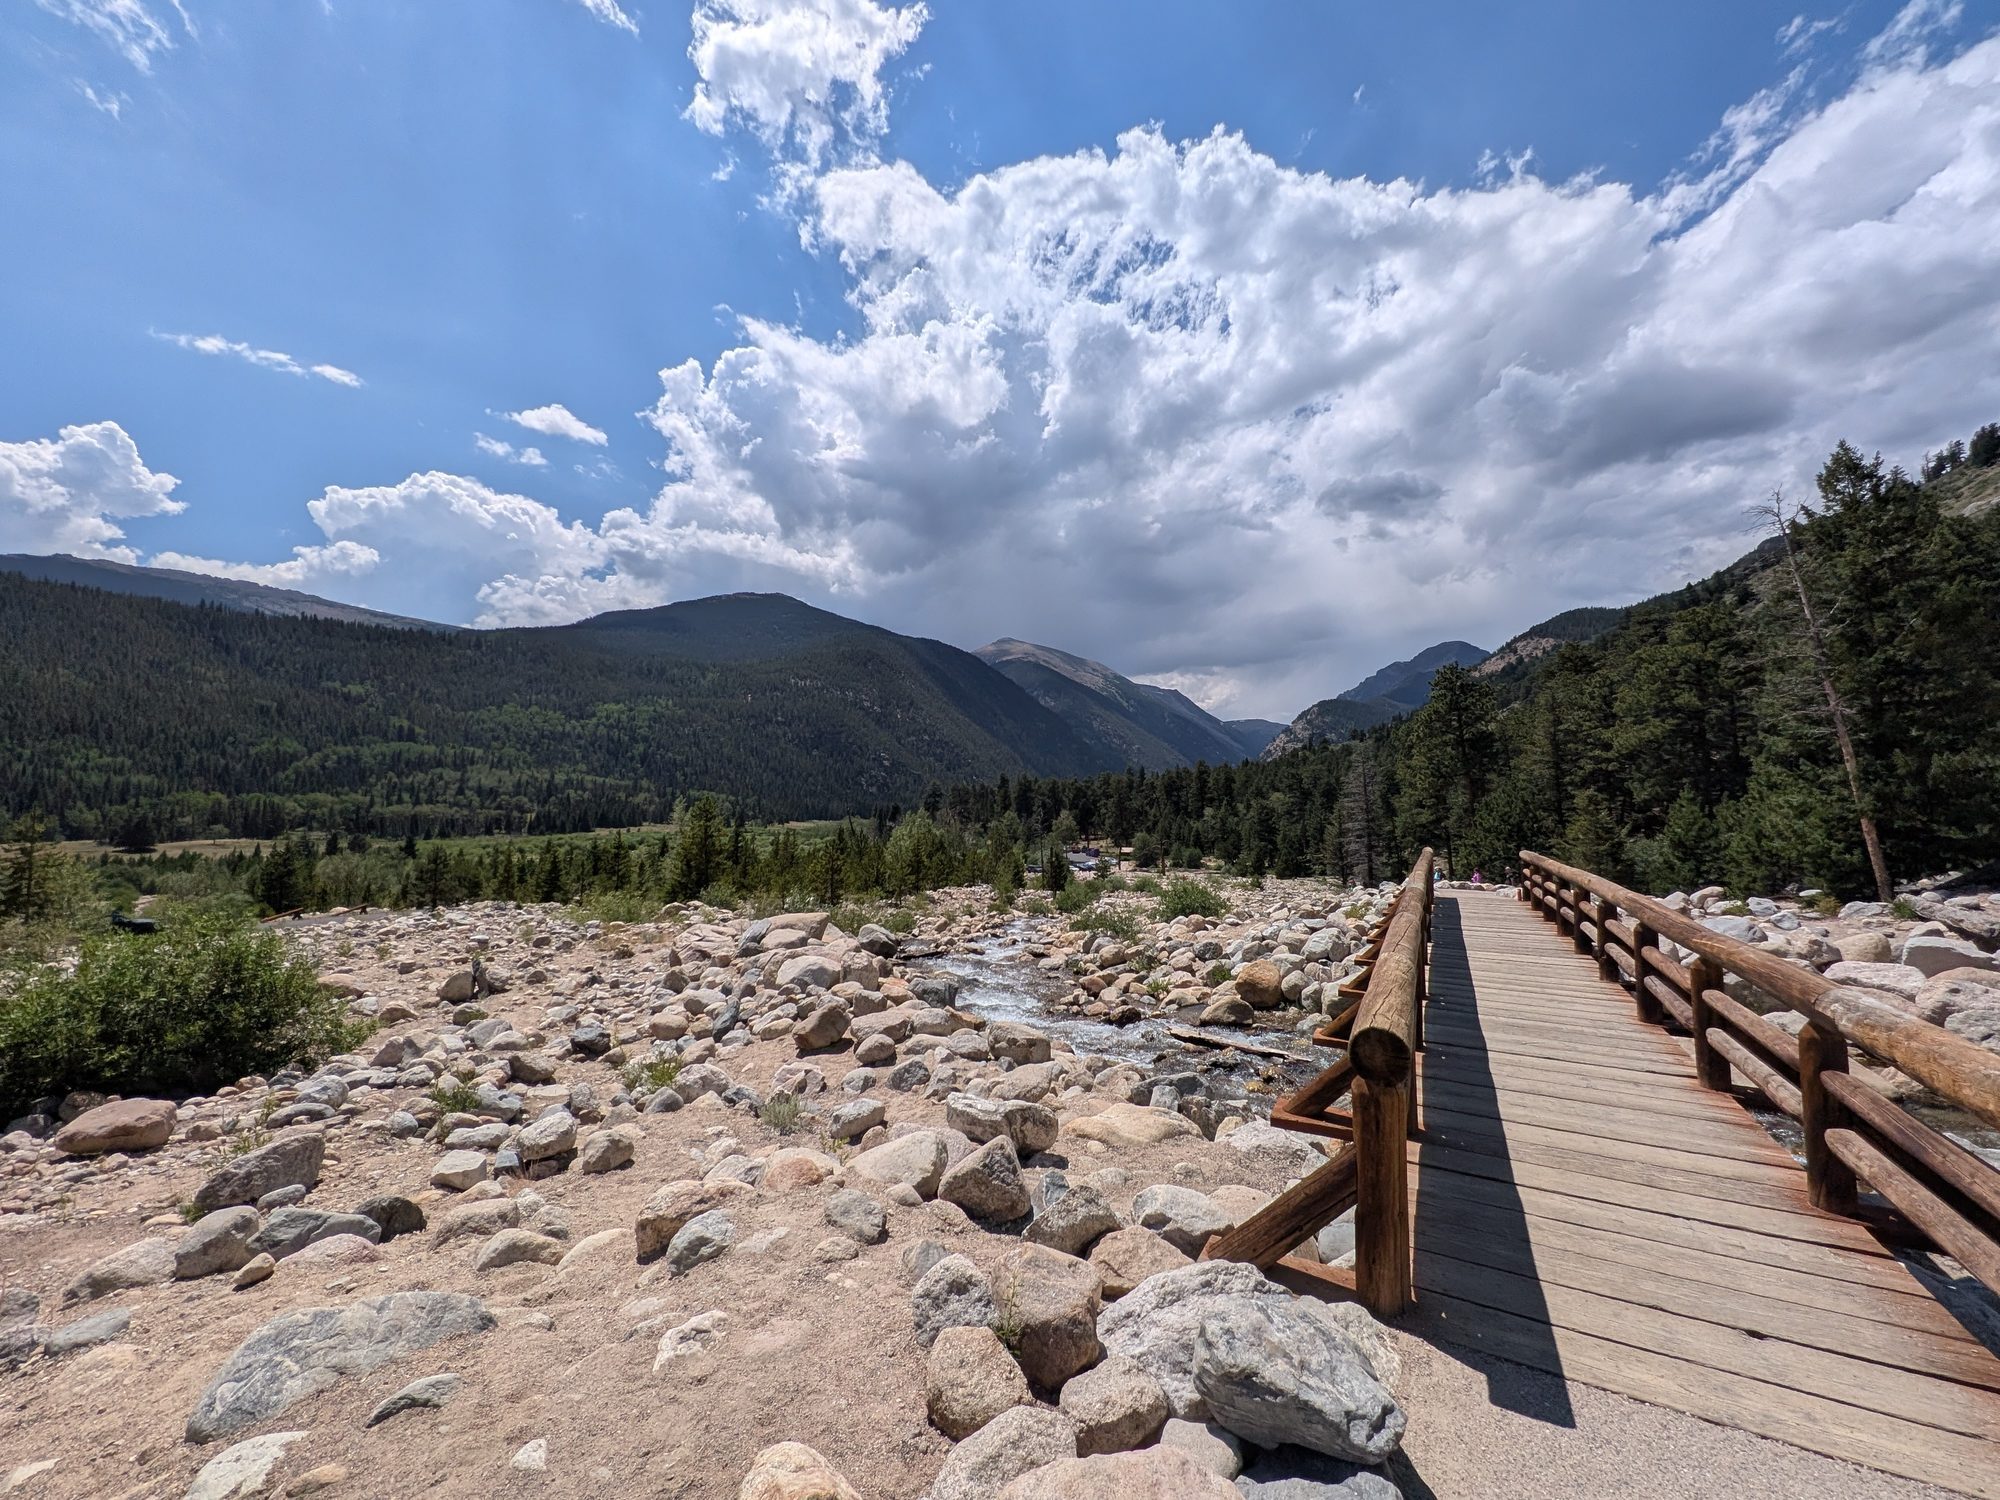
On the drive back toward Estes Park, we stopped at the Alluvial Fan, off Endovalley Road in Horseshoe Park. It's a big boulder field left behind by a 1982 flood, with a waterfall tumbling through it. A paved trail of about 1,850 feet connects the parking areas, with a footbridge over the creek. Most of it is gentle, though one short section is steep.
Kids love scrambling on the rocks here. Keep a close eye on them near the water, though, because the current is fast and the rocks are slippery.
Crowds: For a midweek day in summer, it wasn't too busy. Parking at the overlooks filled up at times, but we never waited long. When we left around 2 p.m., we didn't see big lines at the entrance.
Day 2: Bear Lake Road and the Dream Lake Hike
Bear Lake Road is the most popular part of the park, and for good reason. Several alpine lakes sit within a couple of miles of one trailhead. We used the free park shuttle for this part of the day, which we'd recommend to any family.
Park & Ride and the Bear Lake Shuttle
- We drove in through the Beaver Meadows Entrance on our 10 a.m. Bear Lake Road reservation and parked at the Bear Lake Road Park & Ride.
- The Park & Ride lot is beautiful, but it's busy. We had to circle a few times to find a spot, so build in a little time.
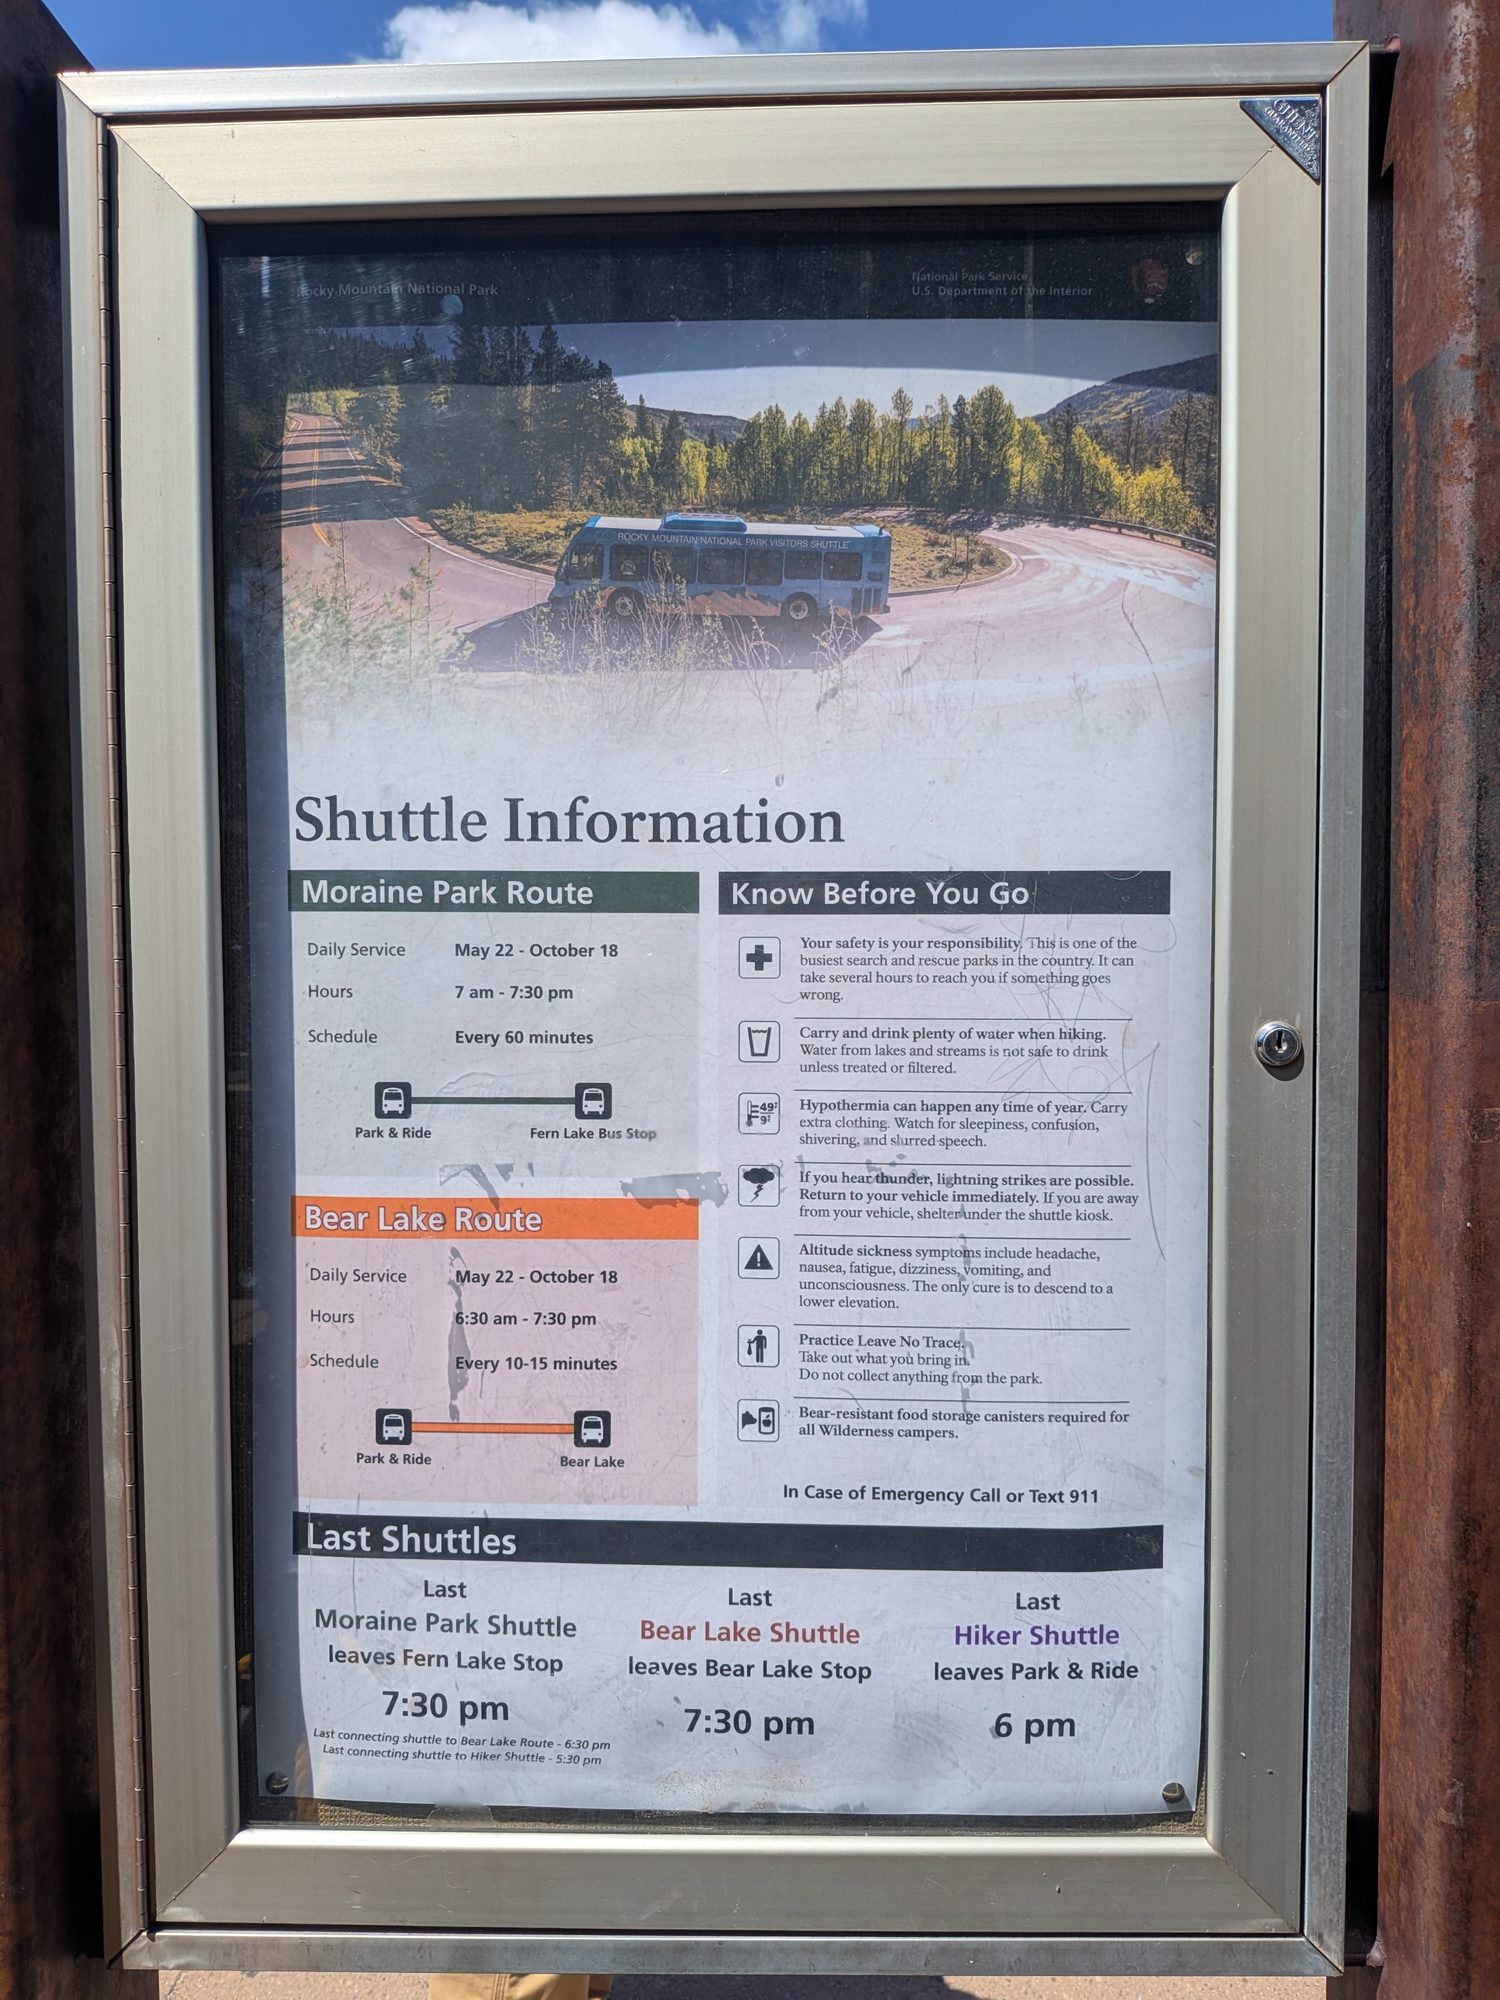
- The shuttle was easy. When we visited, the Bear Lake route ran every 10 to 15 minutes from early morning to evening, and the last bus left Bear Lake at 7:30 p.m. We didn't wait long in either direction. Check the NPS shuttle page for this season's hours.
- No Bear Lake reservation? The Hiker Shuttle from the Estes Park Visitor Center to the Park & Ride is another option. It needs a $2 ticket on Recreation.gov plus a park pass.
Bear Lake
The shuttle drops you right at the Bear Lake trailhead. We walked to the main viewpoint for the classic view of the lake with Hallett Peak behind it, then skipped the full loop around the lake to save our legs for the hike. If your kids are younger, the flat 0.6-mile Bear Lake Loop is a great hike on its own.
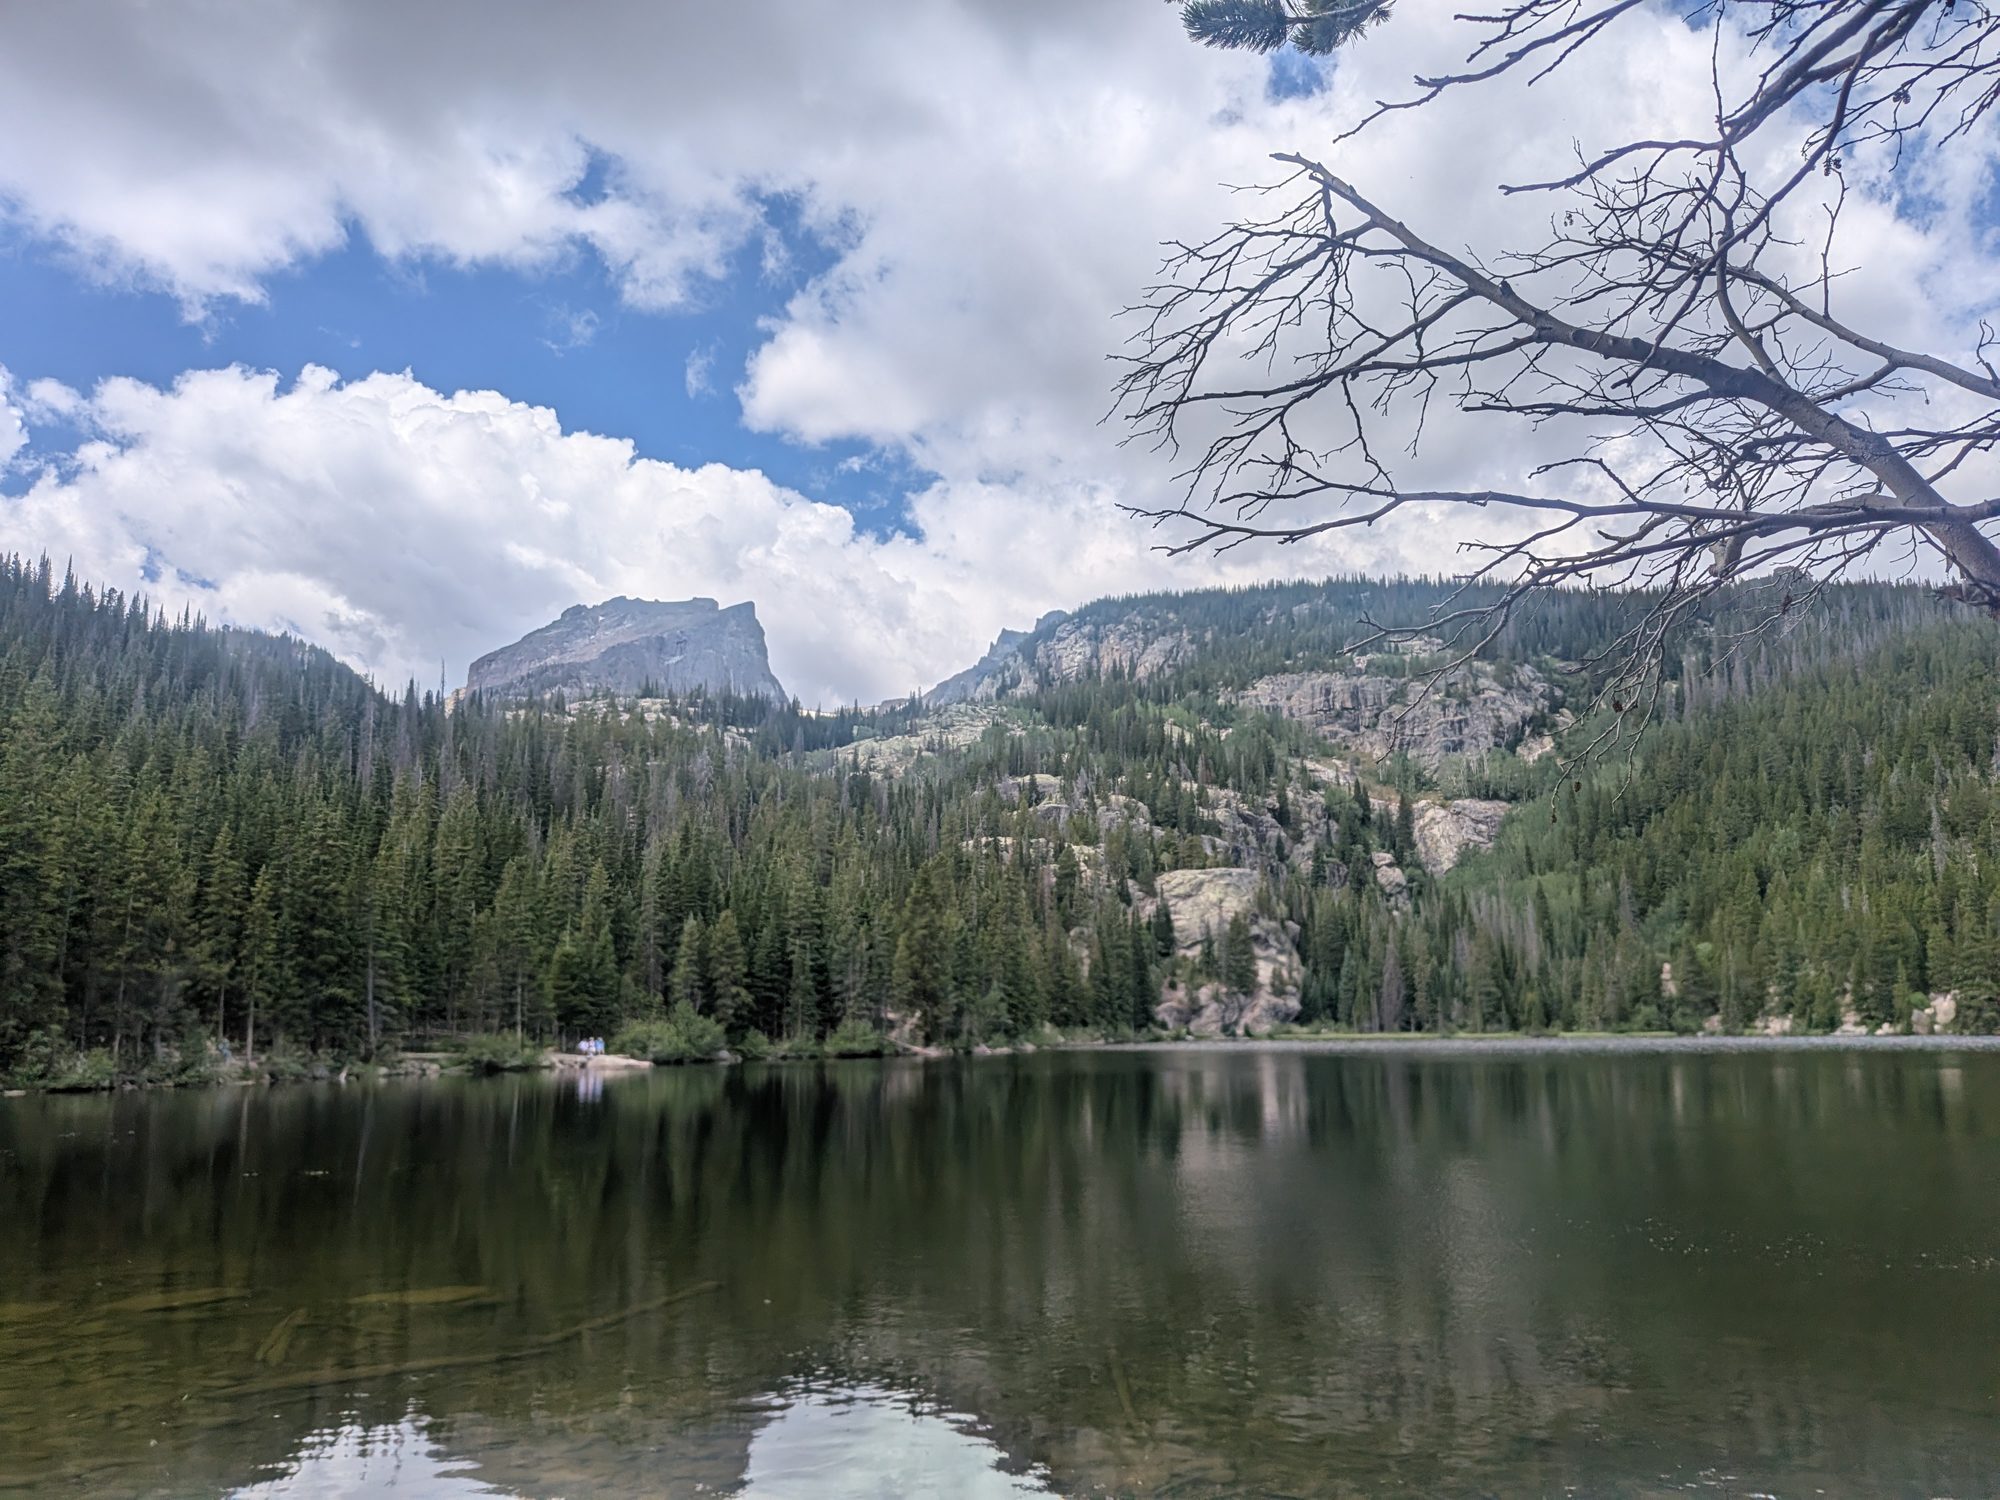
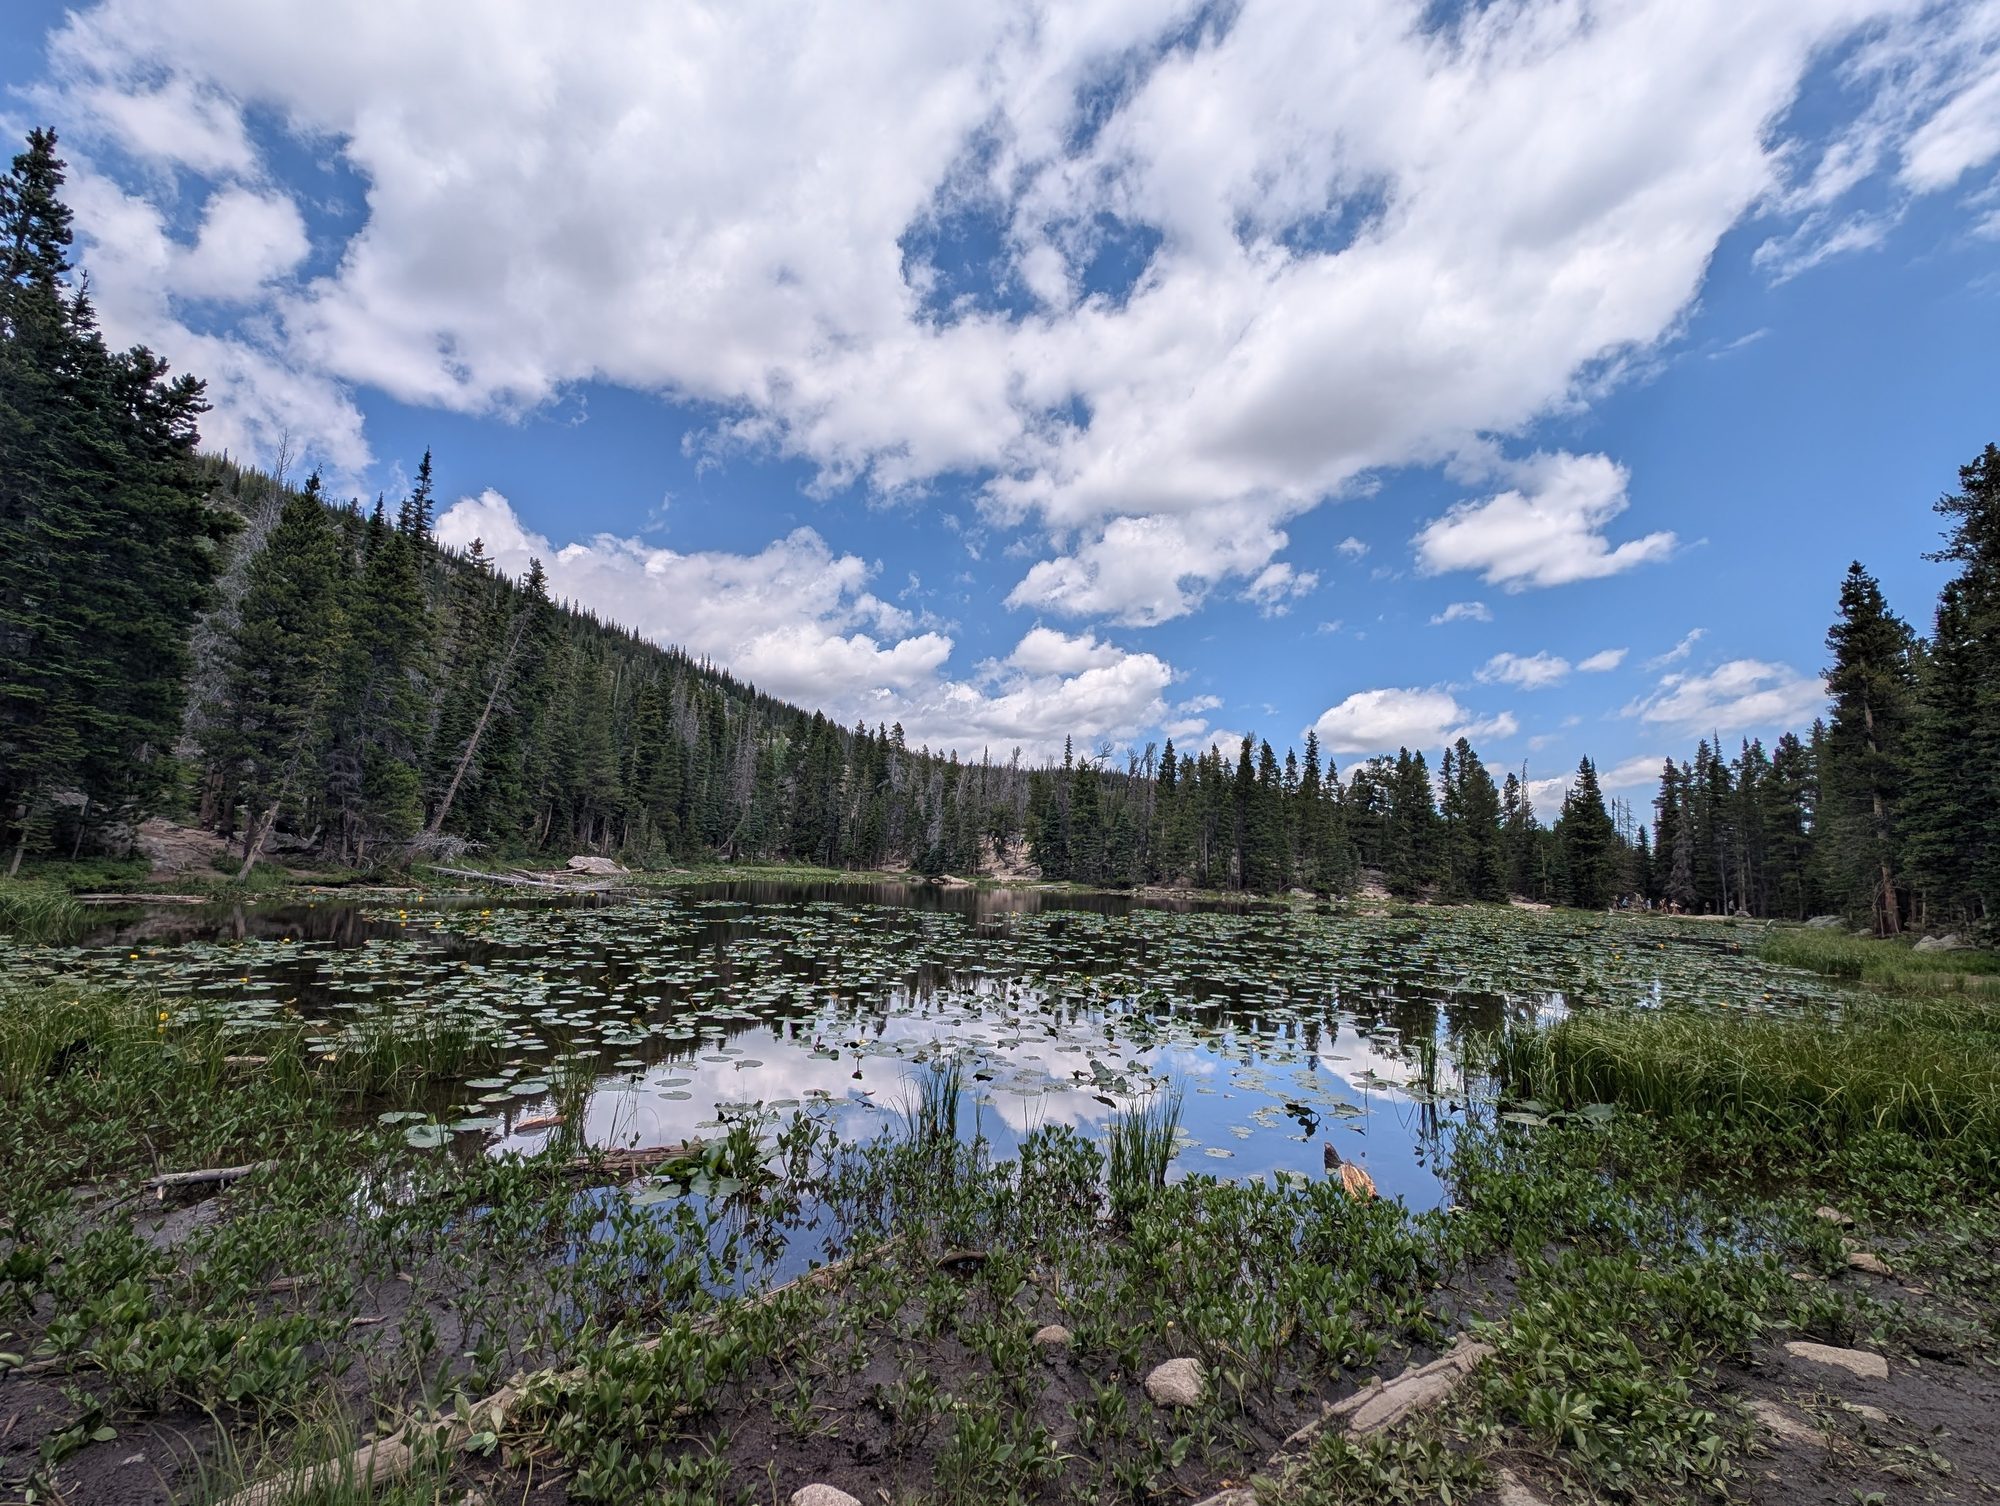
Nymph Lake (0.5 Miles)
From Bear Lake, the trail climbs steadily through the forest to Nymph Lake, a small pond covered in lily pads. It's a natural first break and a good checkpoint for how everyone is handling the altitude.
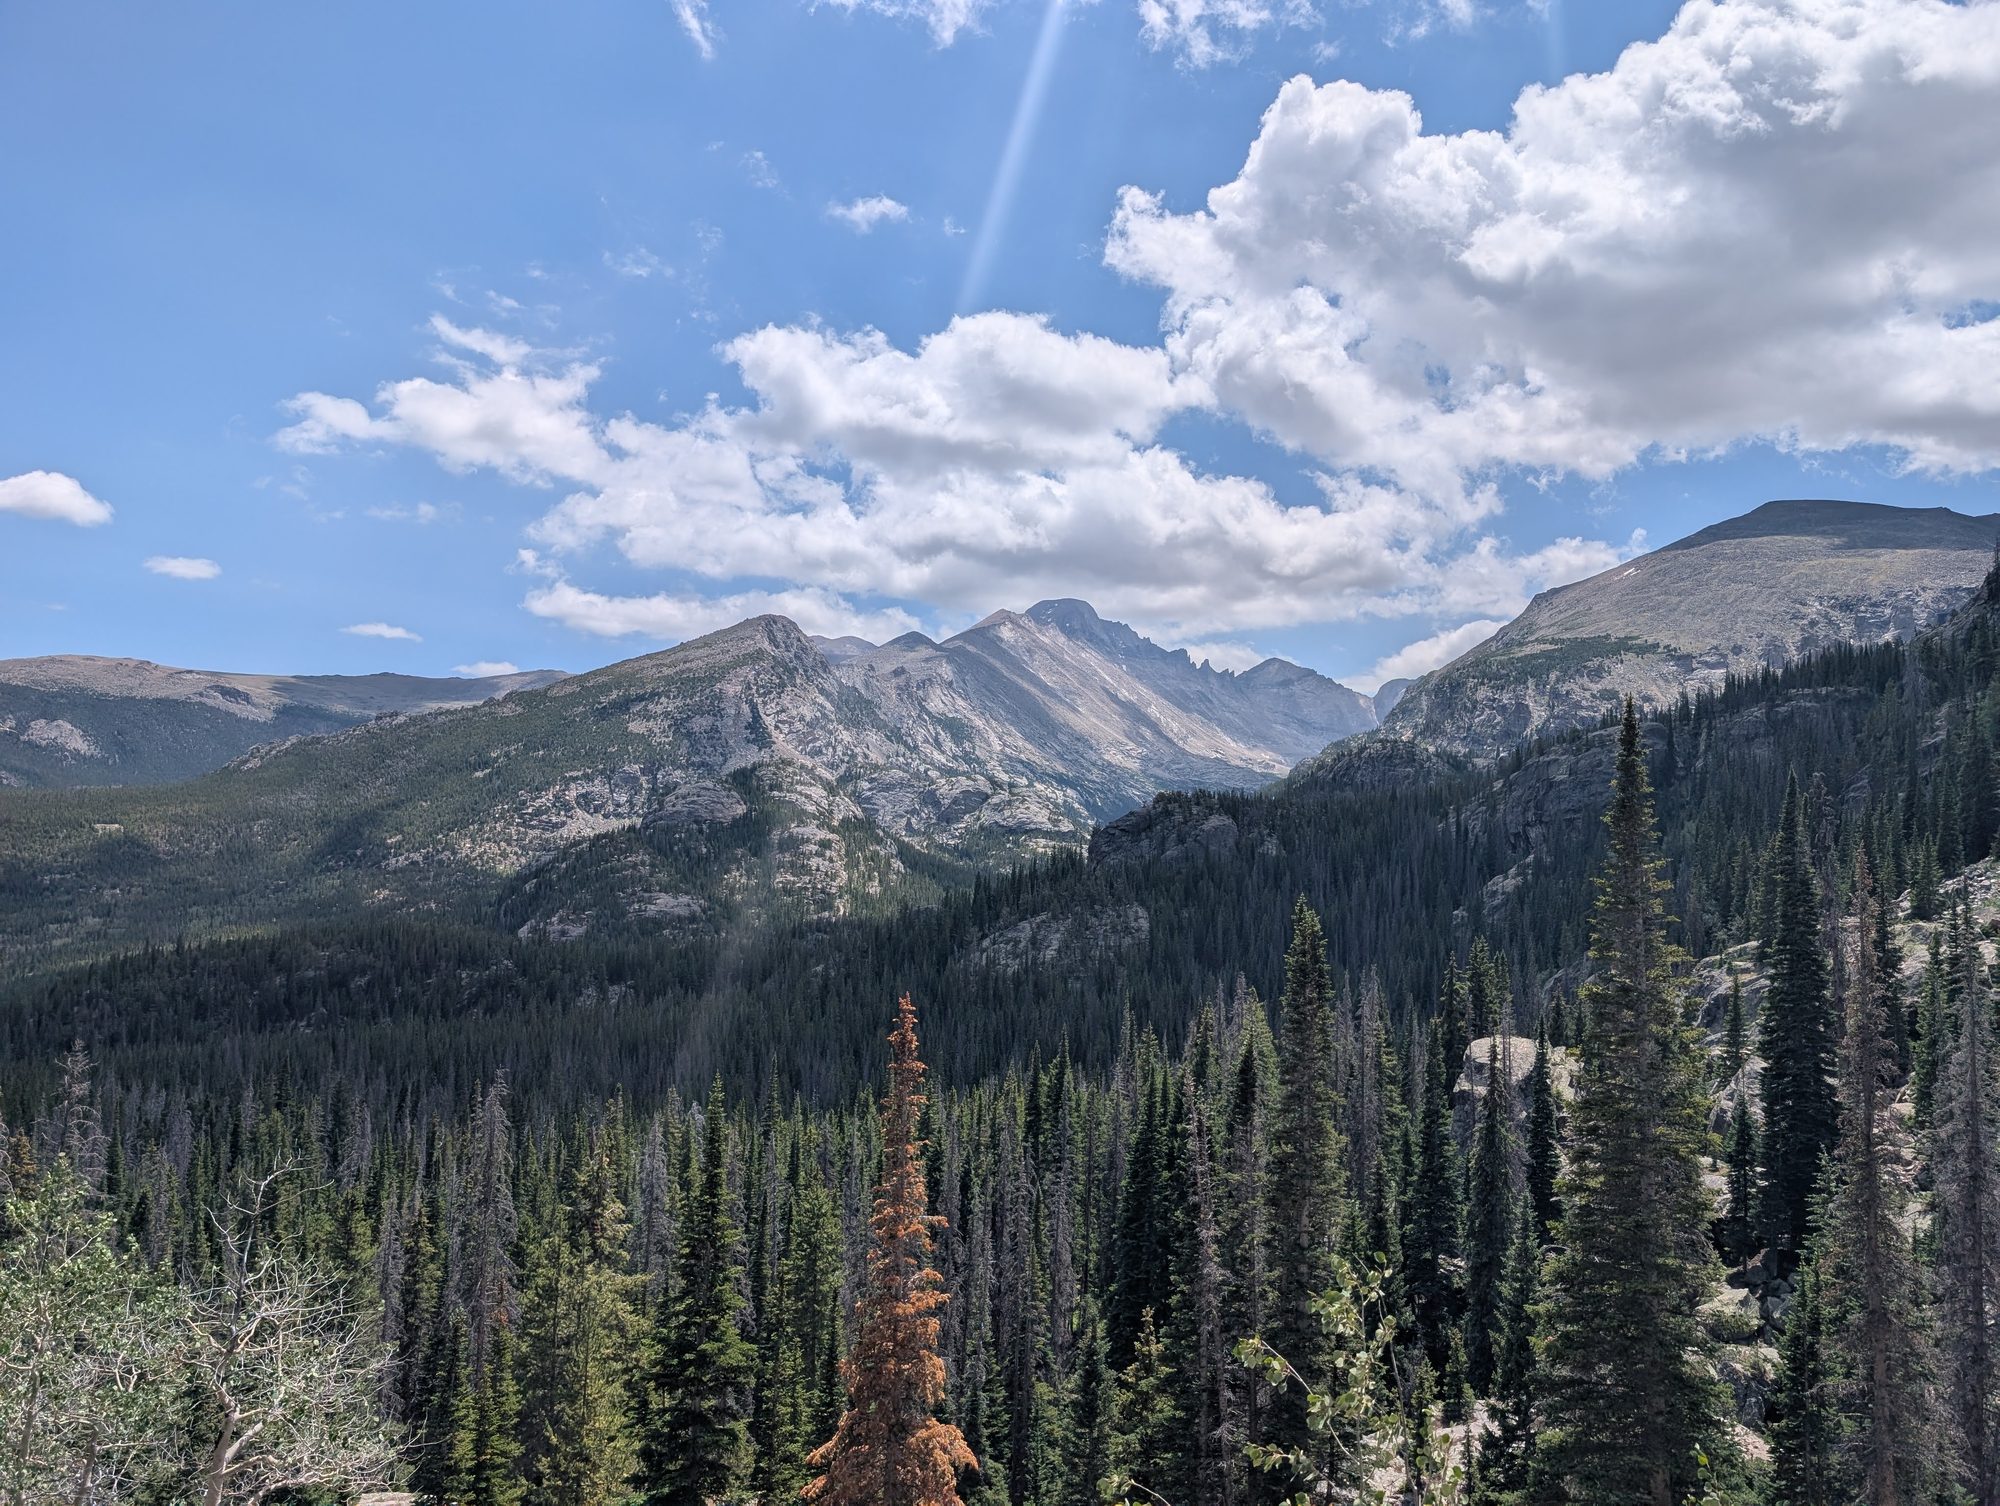
Dream Lake (1.1 Miles)
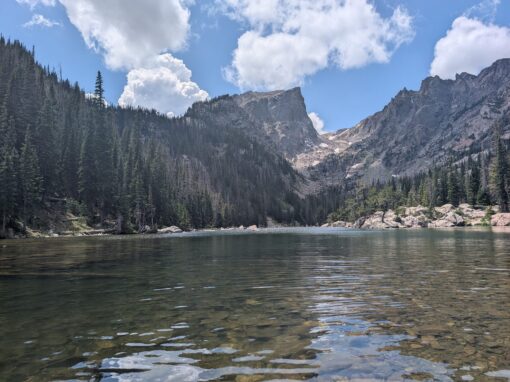
Past Nymph Lake, the trail keeps climbing along rocky steps, with big views opening up to the south, including Longs Peak. Then it levels out at Dream Lake, a clear, narrow lake with Hallett Peak towering over the far end. This was the highlight of our whole trip.
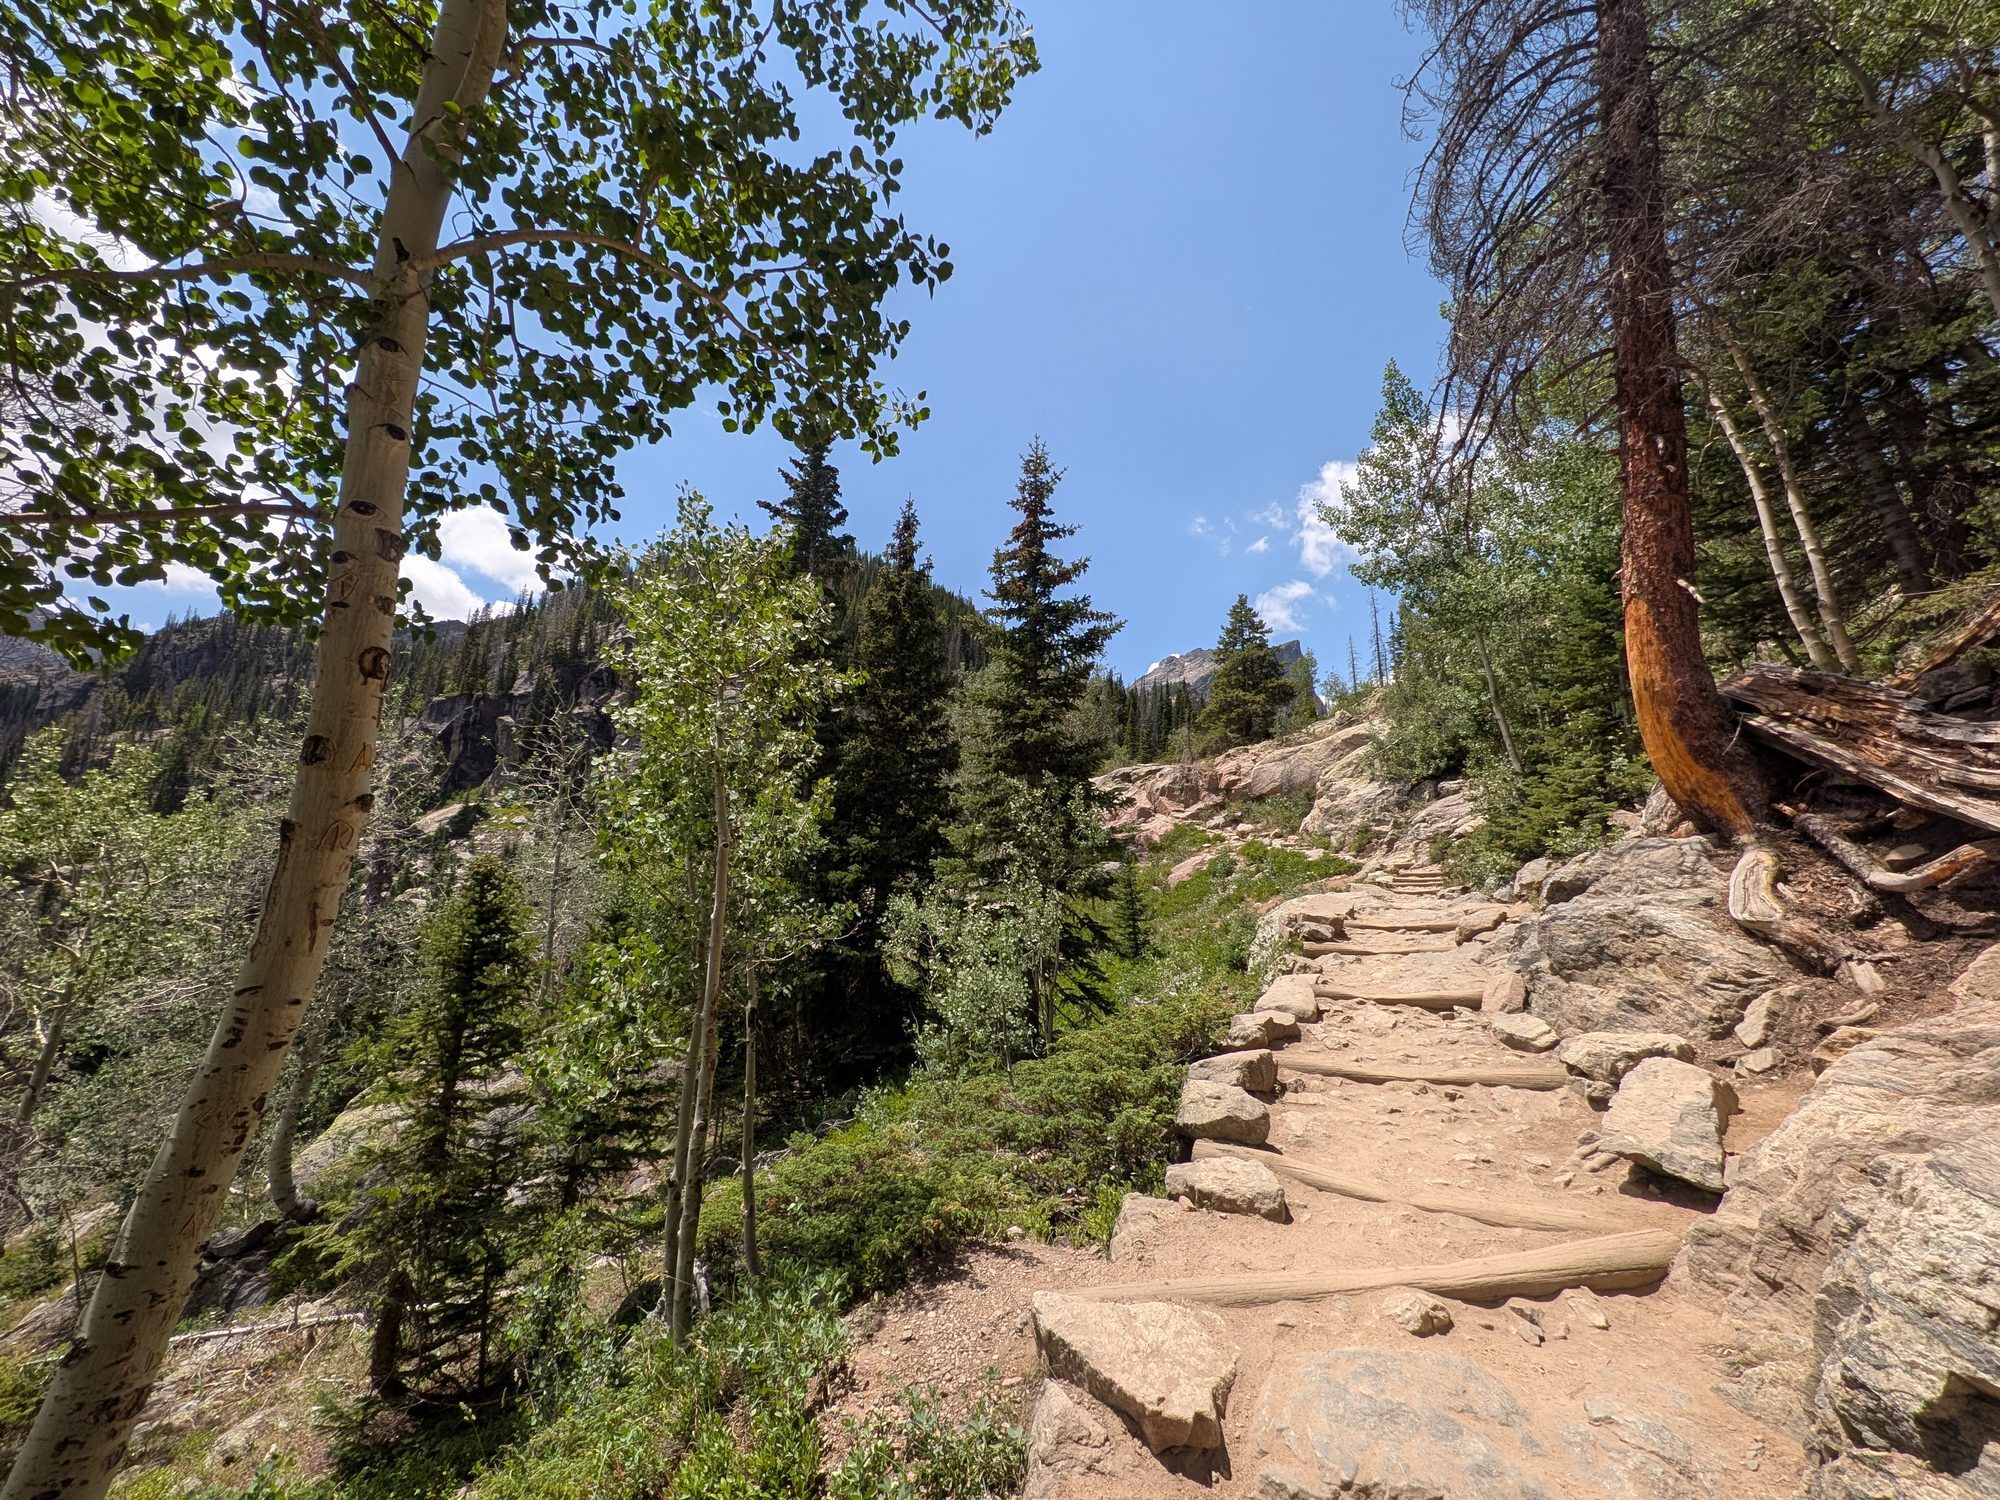
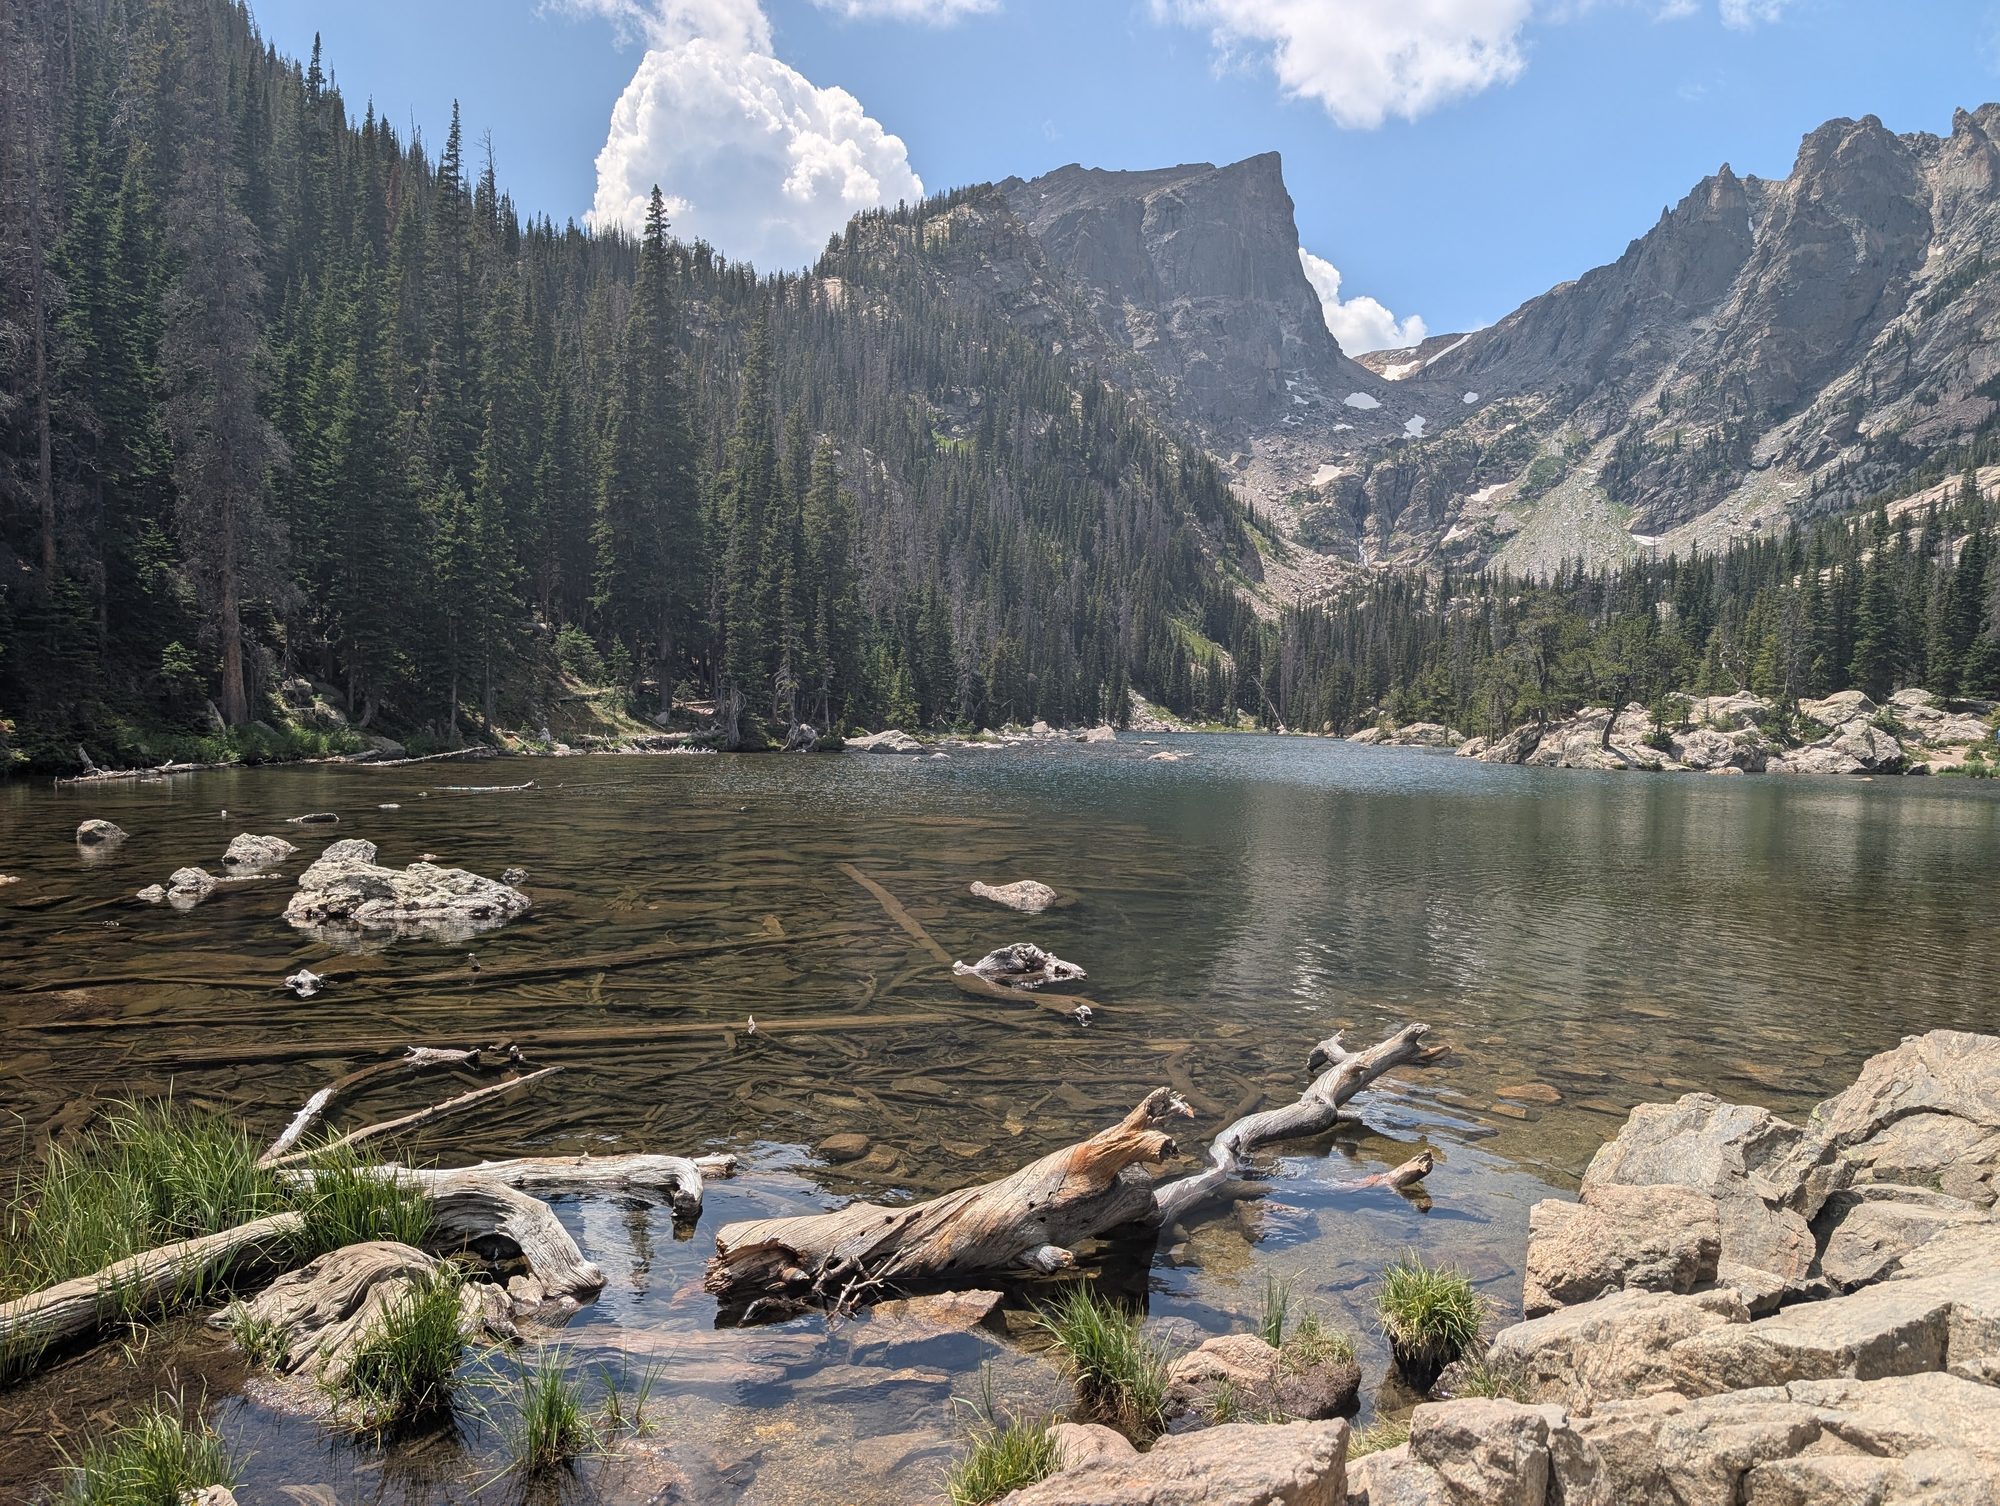
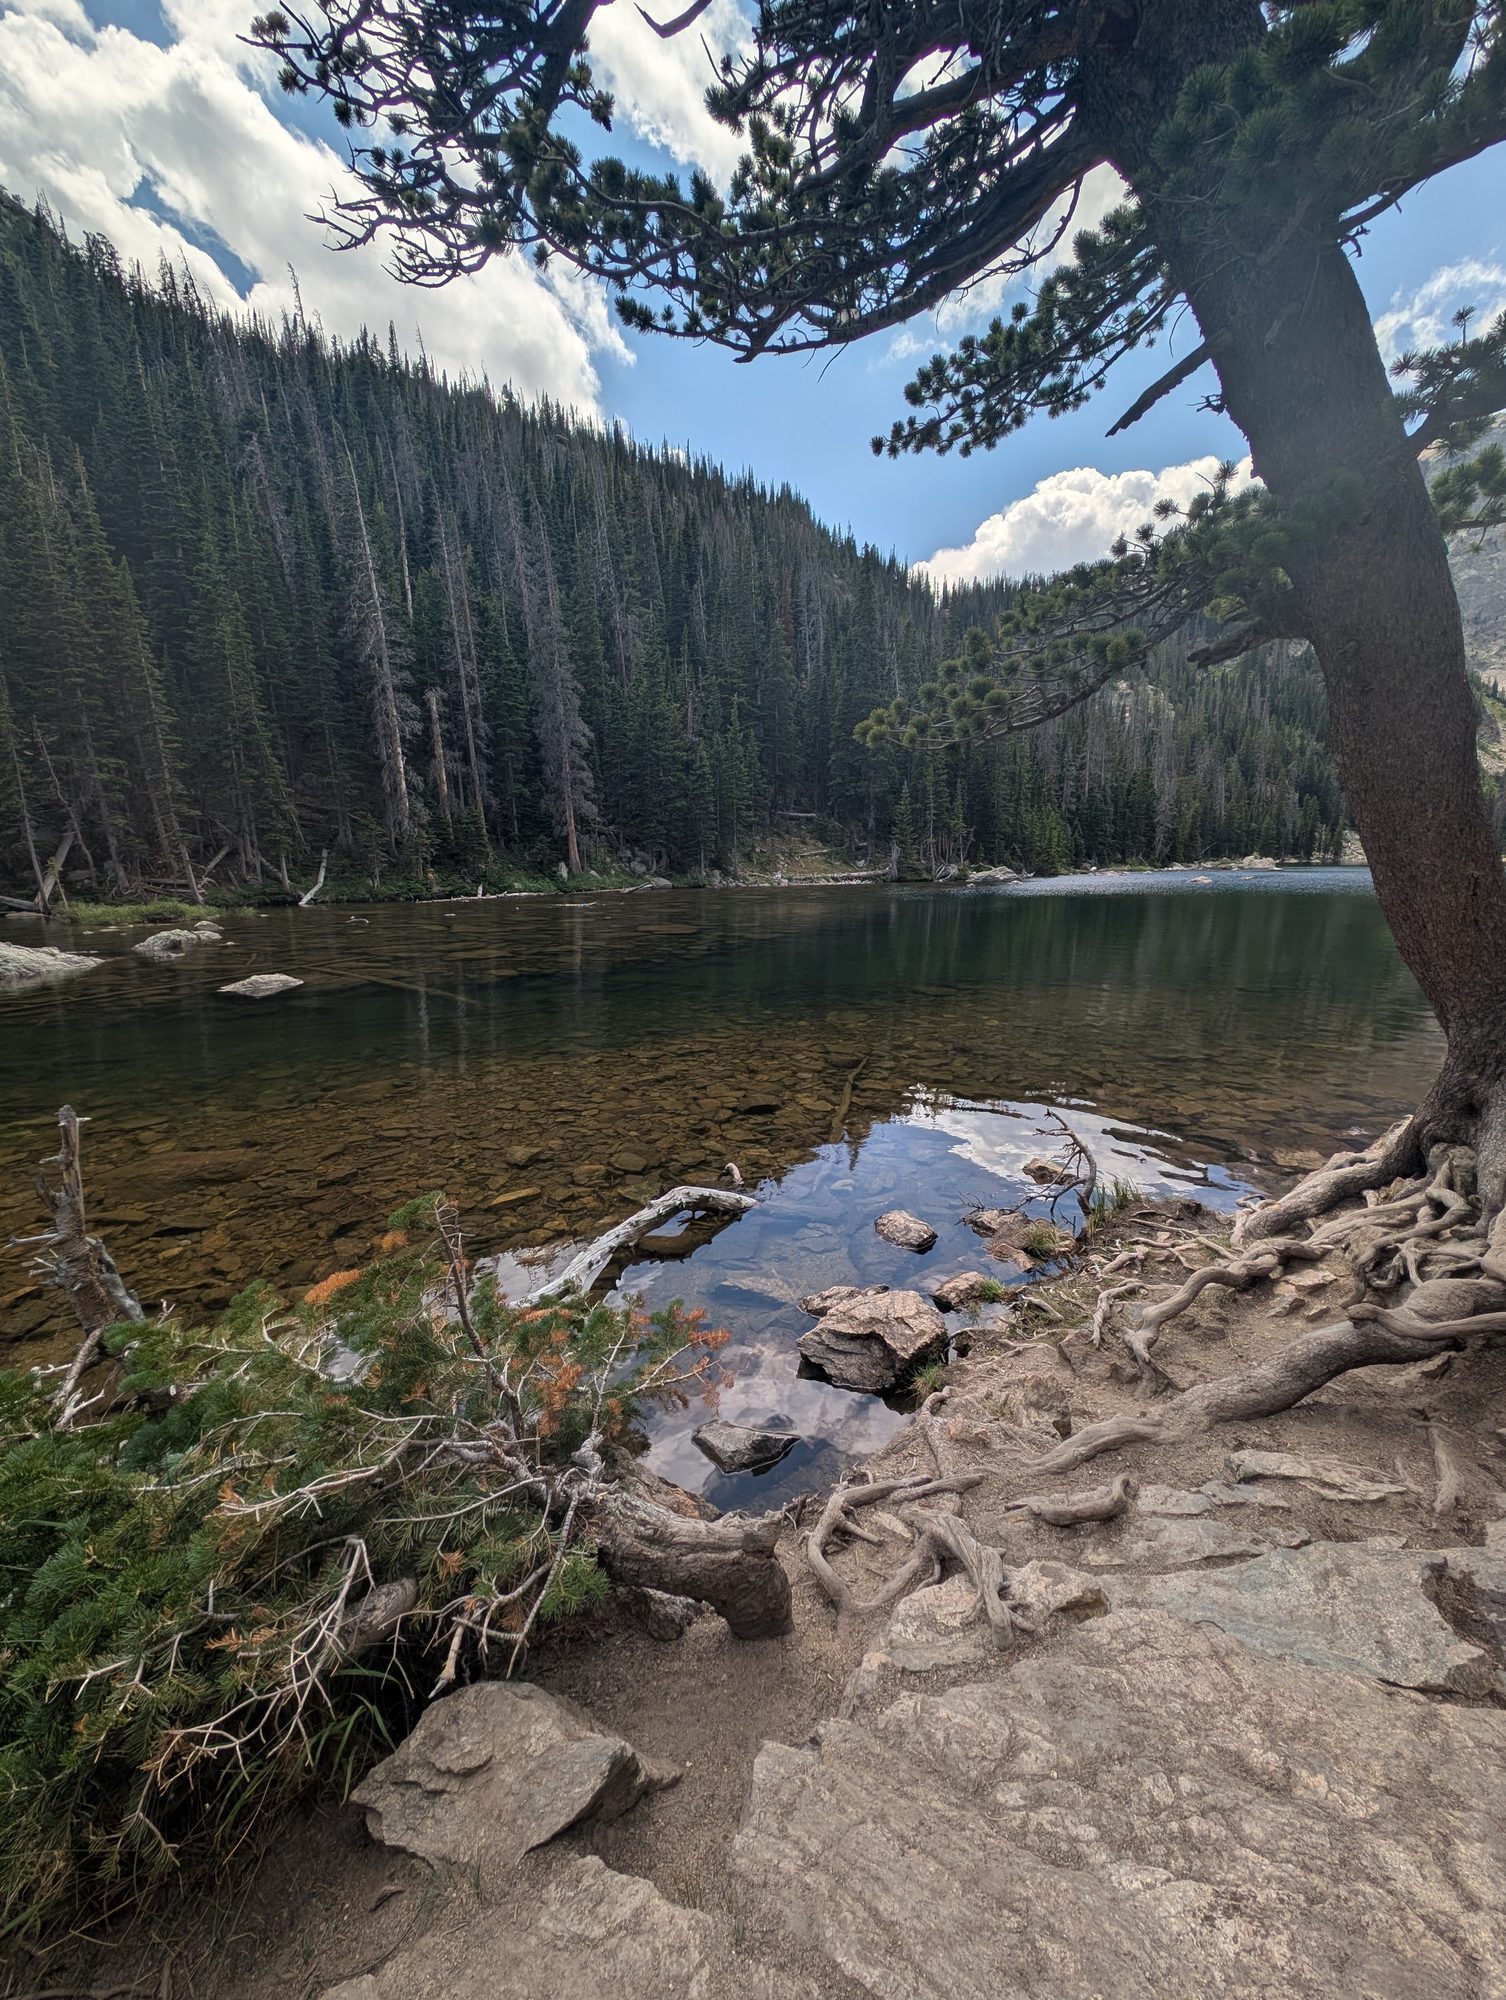
We turned around at Dream Lake and skipped the extension to Emerald Lake, which is steeper and rockier. Our total was about 2.2 miles round trip with roughly 474 feet of elevation gain.
| From Bear Lake trailhead to | One-way distance | Our take for kids |
|---|---|---|
| Bear Lake viewpoint | A few steps | Everyone can do this |
| Nymph Lake | 0.5 miles | Steady uphill, good first goal |
| Dream Lake | 1.1 miles | Our turnaround, the best payoff |
| Emerald Lake | 1.8 miles | Steeper and rockier, for older or experienced kids |
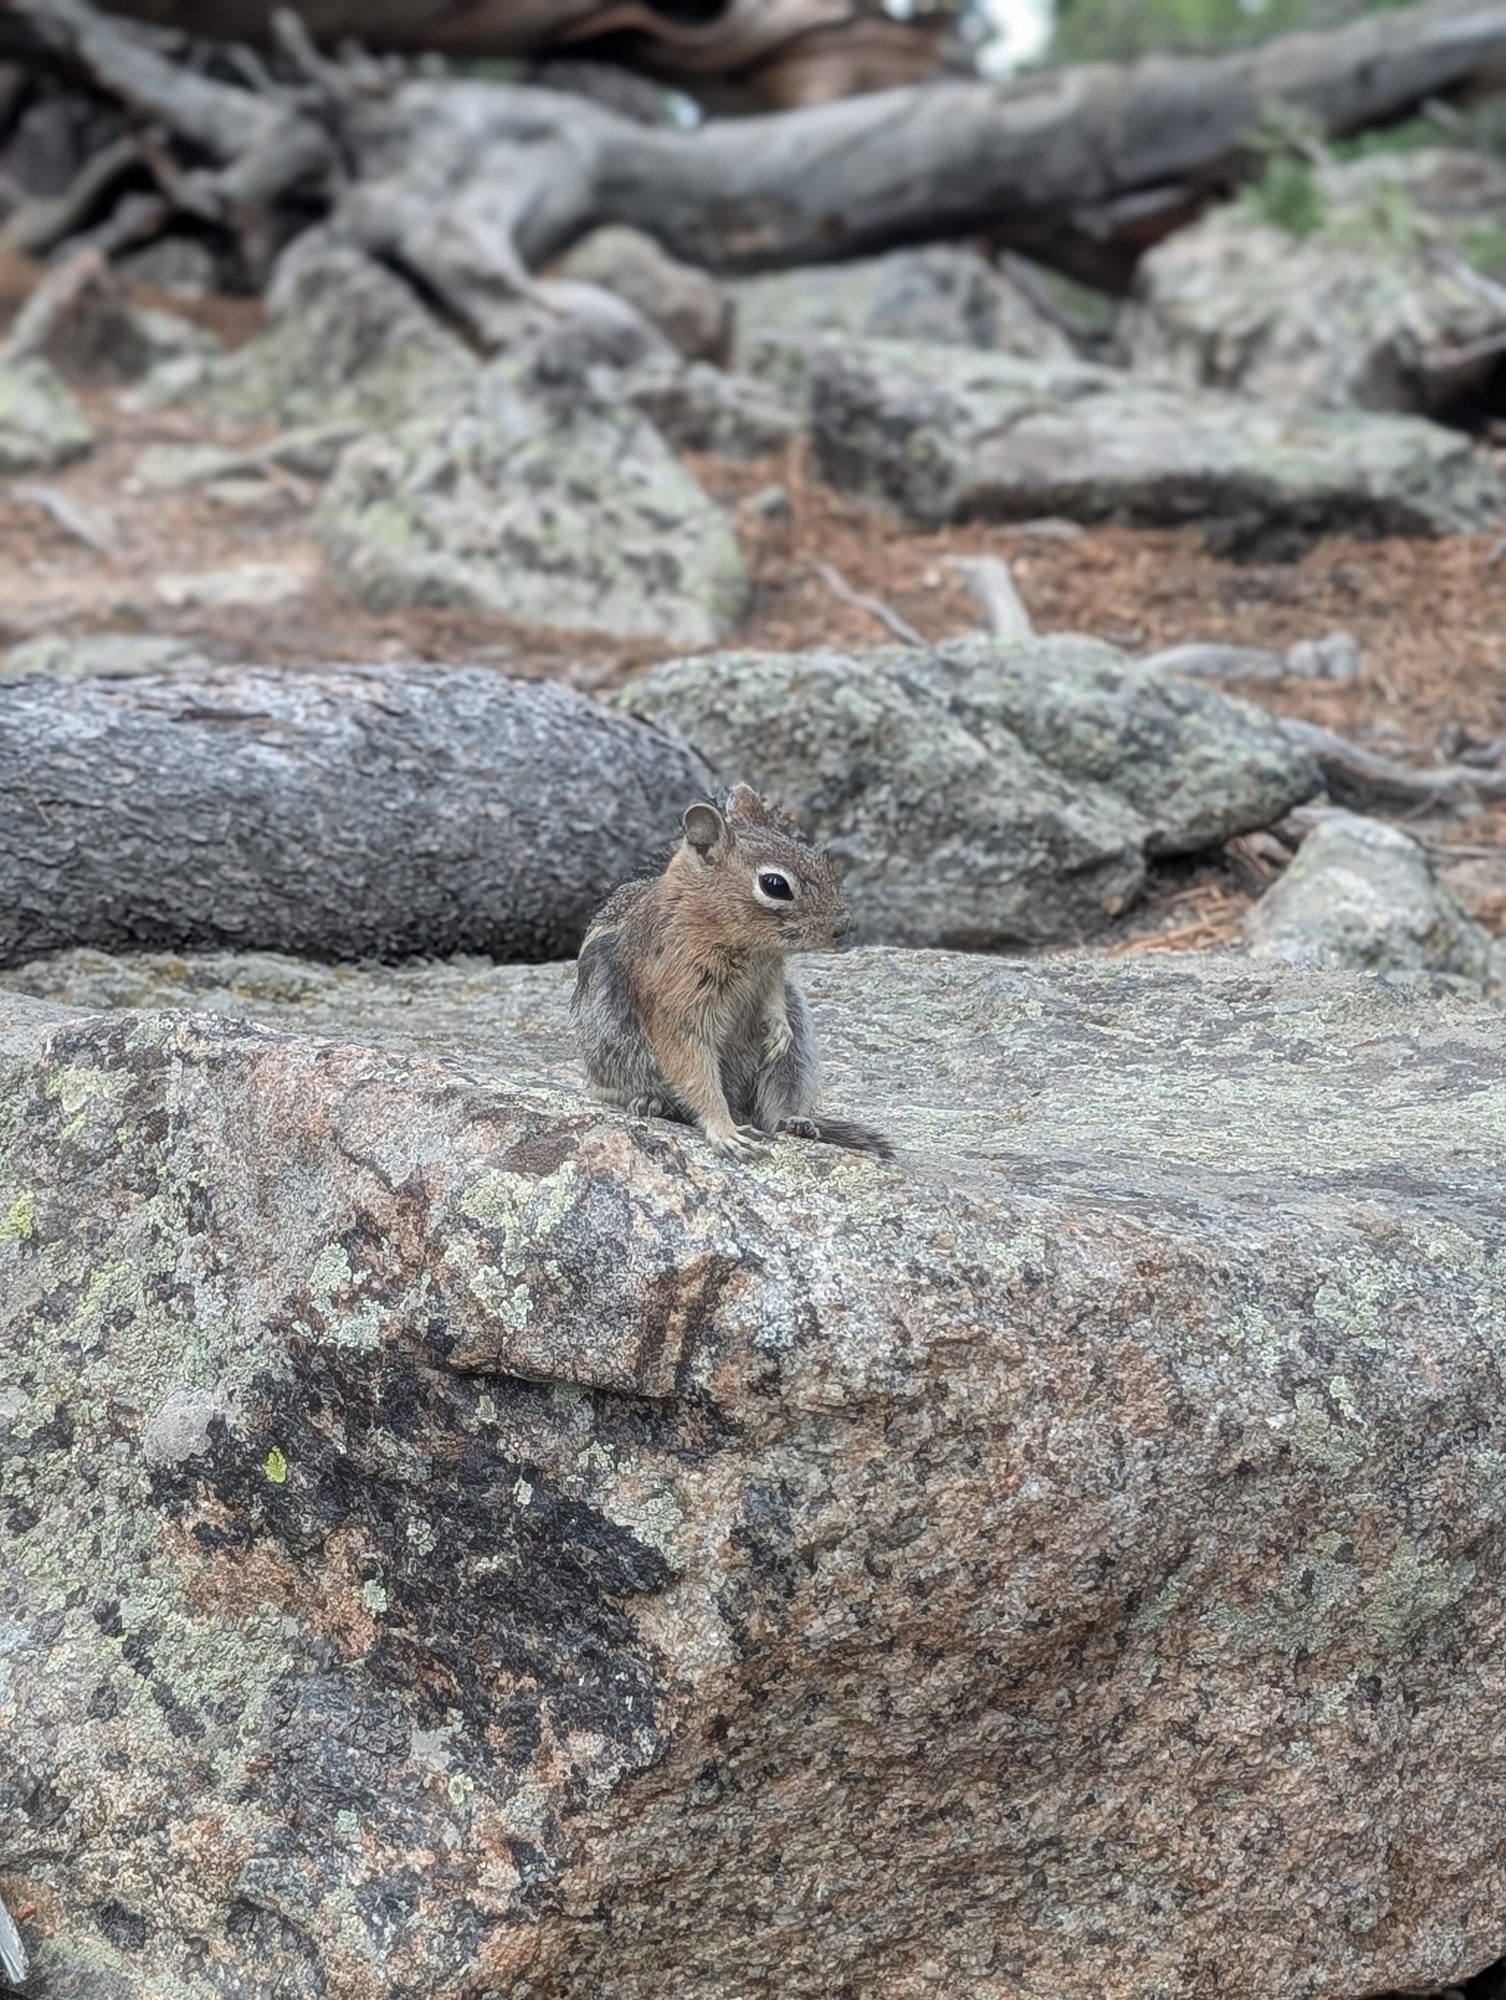
We also spotted golden-mantled ground squirrels sunning on the rocks near Dream Lake. They're used to people, but please don't feed them.
Our Tips for the Dream Lake Hike with Kids
- Bring more water than you think. The trail is uphill the whole way out, and the altitude makes it tougher than the numbers suggest. Coming back down was easy.
- Pack a picnic and make Dream Lake your lunch stop. There's no food on the trail, and sitting by the lake is the best part. For allergy families, that also means you control exactly what everyone eats.
- Start by late morning. Afternoon thunderstorms are common in summer, and you don't want to be on exposed rock when one rolls in.
- Wear real shoes. The trail is well maintained but rocky in places, with stone steps above Nymph Lake.
- Use the restrooms at Bear Lake. There are none on the trail.
Sprague Lake
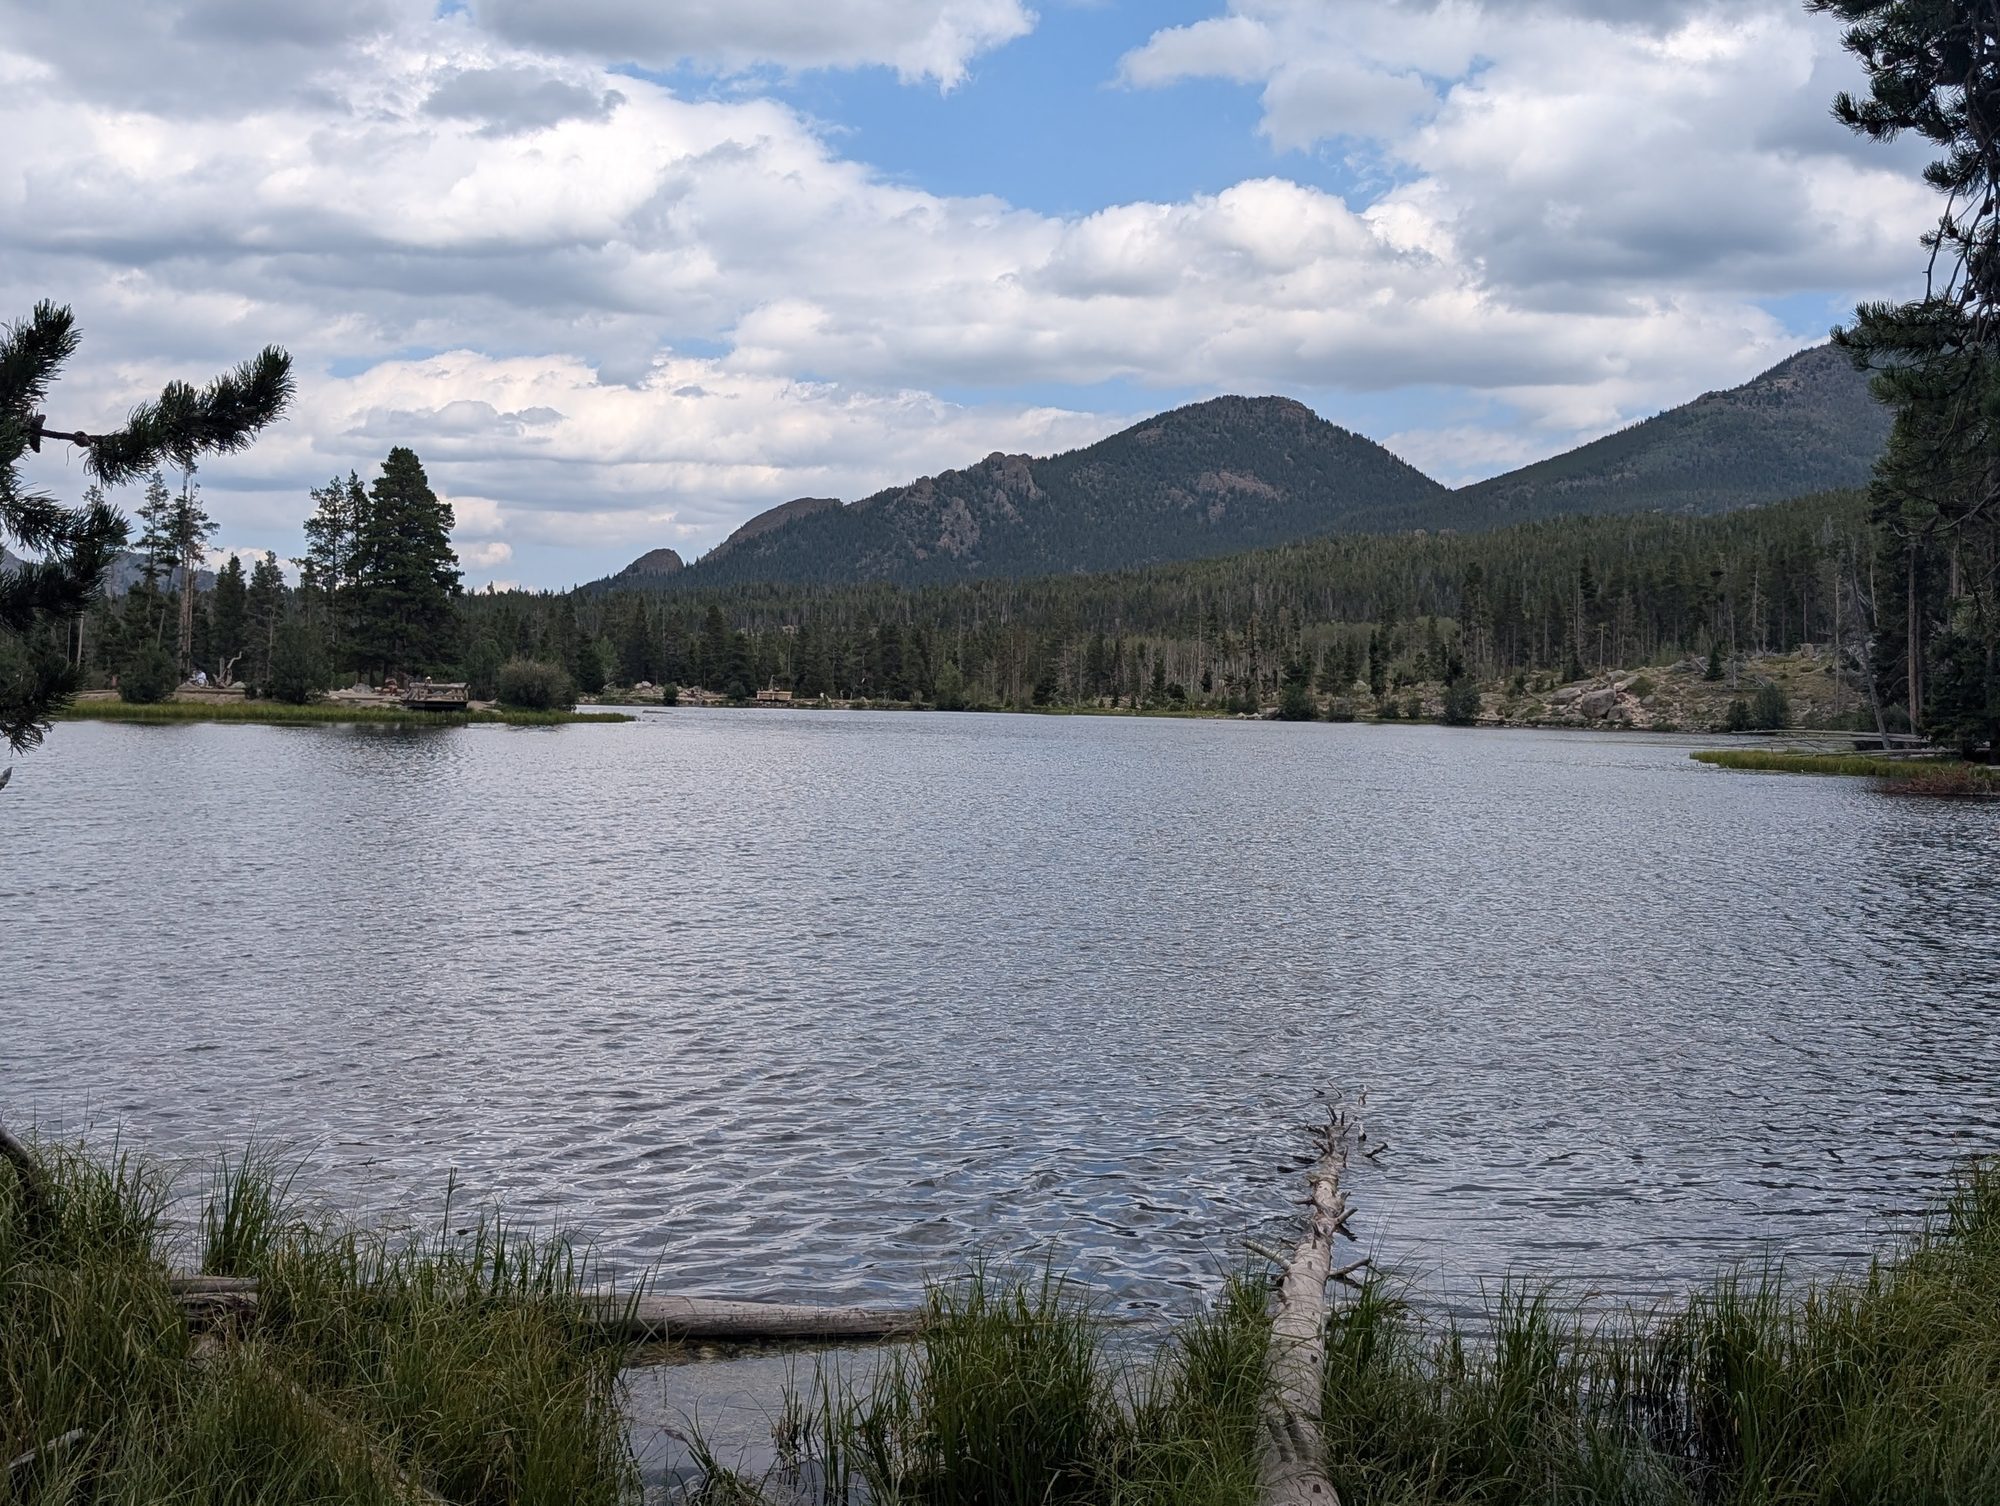
After the shuttle back, we drove to Sprague Lake. We walked only to the nearby shoreline viewpoint instead of doing the full loop. The lake is calm and wide open, with mountain views across the water. The short, flat loop around it is a good option if your kids still have energy.
Moraine Park and the Discovery Center
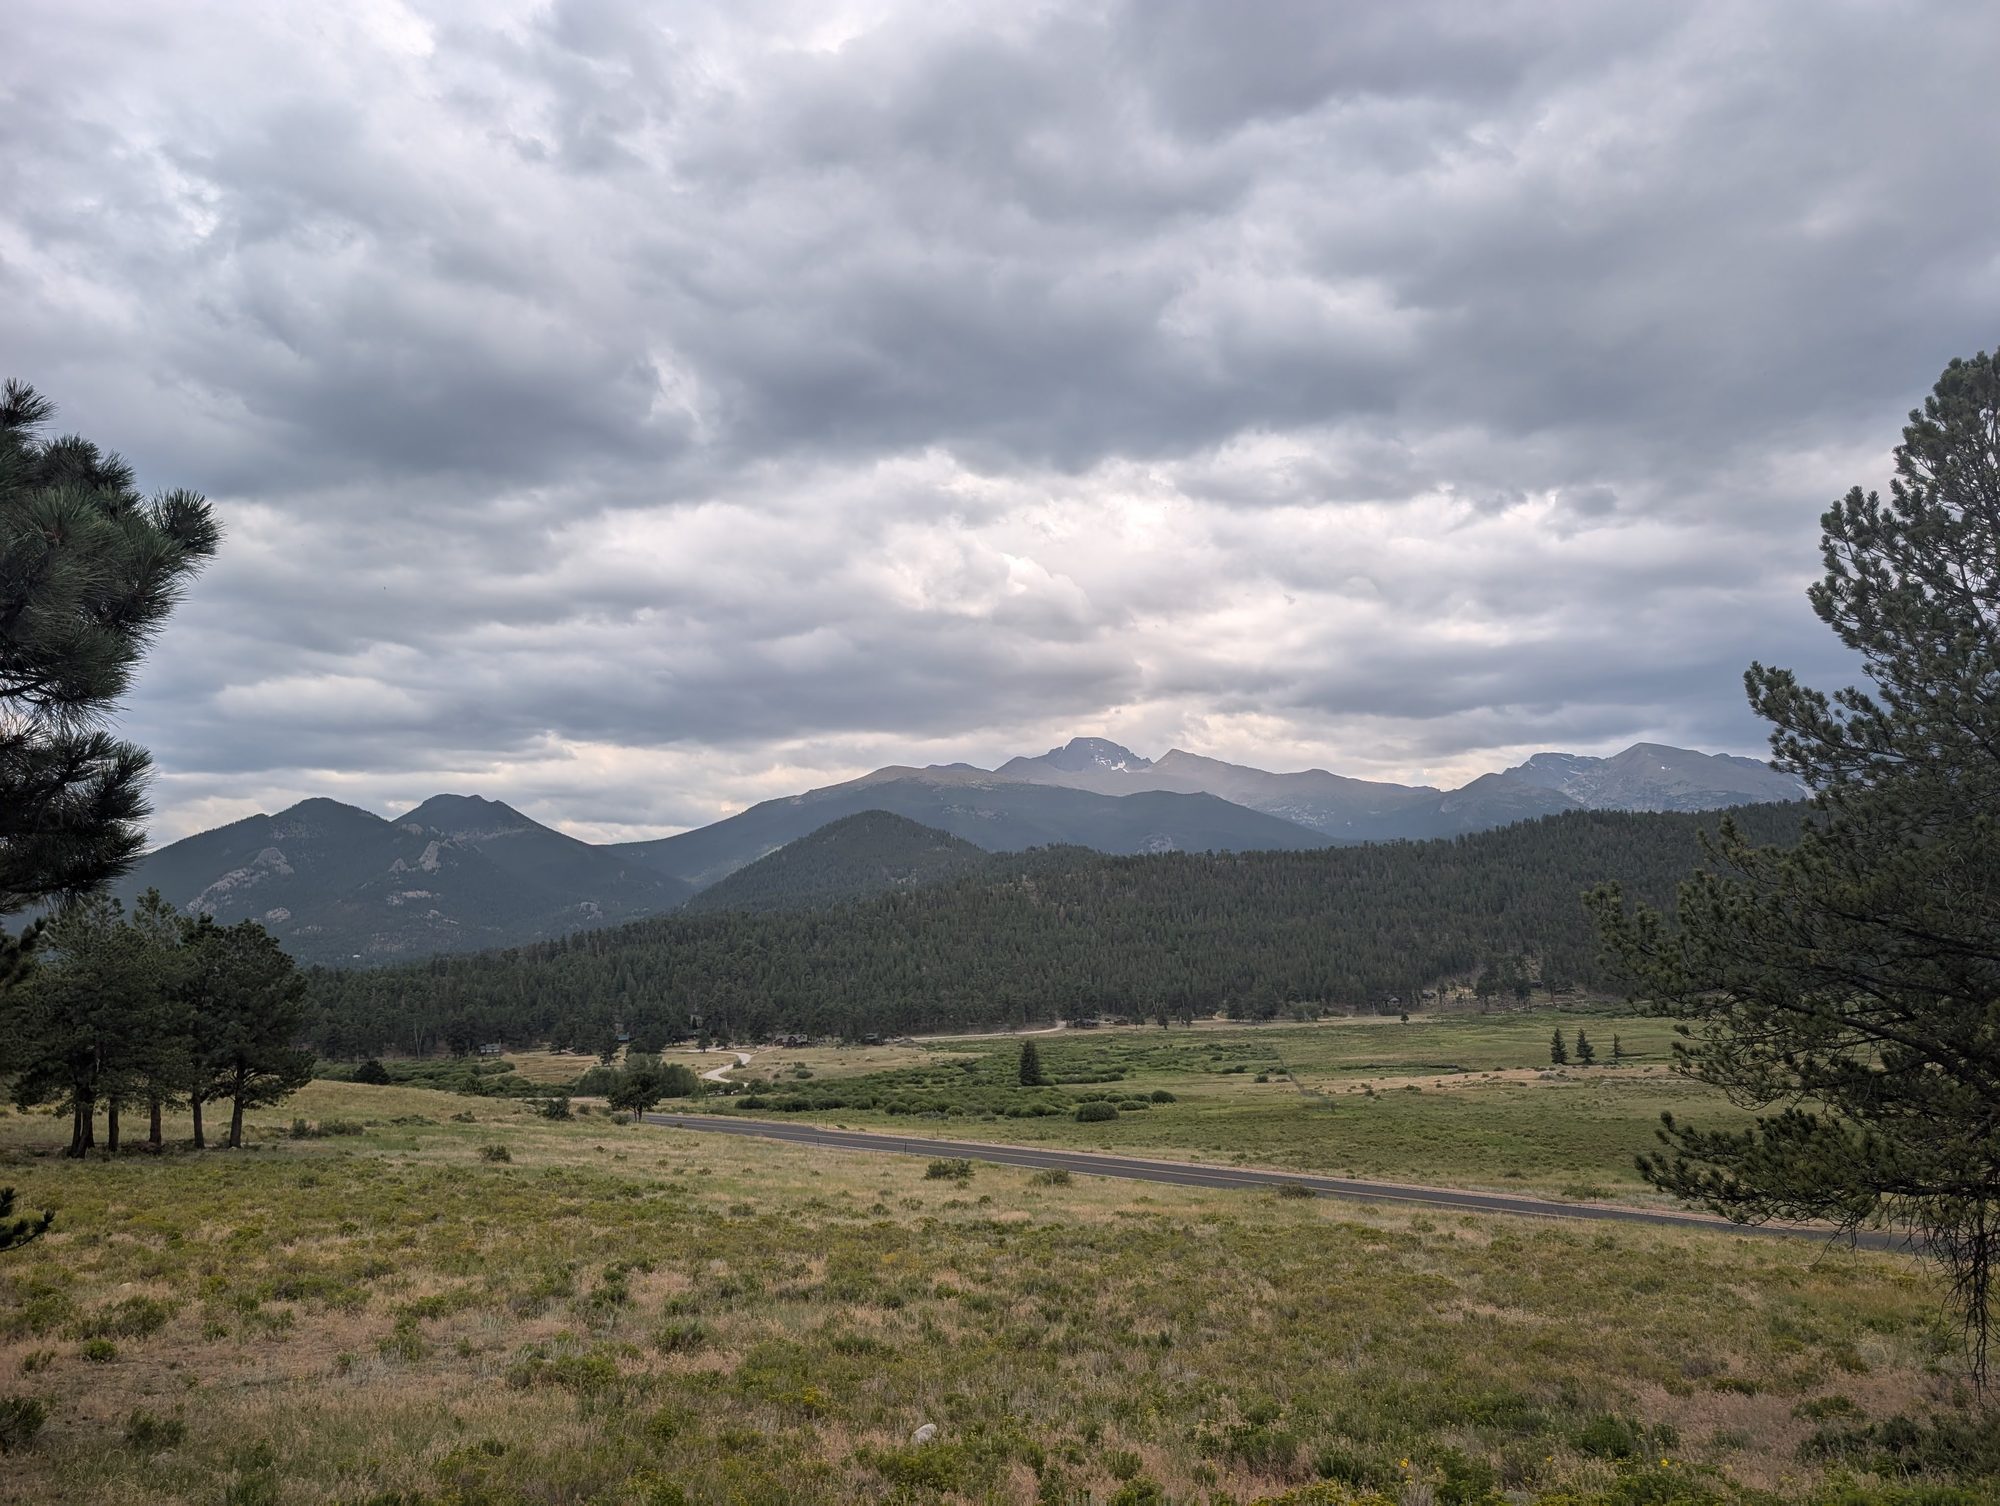
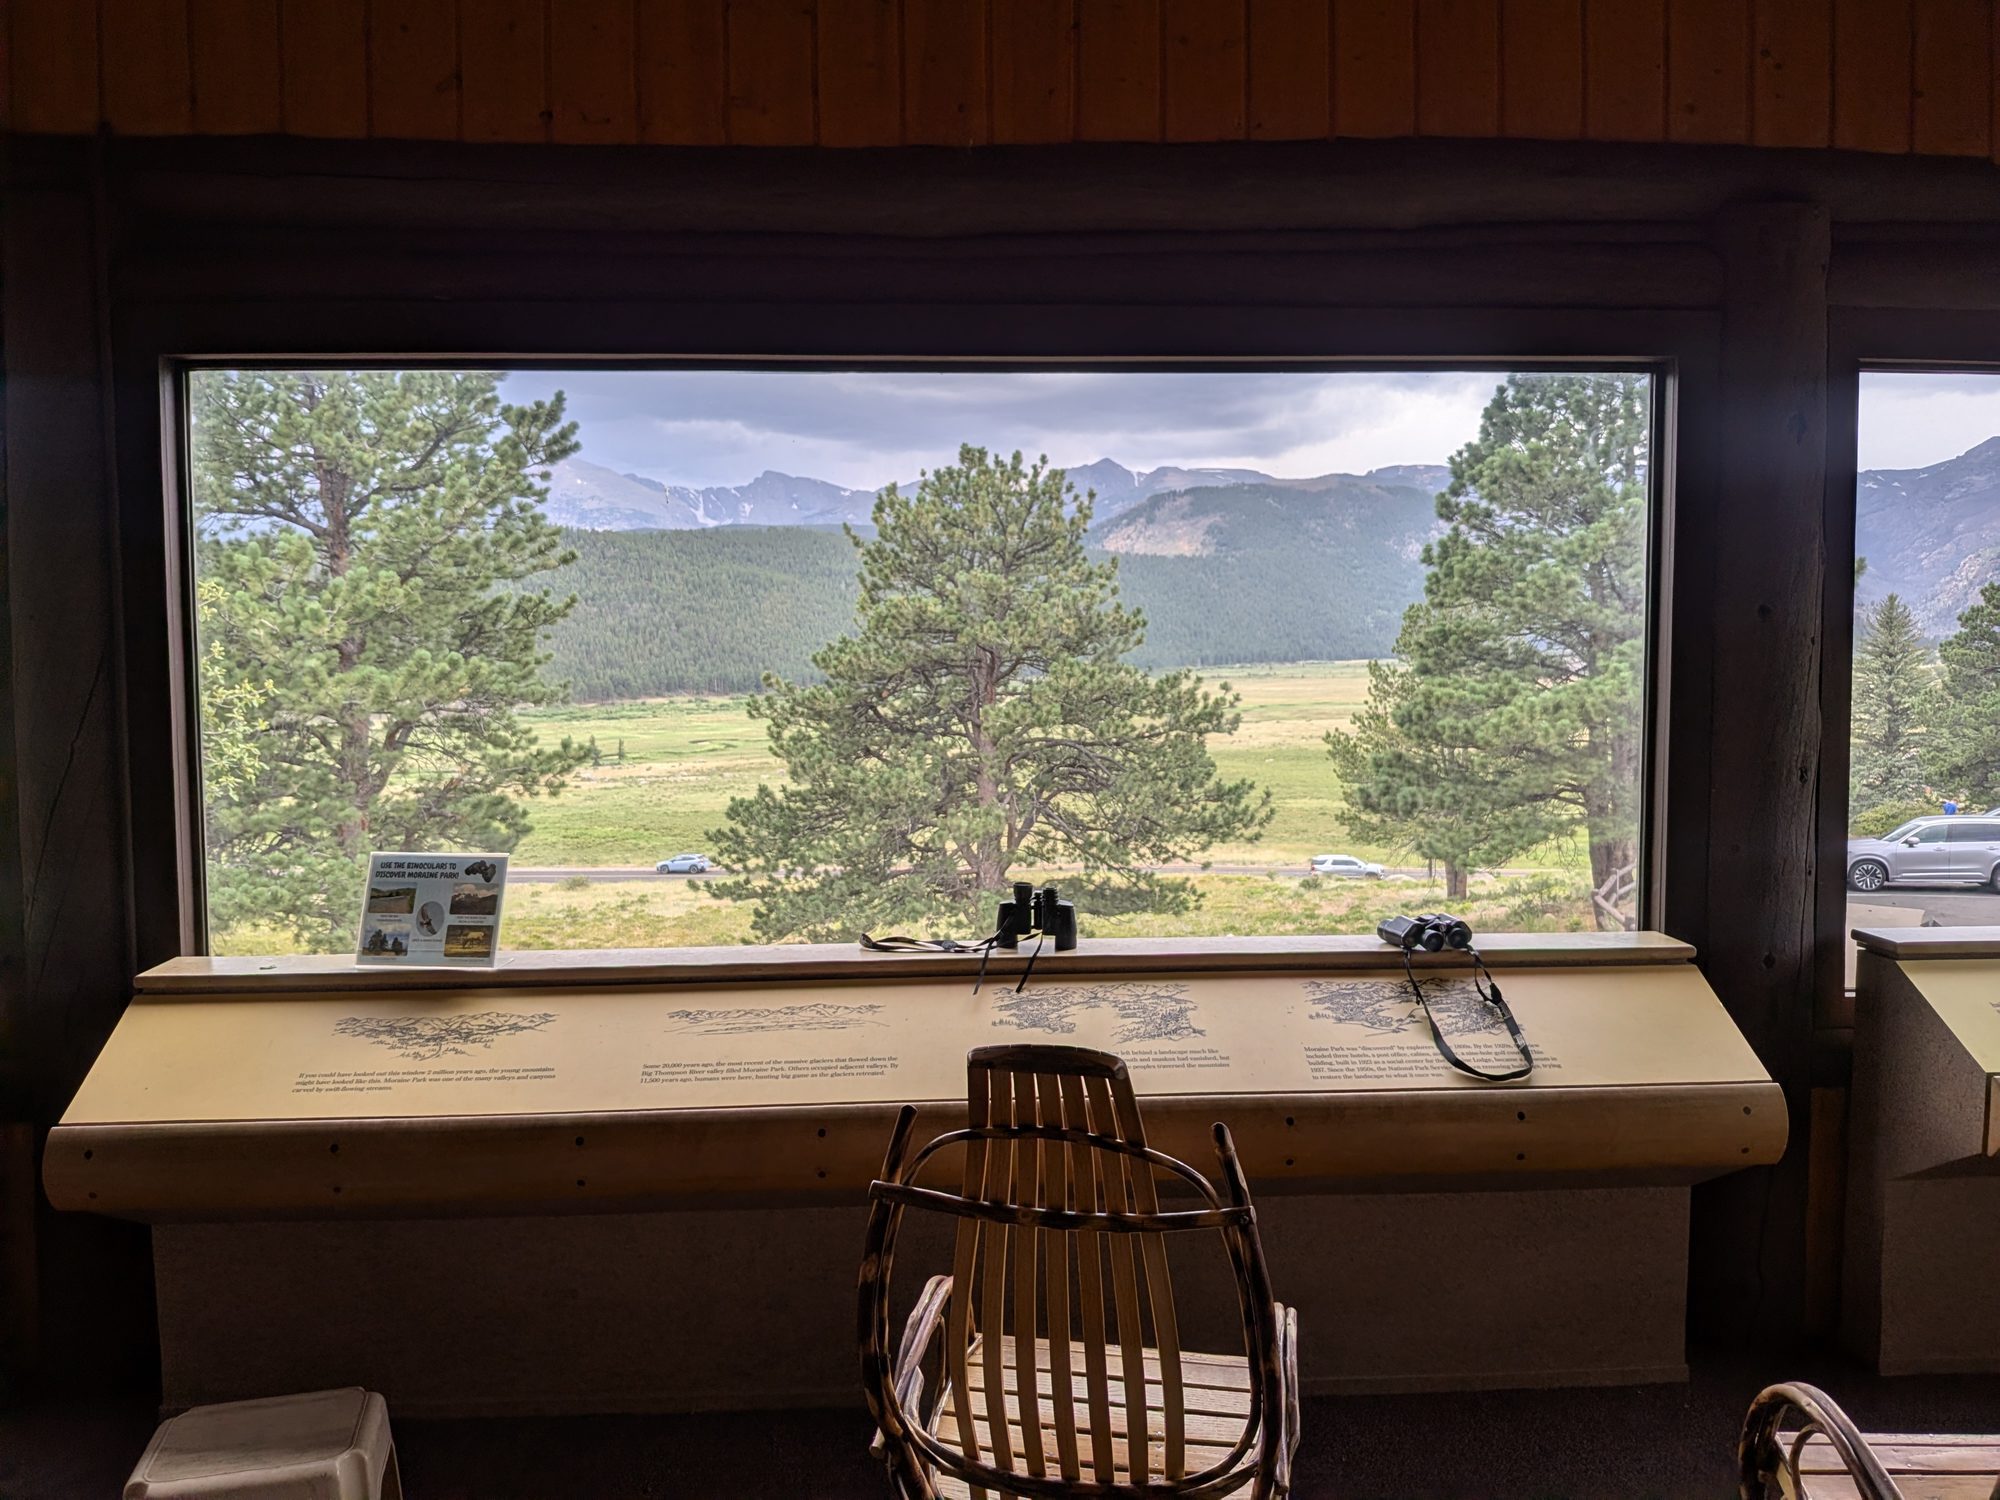
We finished the day at Moraine Park, a huge open meadow with the mountains all around it. It's one of the best places in the park to scan for elk, especially early or late in the day. The Moraine Park Discovery Center has small, kid-friendly exhibits about glaciers and geology, plus a big picture window looking out over the meadow.
Is Rocky Mountain National Park Good for Kids?
Yes, as long as you plan around altitude and reservations. Here's how we'd match this itinerary to different ages:
- Under 6: Stick to the Trail Ridge Road overlooks, the Bear Lake Loop, Sprague Lake, and Moraine Park. All are short and mostly flat.
- Ages 6 to 9: Add Nymph Lake. Dream Lake is possible with breaks and plenty of snacks.
- Ages 10 and up: Dream Lake is a great fit. Our 10-year-old handled it well. Emerald Lake is a reasonable stretch goal for active kids.
Altitude matters. Estes Park is about 7,500 feet, and the Alpine Visitor Center is close to 12,000. Drink lots of water, go slow on the first day, and watch for headaches or unusual tiredness in kids.
Where to Stay and Eat
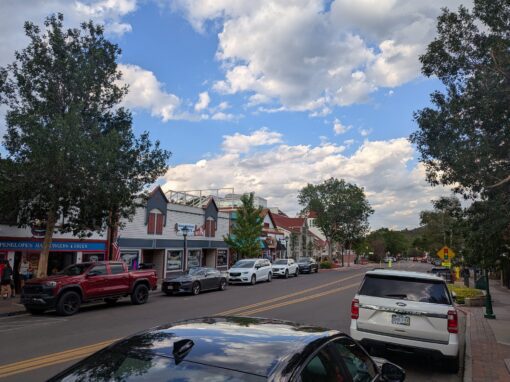
We based ourselves in Estes Park for three nights, which put us about 15 minutes from the Beaver Meadows Entrance. Our Estes Park family guide covers the drive from Denver International Airport, our hotel, the Riverwalk, and the restaurants we tried, including how they handled food allergies.
FAQ
Do you need a reservation for Rocky Mountain National Park?
From late May to mid-October, yes. You need a timed entry reservation to enter between 9 a.m. and 2 p.m., and a separate Timed Entry+ reservation for Bear Lake Road between 5 a.m. and 6 p.m. Book on Recreation.gov.
How long does Trail Ridge Road take with kids?
Plan on most of a day from Estes Park if you stop at the main overlooks and the Alpine Visitor Center. The drive itself is shorter, but you'll want time at each stop.
Is the Dream Lake hike hard for kids?
It's a moderate hike. It's about 2.2 miles round trip with roughly 474 feet of gain, uphill the whole way out. Most kids 6 and up can do it with breaks, water, and snacks.
Is the Bear Lake shuttle free?
Yes. The park shuttles from the Park & Ride to Bear Lake and Moraine Park are free with park entry. The Hiker Shuttle from the Estes Park Visitor Center needs a $2 ticket on Recreation.gov.
Can you buy food in Rocky Mountain National Park?
The main option is the cafe at the Alpine Visitor Center on Trail Ridge Road. There's no food on Bear Lake Road, so pack lunch and snacks, especially if anyone in your family has food allergies.
Final Thoughts
Two days gave us a great feel for Rocky Mountain National Park without wearing anyone out: one high-altitude scenic drive and one moderate lake hike. If you're planning a trip, book your timed entry the day reservations open, start each day early, and bring plenty of water. Then check our Estes Park guide to plan the rest of the trip.

0 Comments