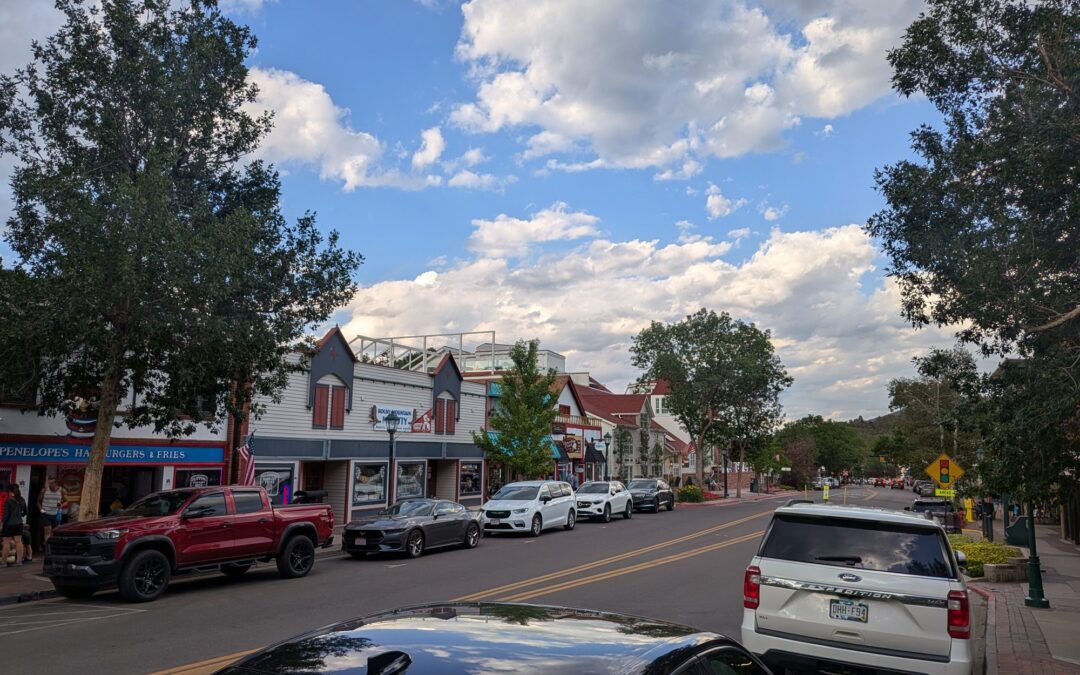
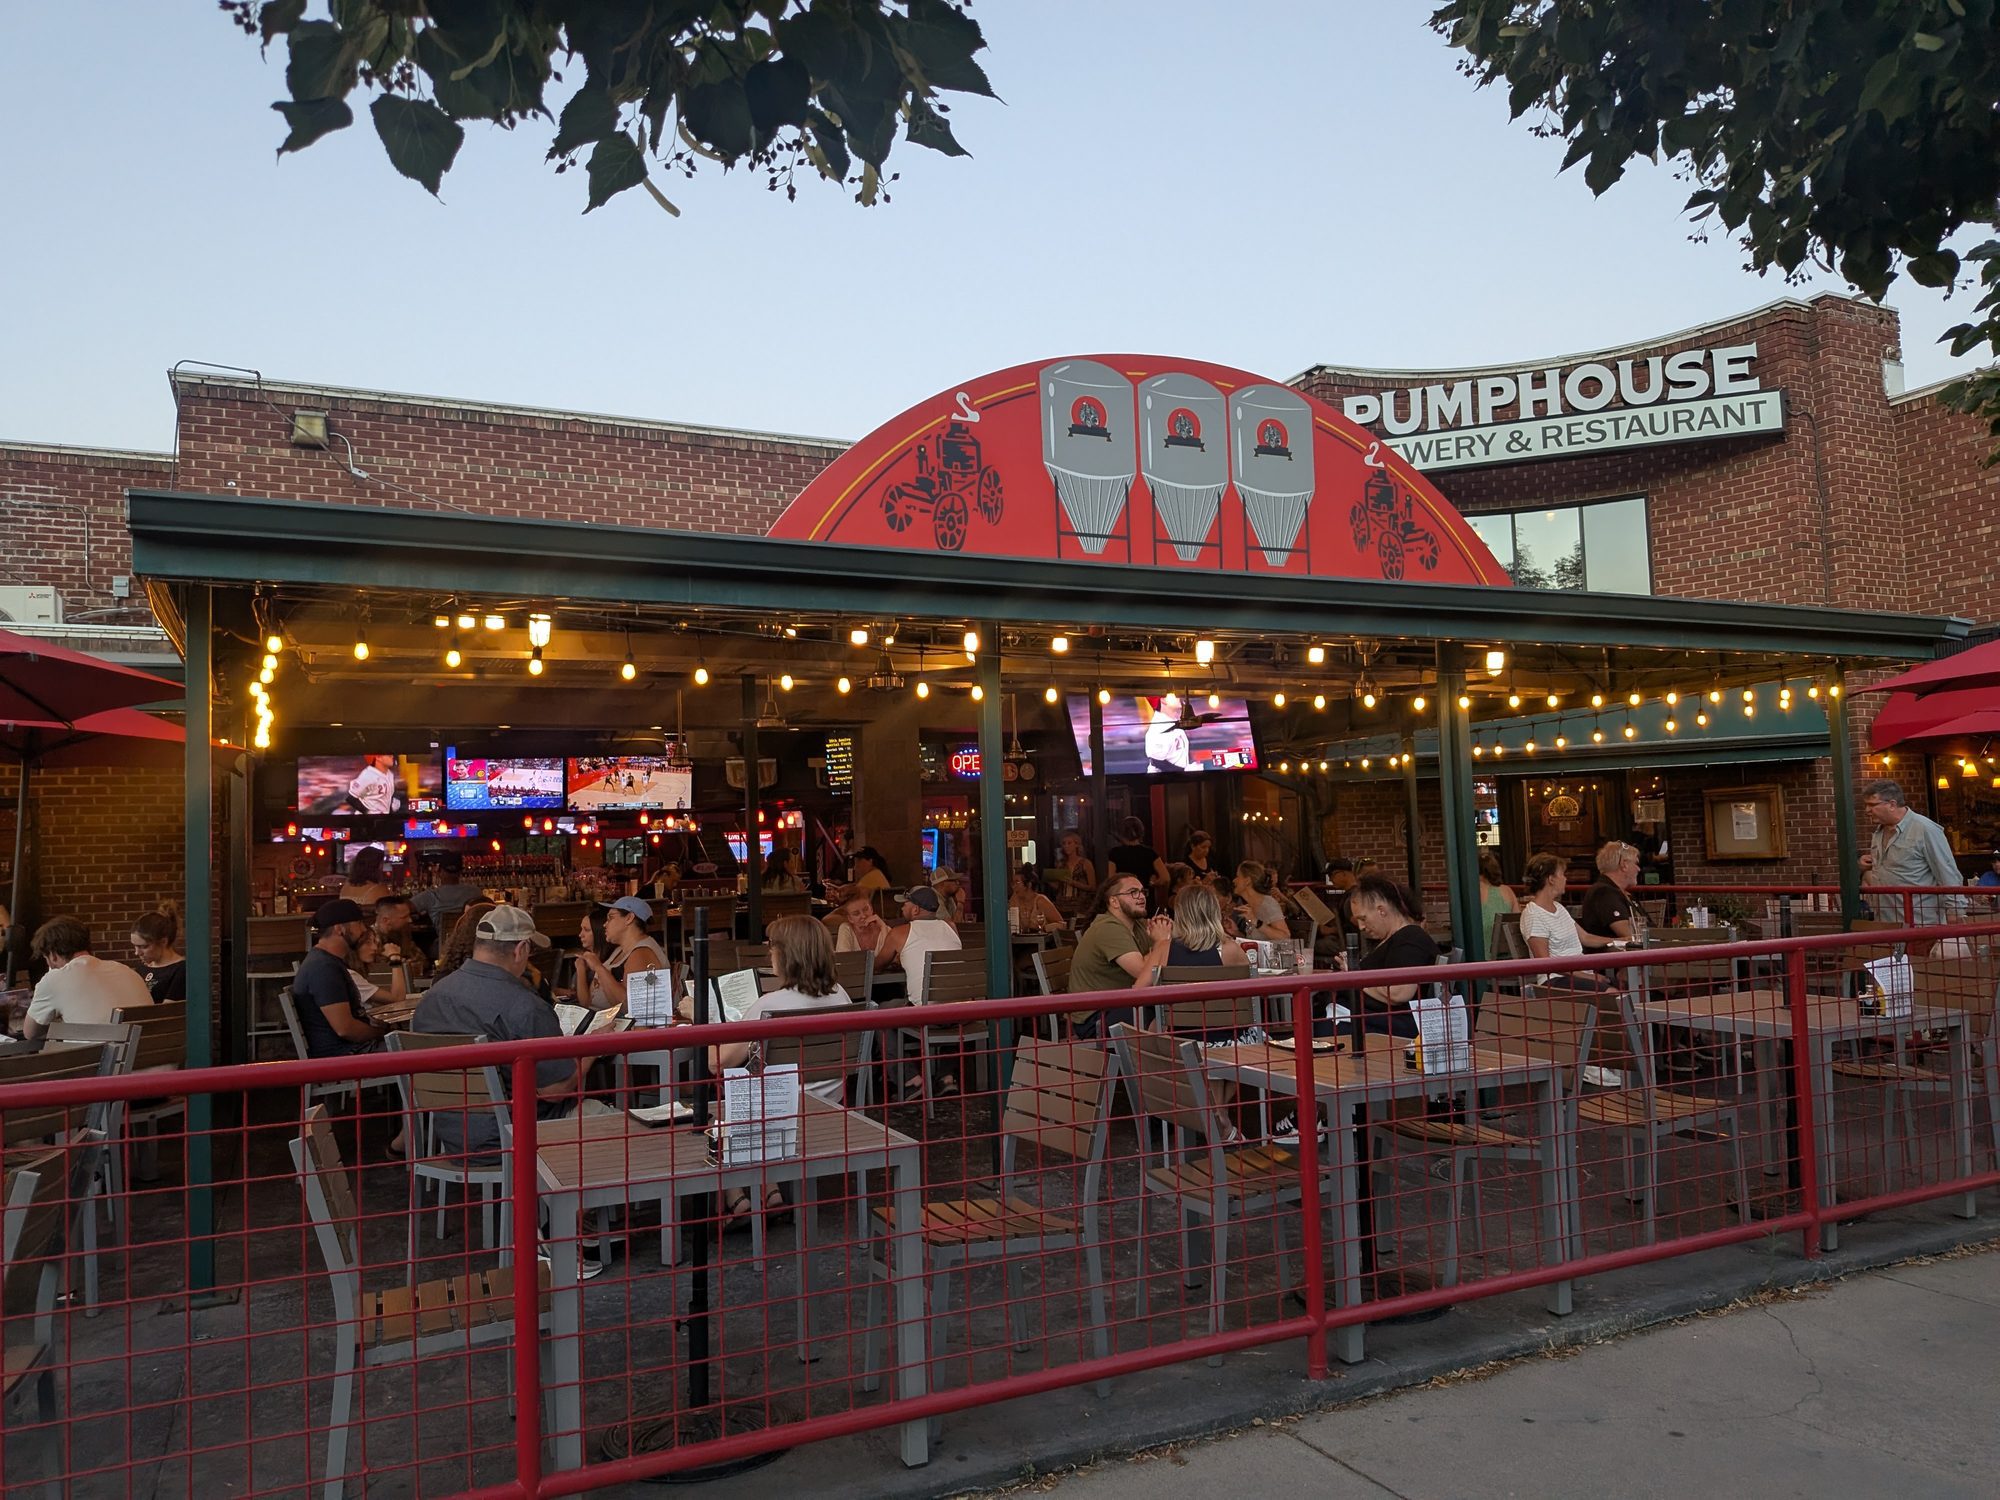
If you're planning a trip to Estes Park with kids, most of your time will probably go to Rocky Mountain National Park. But where you stay, how you get there from Denver, and where you eat shape the whole trip. We spent three nights in Estes Park in mid-July with our 10-year-old. This guide covers everything outside the park: the drive from Denver International Airport, our halfway dinner stop in Longmont, our hotel, the Riverwalk, and the restaurants we tried.
Getting there: About a 1.5 to 2 hour drive from Denver International Airport. You'll need a rental car.
Halfway stop: Pumphouse Brewery in Longmont. Good food, a big beer list, and they handled our son's food allergies well.
Where we stayed: Expedition Lodge Estes Park. Dated but comfortable, with a great second-floor patio and an arcade room. The included breakfast is basic.
Where we ate: Indian Bites for dinner (they were fine with us bringing outside food for our son) and Rocky Mountain Crepe Company for breakfast.
Evening plan: A stroll along the Estes Park Riverwalk through downtown.
Getting from Denver International Airport to Estes Park
Denver International Airport is big, so give yourself time between landing and driving away. Here's how it went for us on a Tuesday evening in July:
Take the train to the main terminal. We landed at the C gates, and the A, B, and C concourses all connect to the main terminal by train. It runs frequently and is easy to follow.
Check which side the rental car shuttles are leaving from. When we arrived, the rental car shuttles were only running from the West side of the terminal. Follow the signs and confirm before you wait in the wrong spot.
Allow about 30 minutes for the rental car. That's roughly what it took us to get from the shuttle to driving out of the lot.
Plan on 1.5 to 2 hours of driving. The drive to Estes Park is around 70 miles. Longmont is roughly the halfway point, which makes it a natural place to stop for dinner.
You really do need a car for Estes Park. The park entrances, trailheads, and Park & Ride are spread out. We'd compare prices on Rentalcars.com before you book, since airport rates can vary a lot by week.
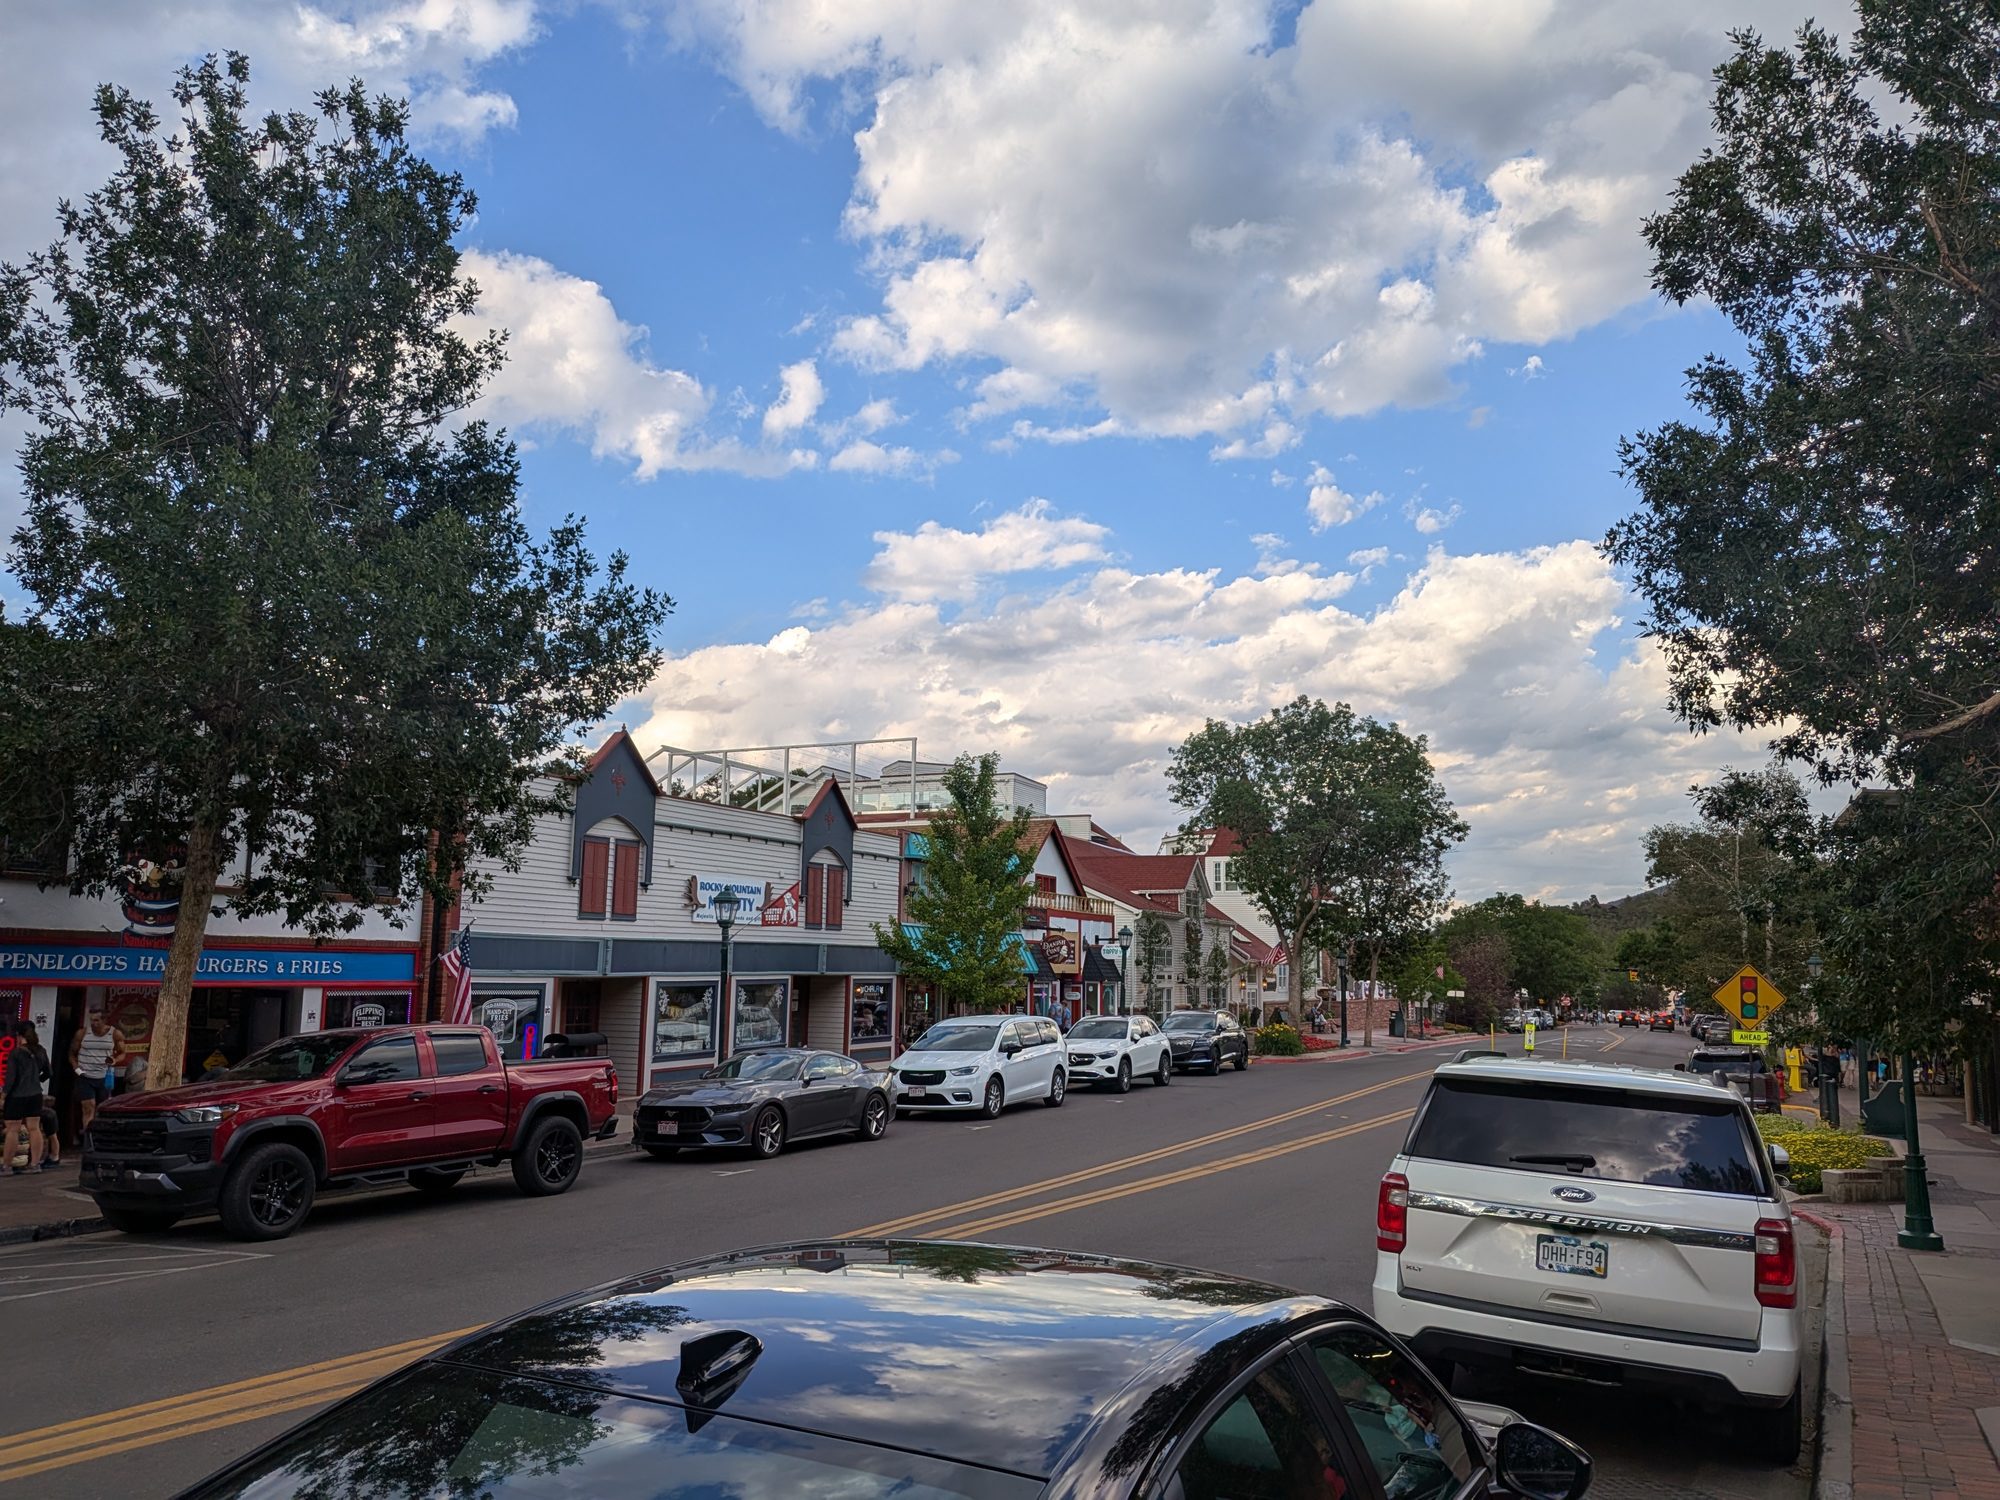
Sunset over the Front Range on our drive toward Estes Park
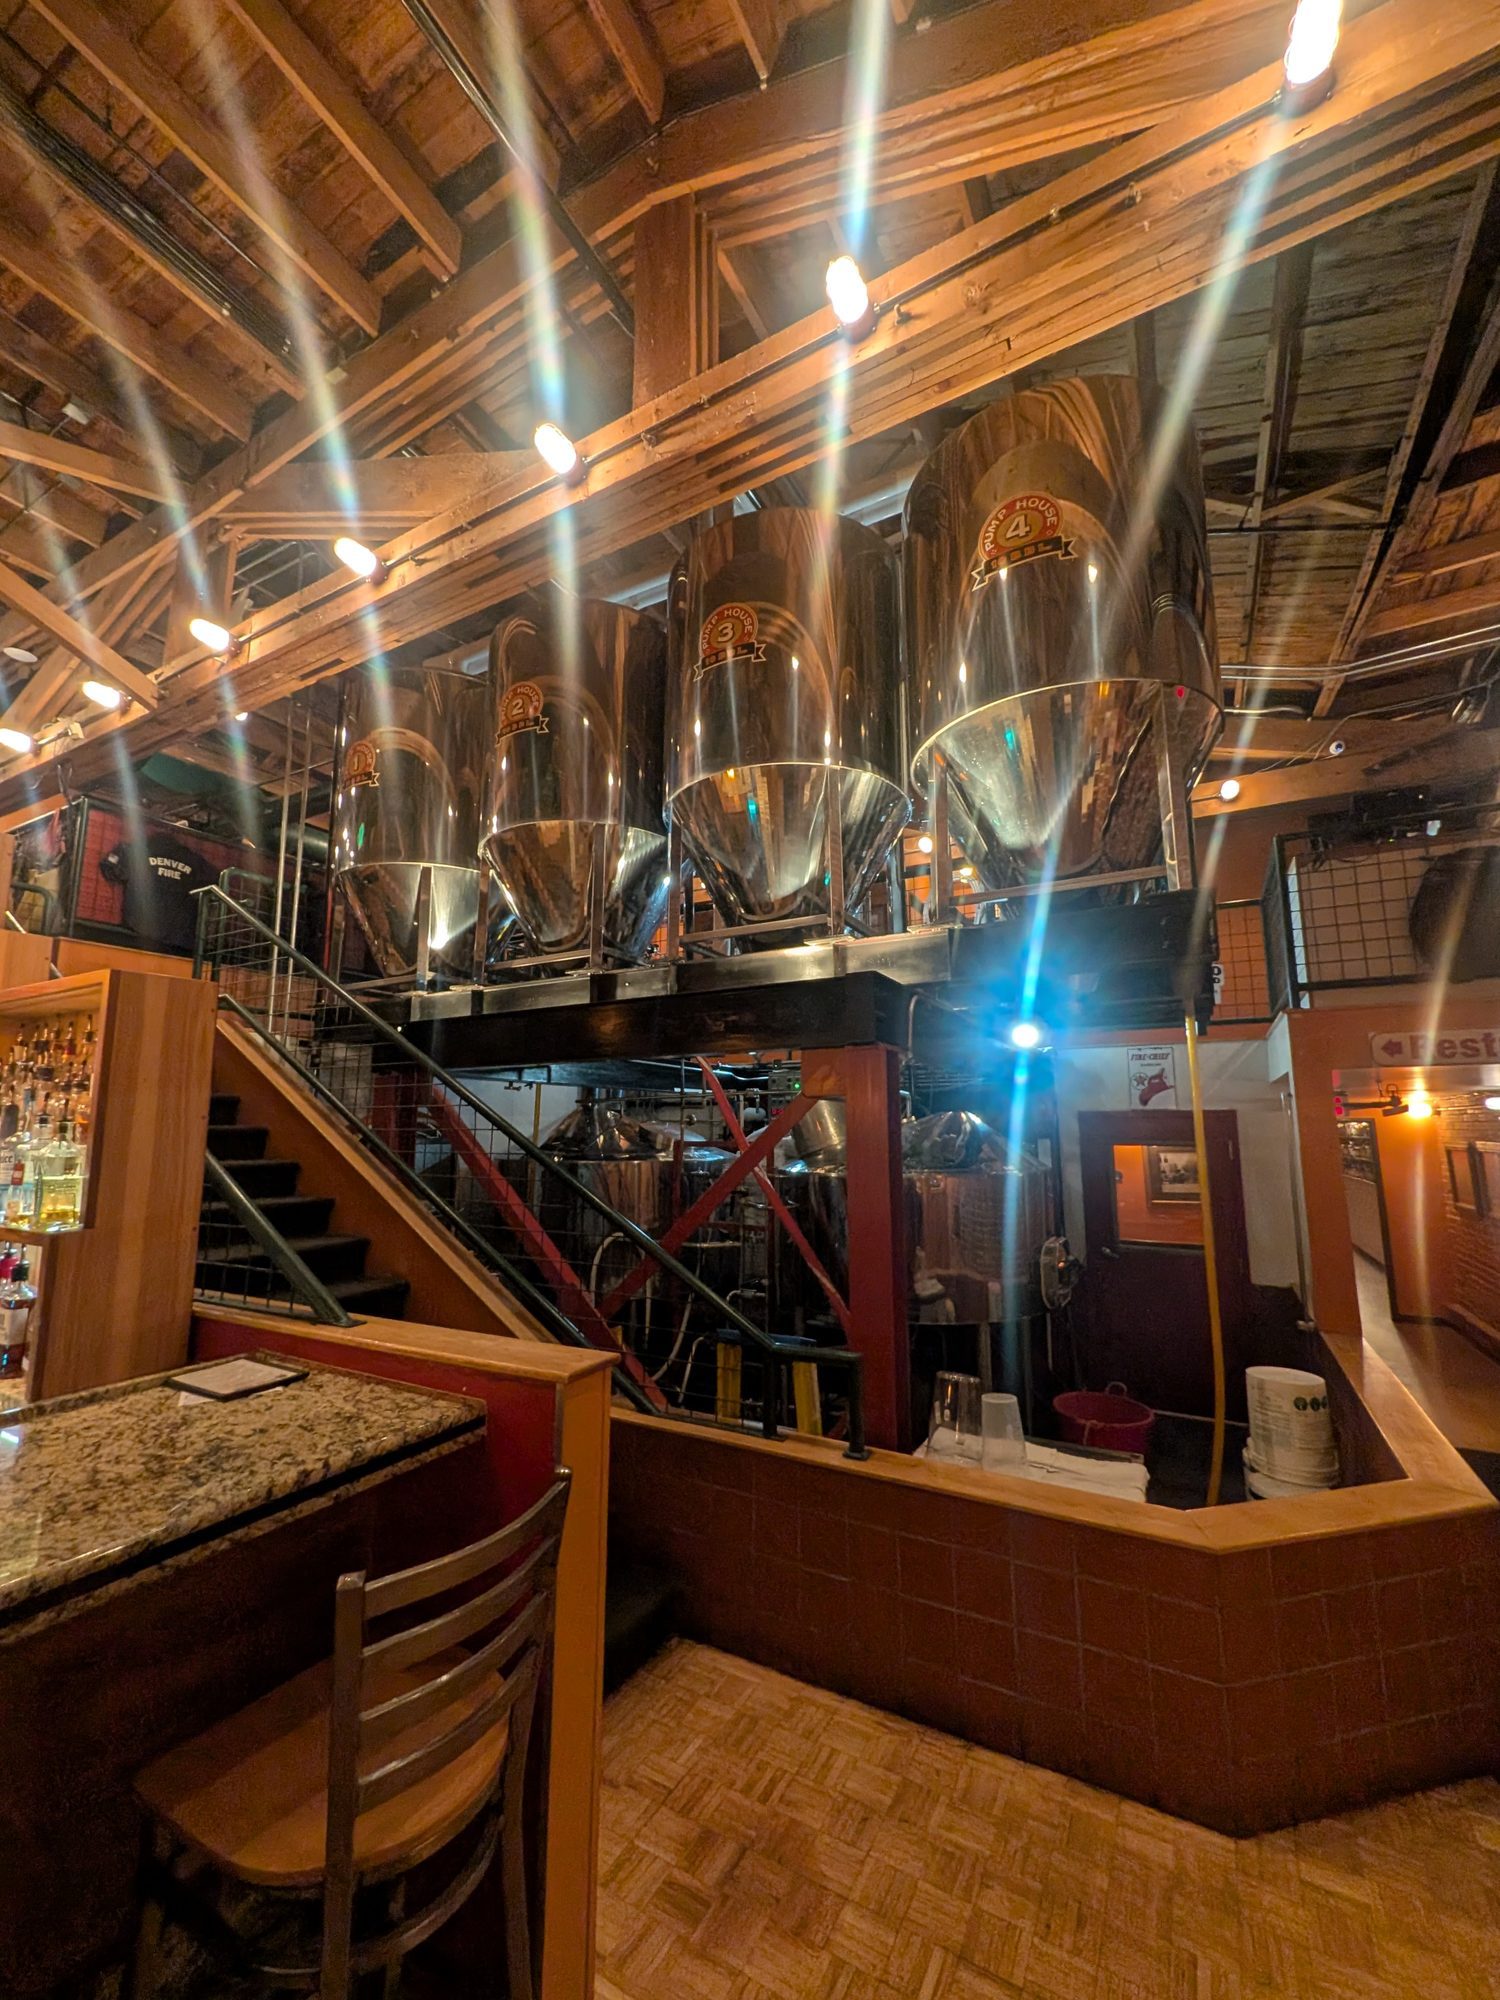
Pumphouse Brewery in Longmont: Our Halfway Dinner Stop
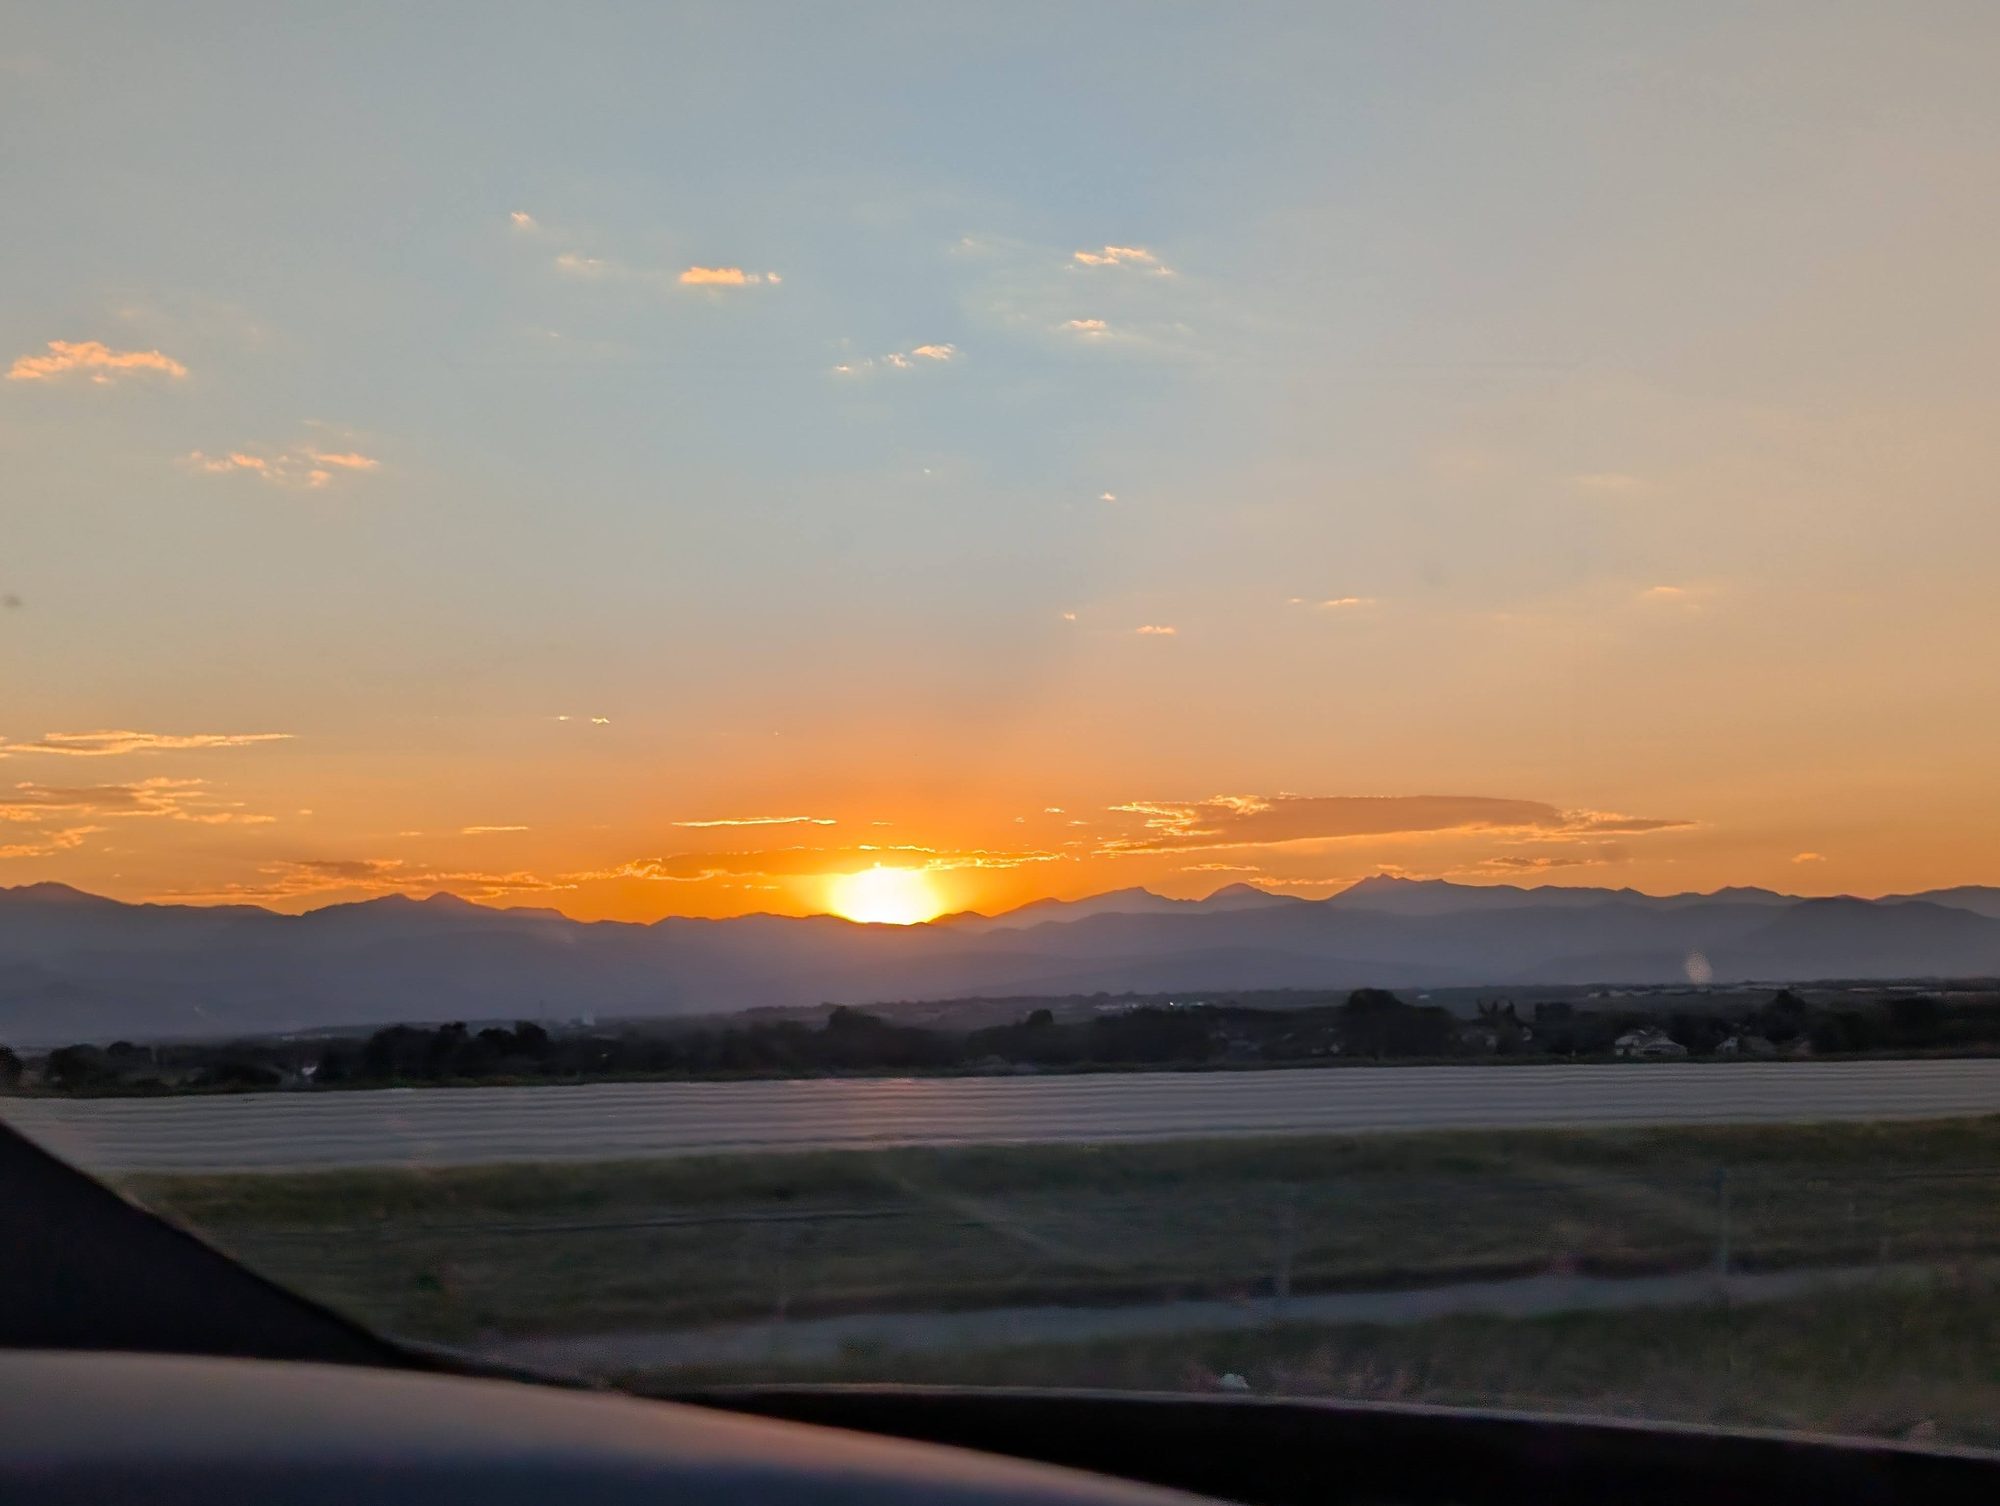
We wanted something quick, on the way, and not in Denver traffic. Pumphouse Brewery on Main Street in Longmont turned out to be a great call. Longmont has plenty of food options, but this one was right on our route. It's been brewing since 1996.
The atmosphere was lively, with a busy patio and sports on the TVs inside, and service was good. The menu is big: starters, burgers, salads, sandwiches and wraps, and pub favorites. Here's what we ordered:
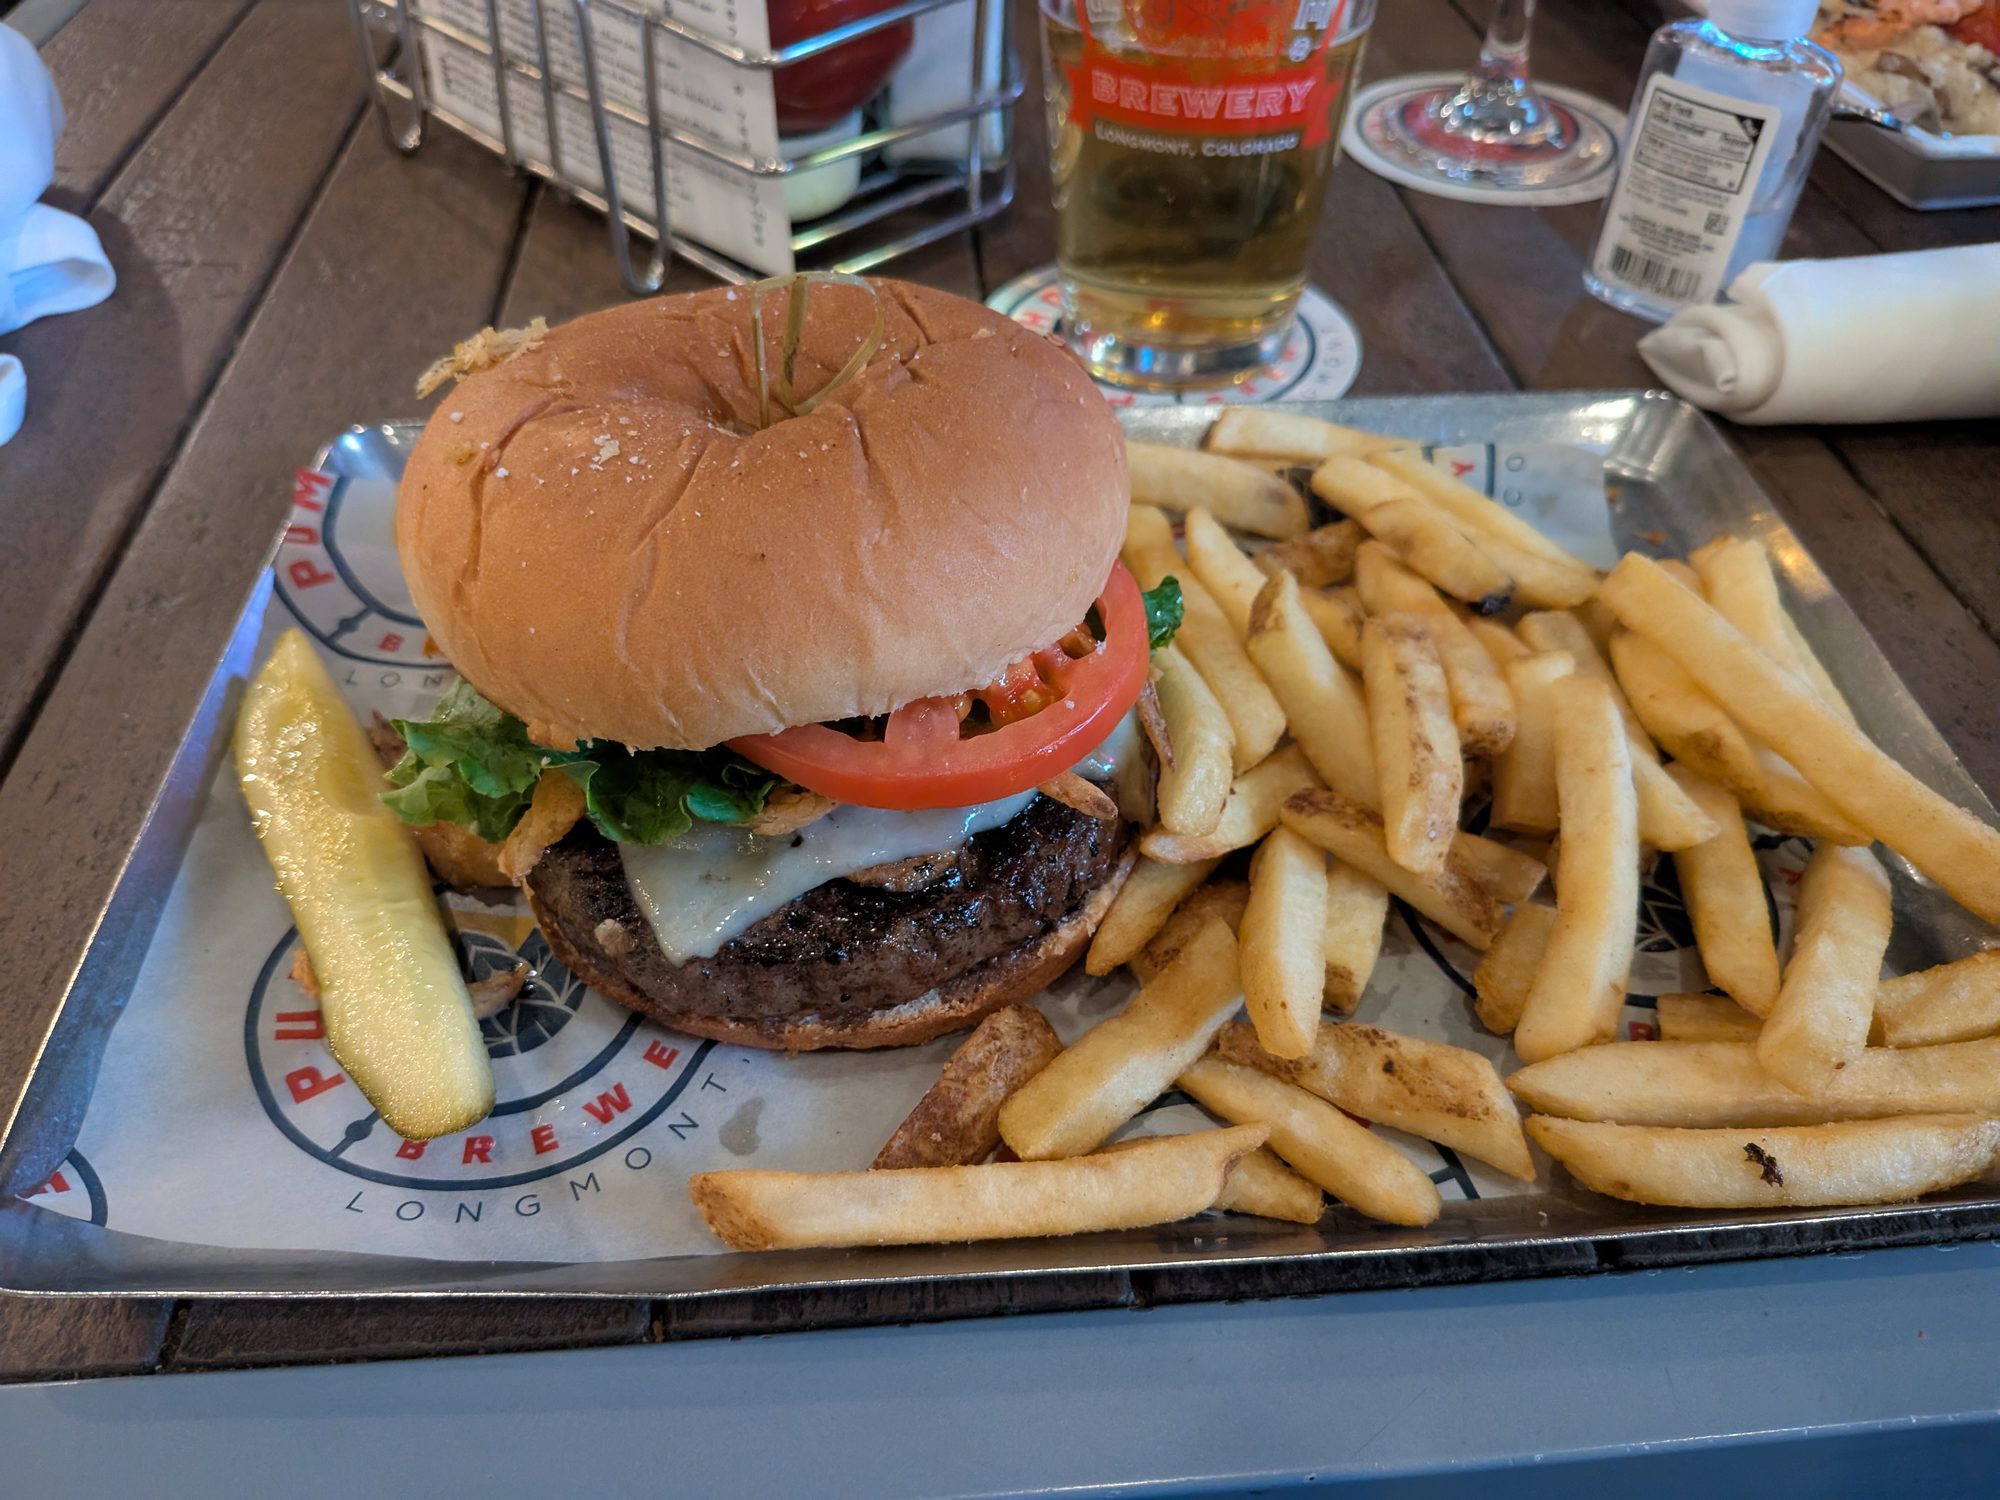
Whiskey burger: A big burger with fries and a pickle. Really good.
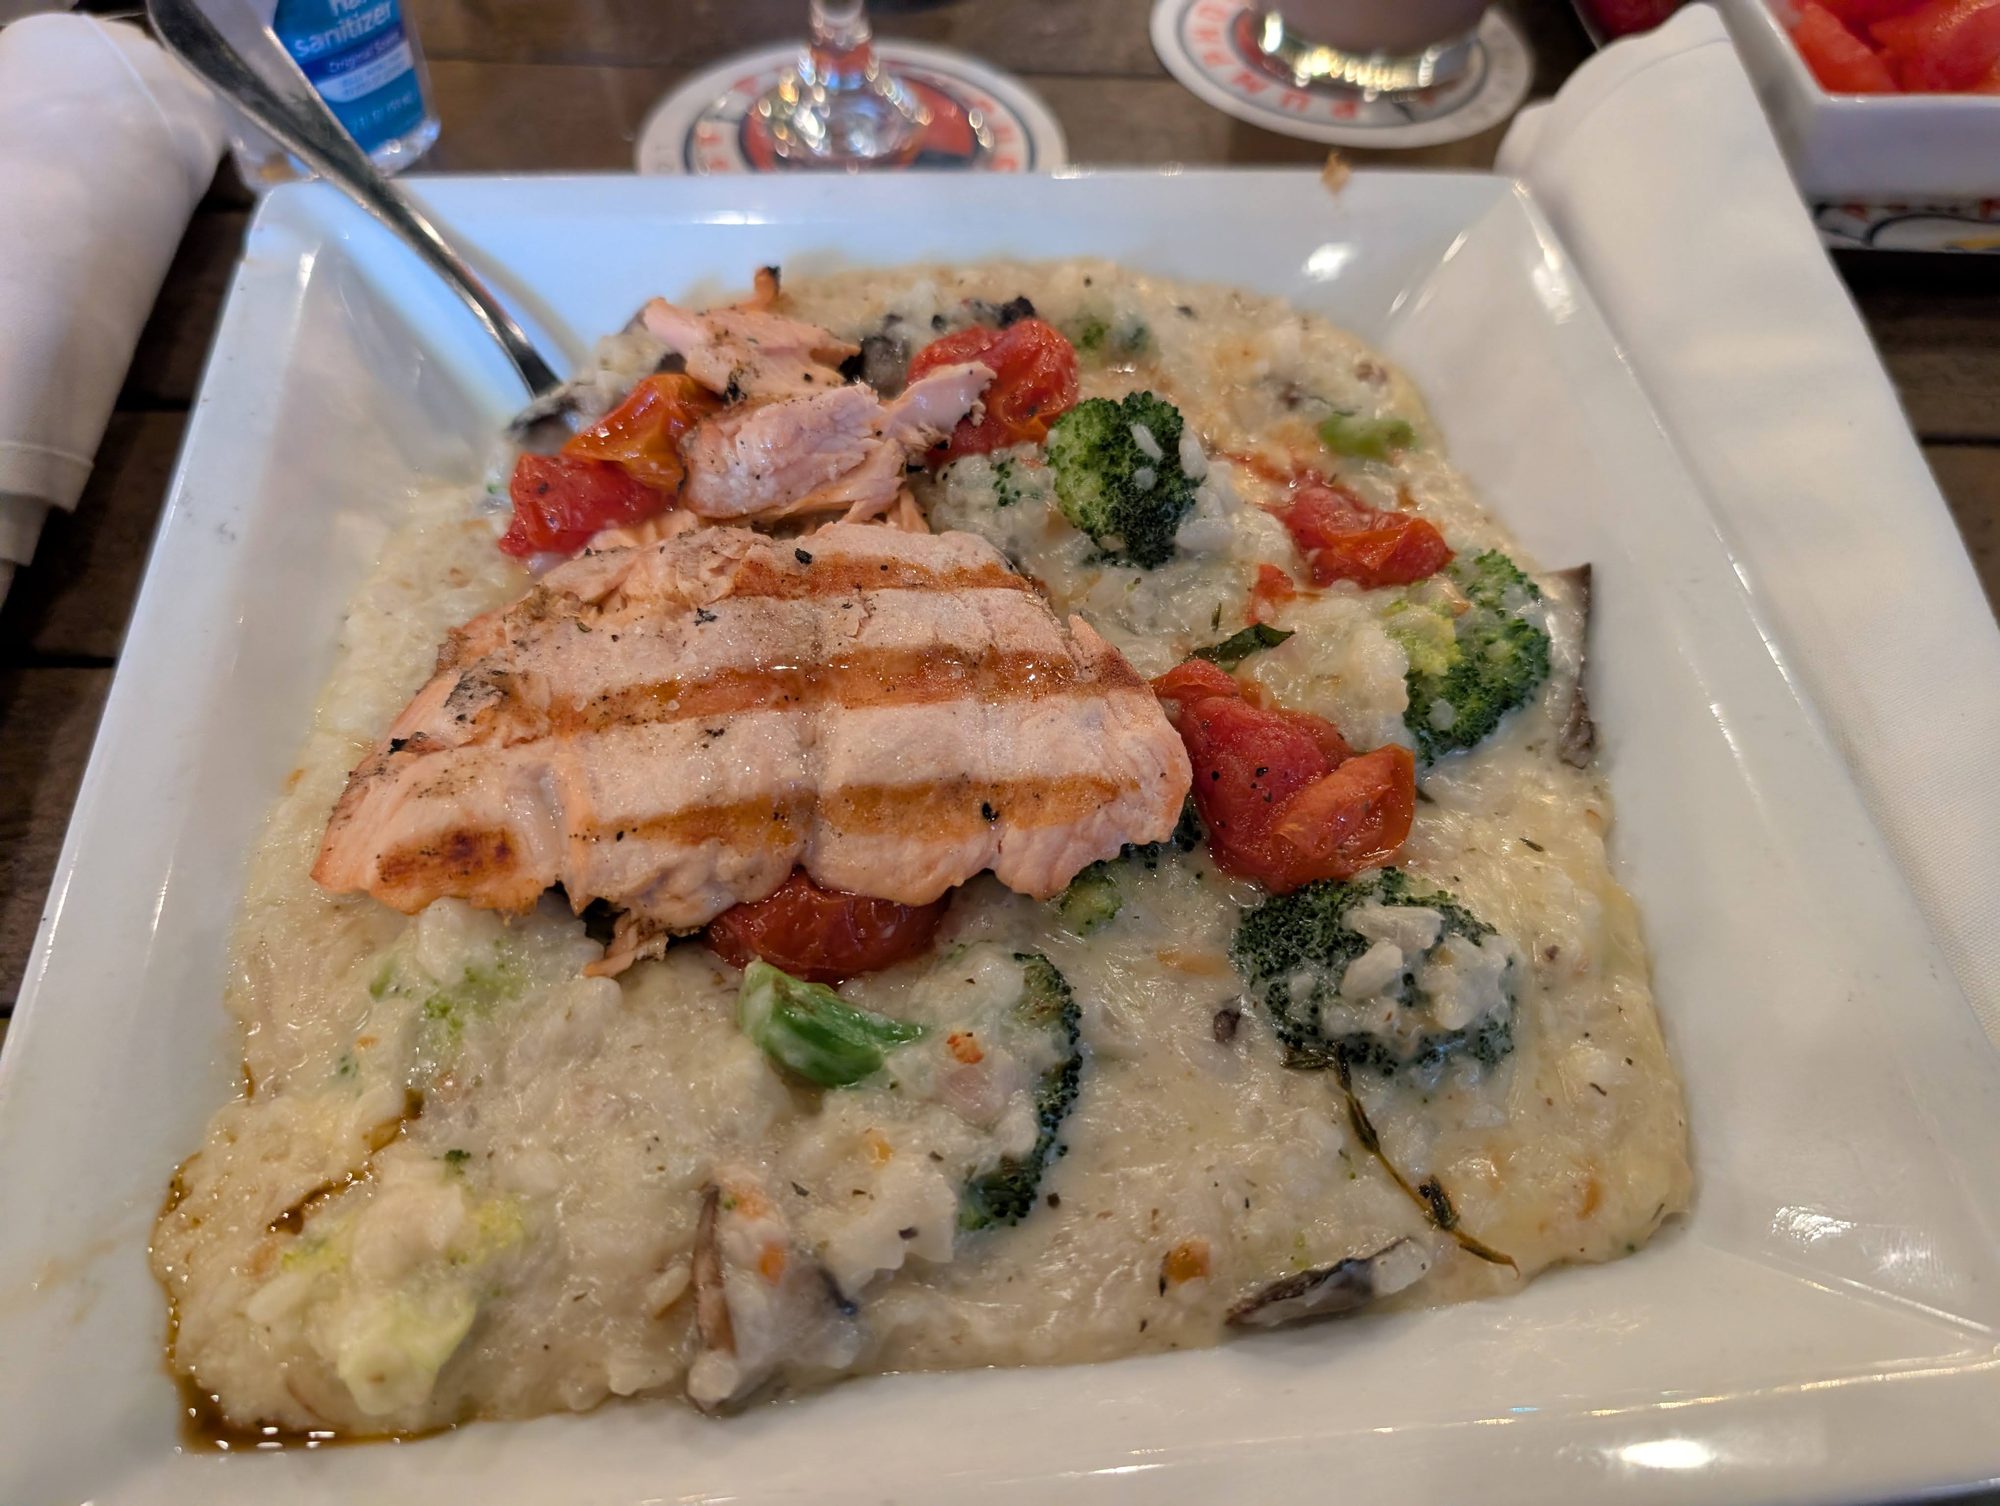
Salmon with risotto: Grilled salmon over a creamy vegetable risotto. A nice option if you want something lighter than pub food.
Club sandwich: Our son's pick. Simple and kid-friendly.
The whiskey burger and the salmon with risotto
The Beer
The beer selection is a highlight. Pumphouse brews its own core lineup, including the Firelight kölsch, Wildfire wheat, Flashpoint IPA, Overflow hazy double IPA, and Red Alert amber, plus rotating seasonal taps. There's also a long list of guest cans and bottles. The guest list included gluten-free beers when we visited, which is a nice touch if anyone in your group avoids gluten.
A Pumphouse pint
How They Handled Food Allergies
Our son has multiple food allergies, and the staff managed them pretty well. With a menu this large, there are plenty of simple dishes that are easier to adjust. Always confirm ingredients with your server, but we'd feel comfortable coming back.
Our verdict: Good food, good service, great beer, and an easy stop on the way to Estes Park. We'd go back.
Where to Stay in Estes Park: Expedition Lodge
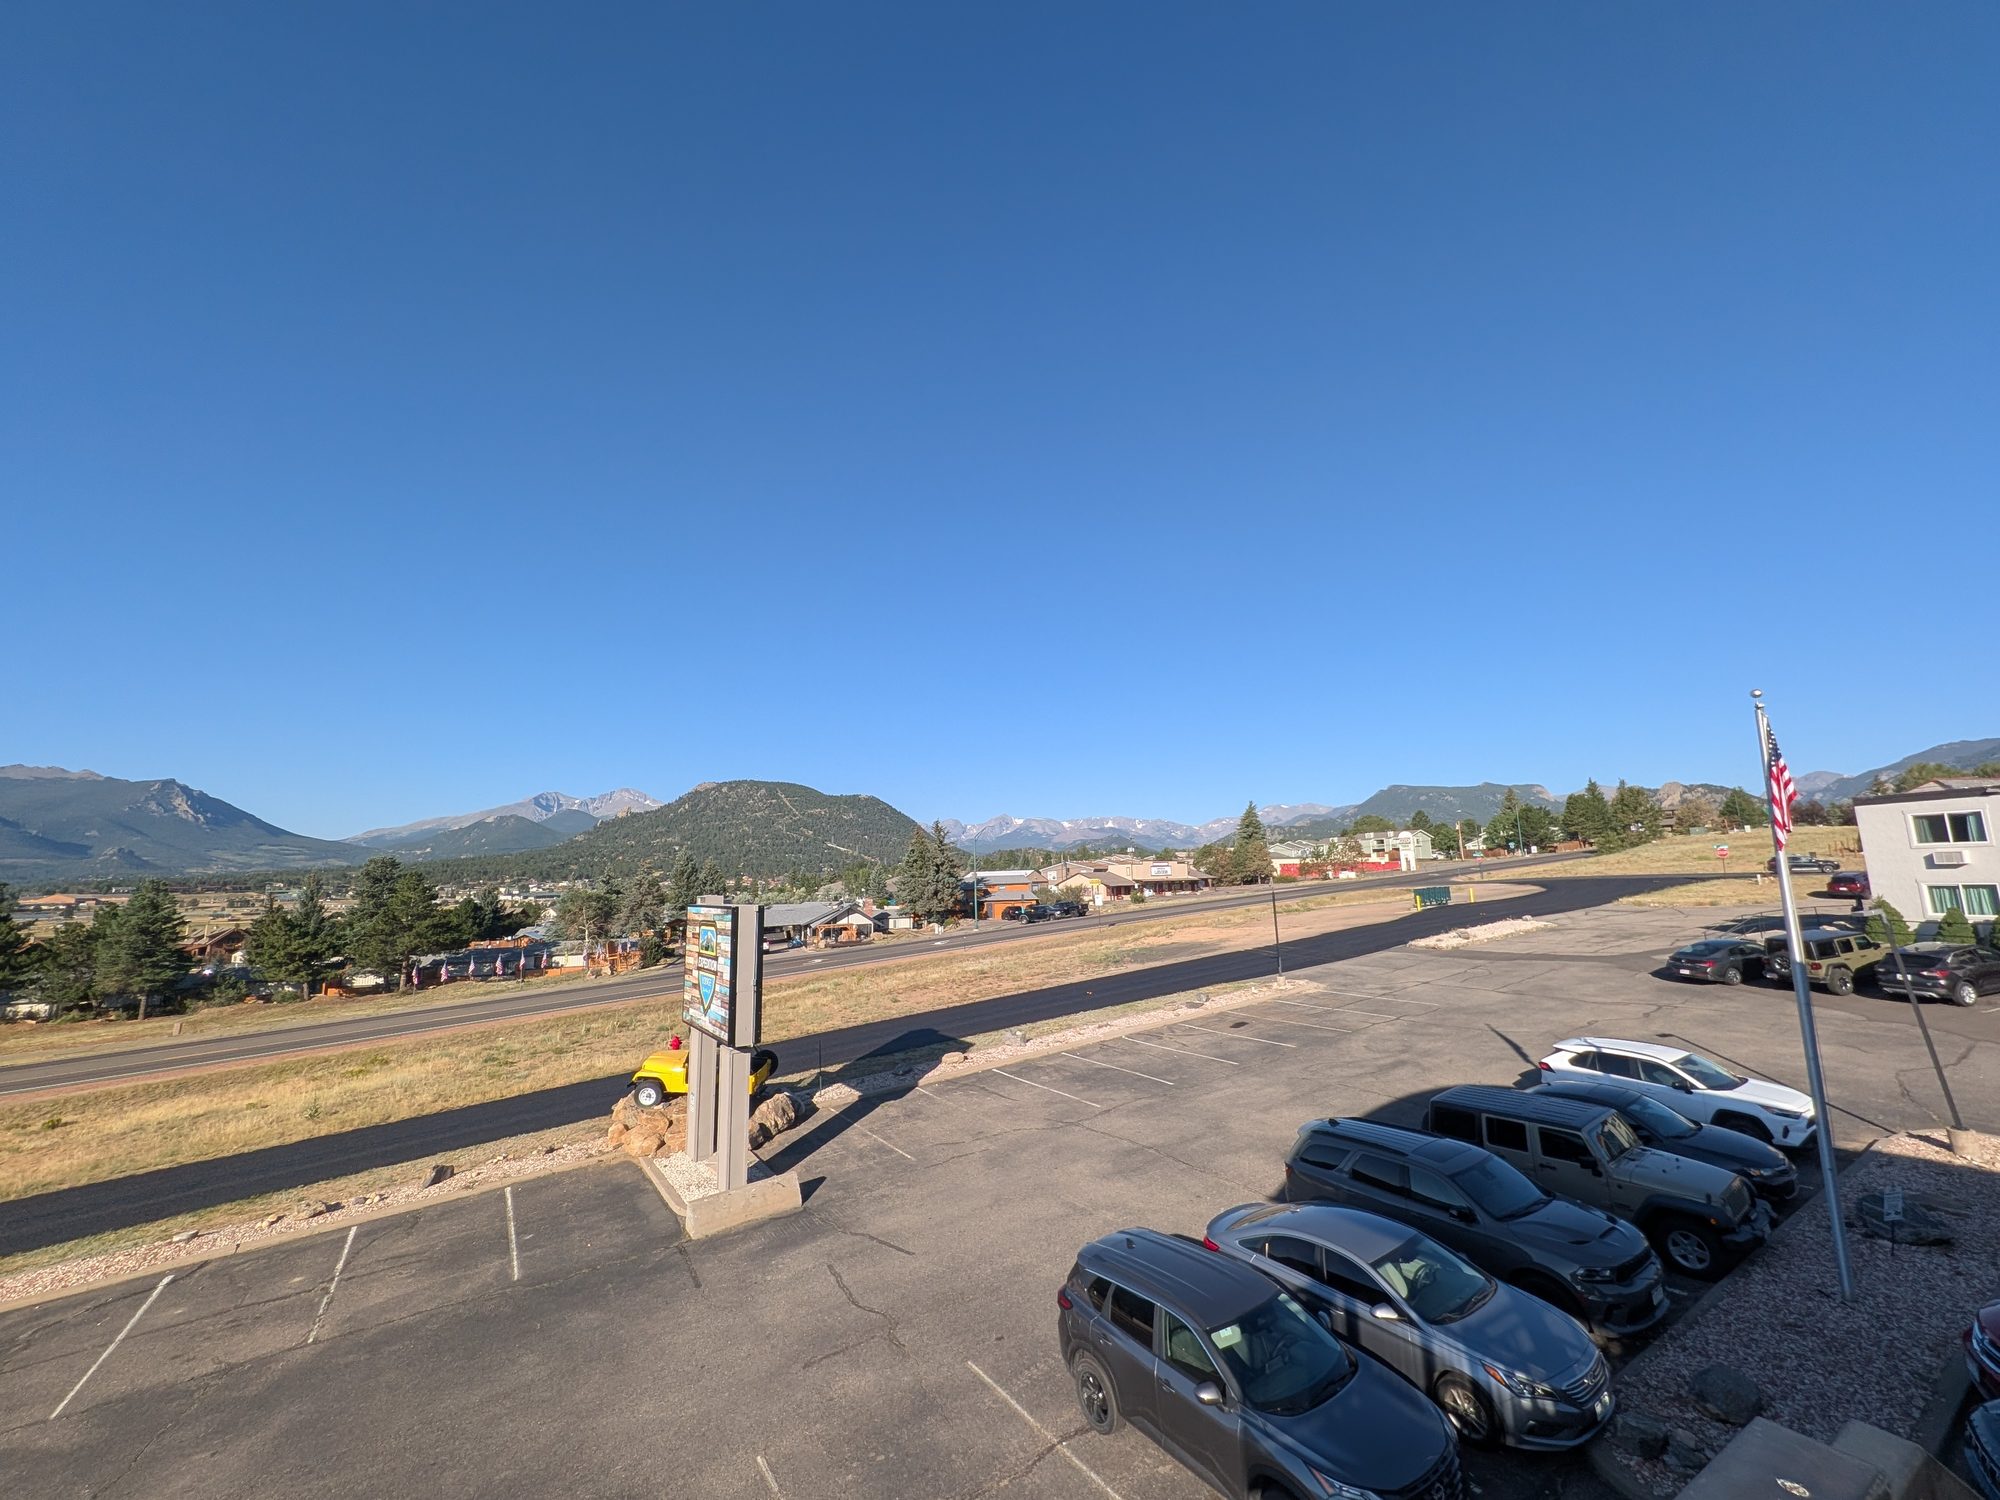
We stayed three nights at Expedition Lodge Estes Park, on the north side of town at 1701 N Lake Ave. It's a short drive to downtown and about 15 minutes to the Beaver Meadows Entrance of the park.
The morning view from the lodge
The Rooms
The hotel and rooms are dated, but they were okay and not bad at all. It was about what we expected. This is a place to sleep between park days, not a resort.
What We Liked
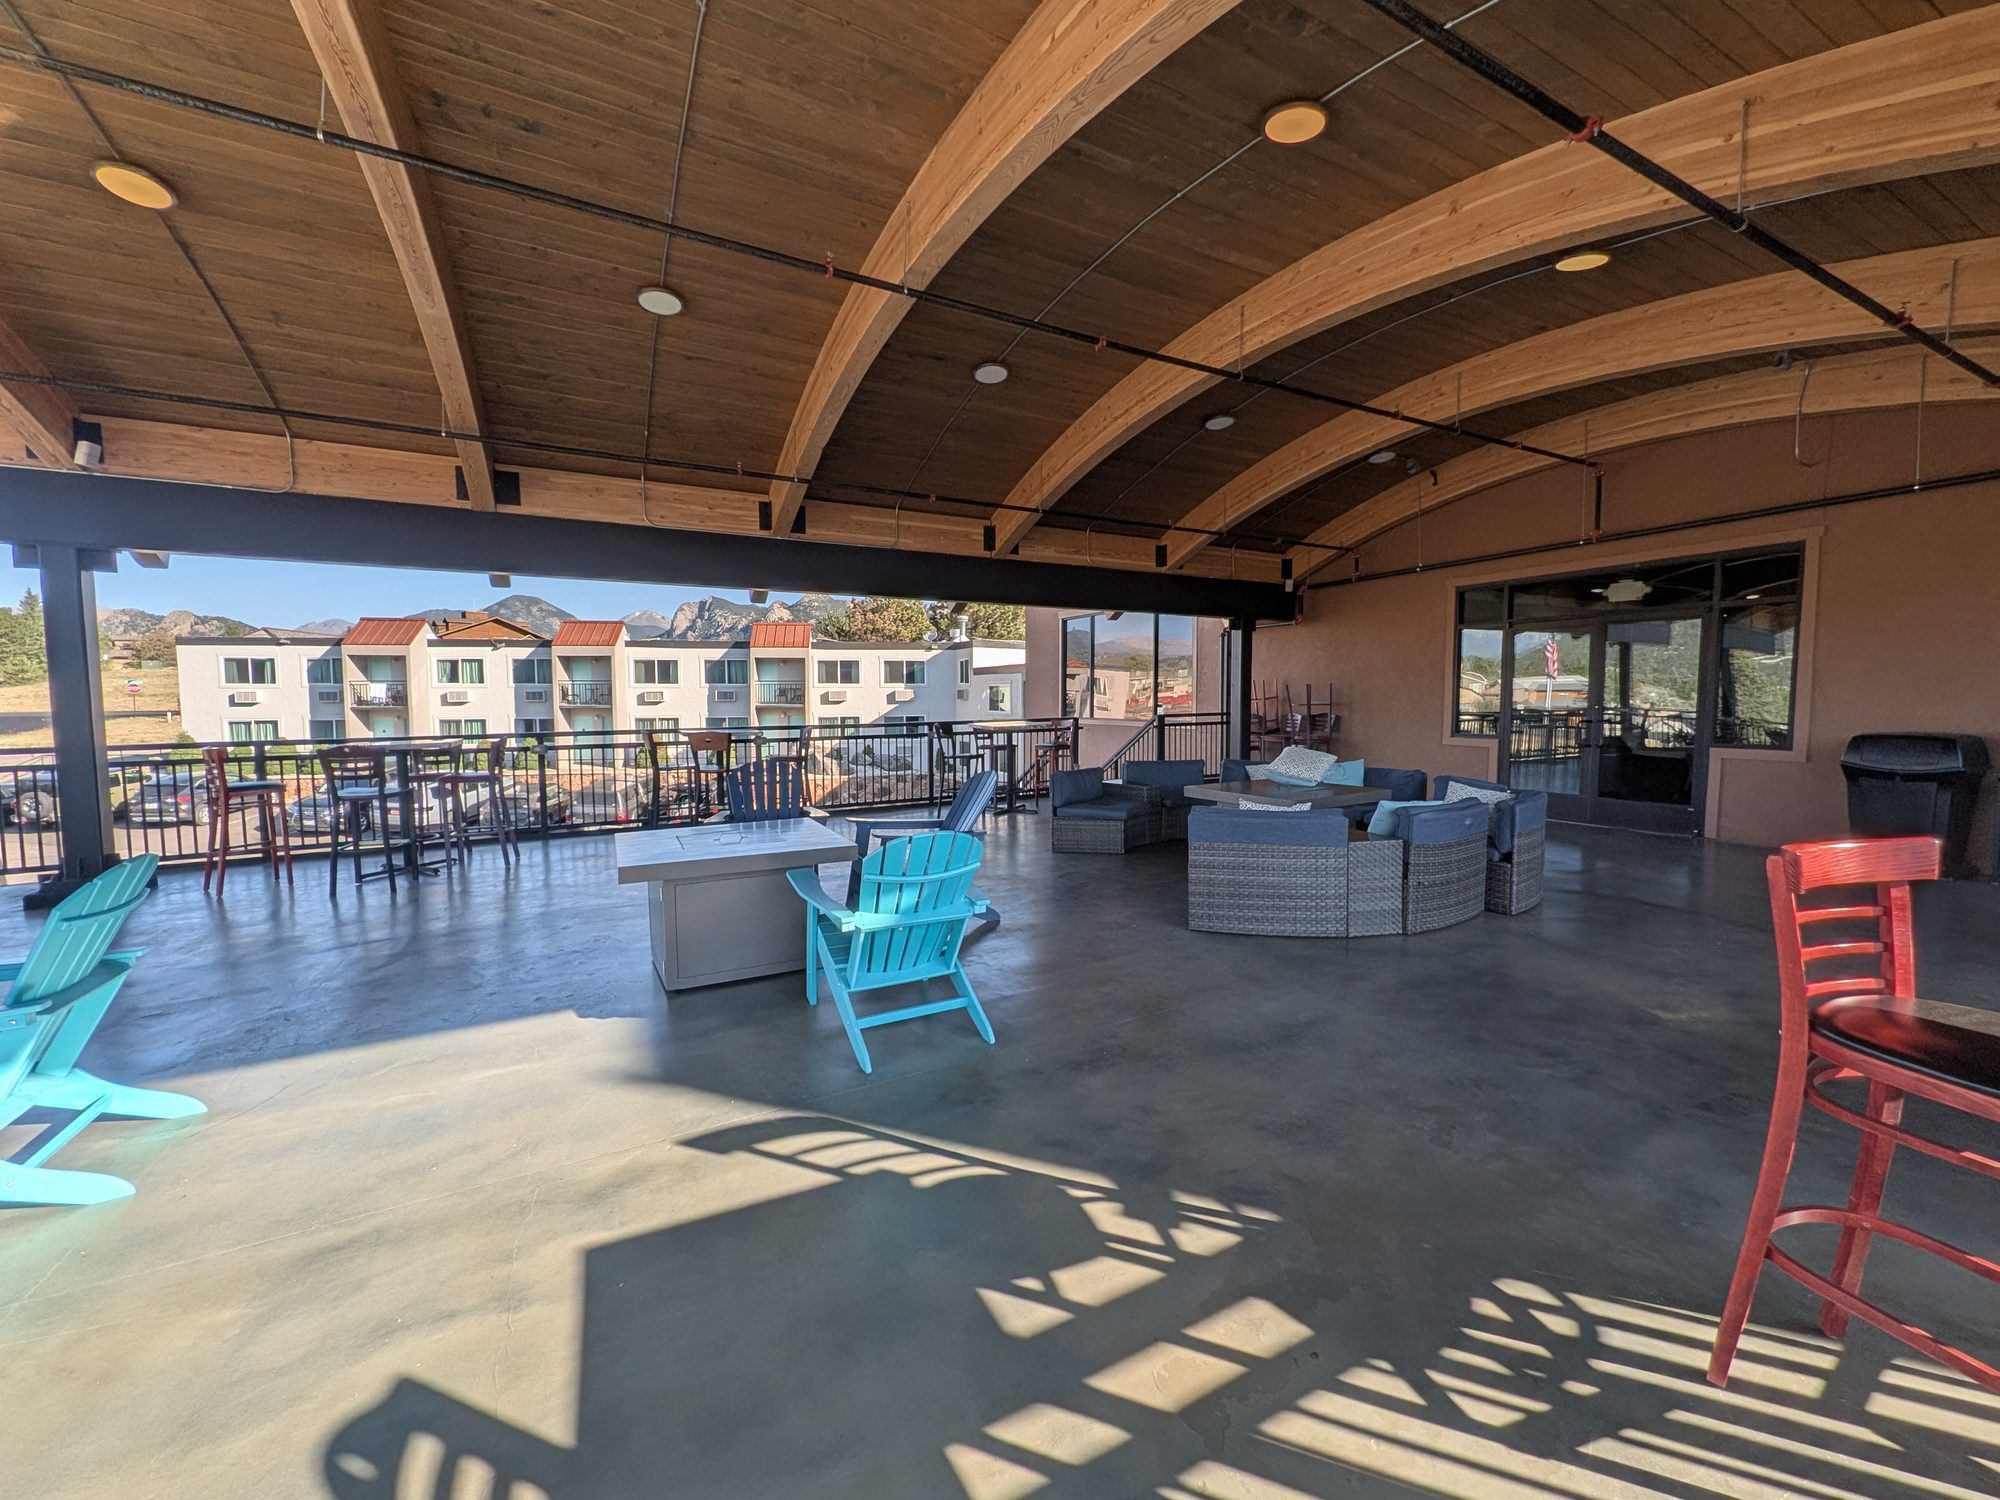
The second-floor patio. This is the best part of the hotel. It's a big covered deck with fire tables, Adirondack chairs, lounge seating, and mountain views. It's a great place to relax after a day in the park.
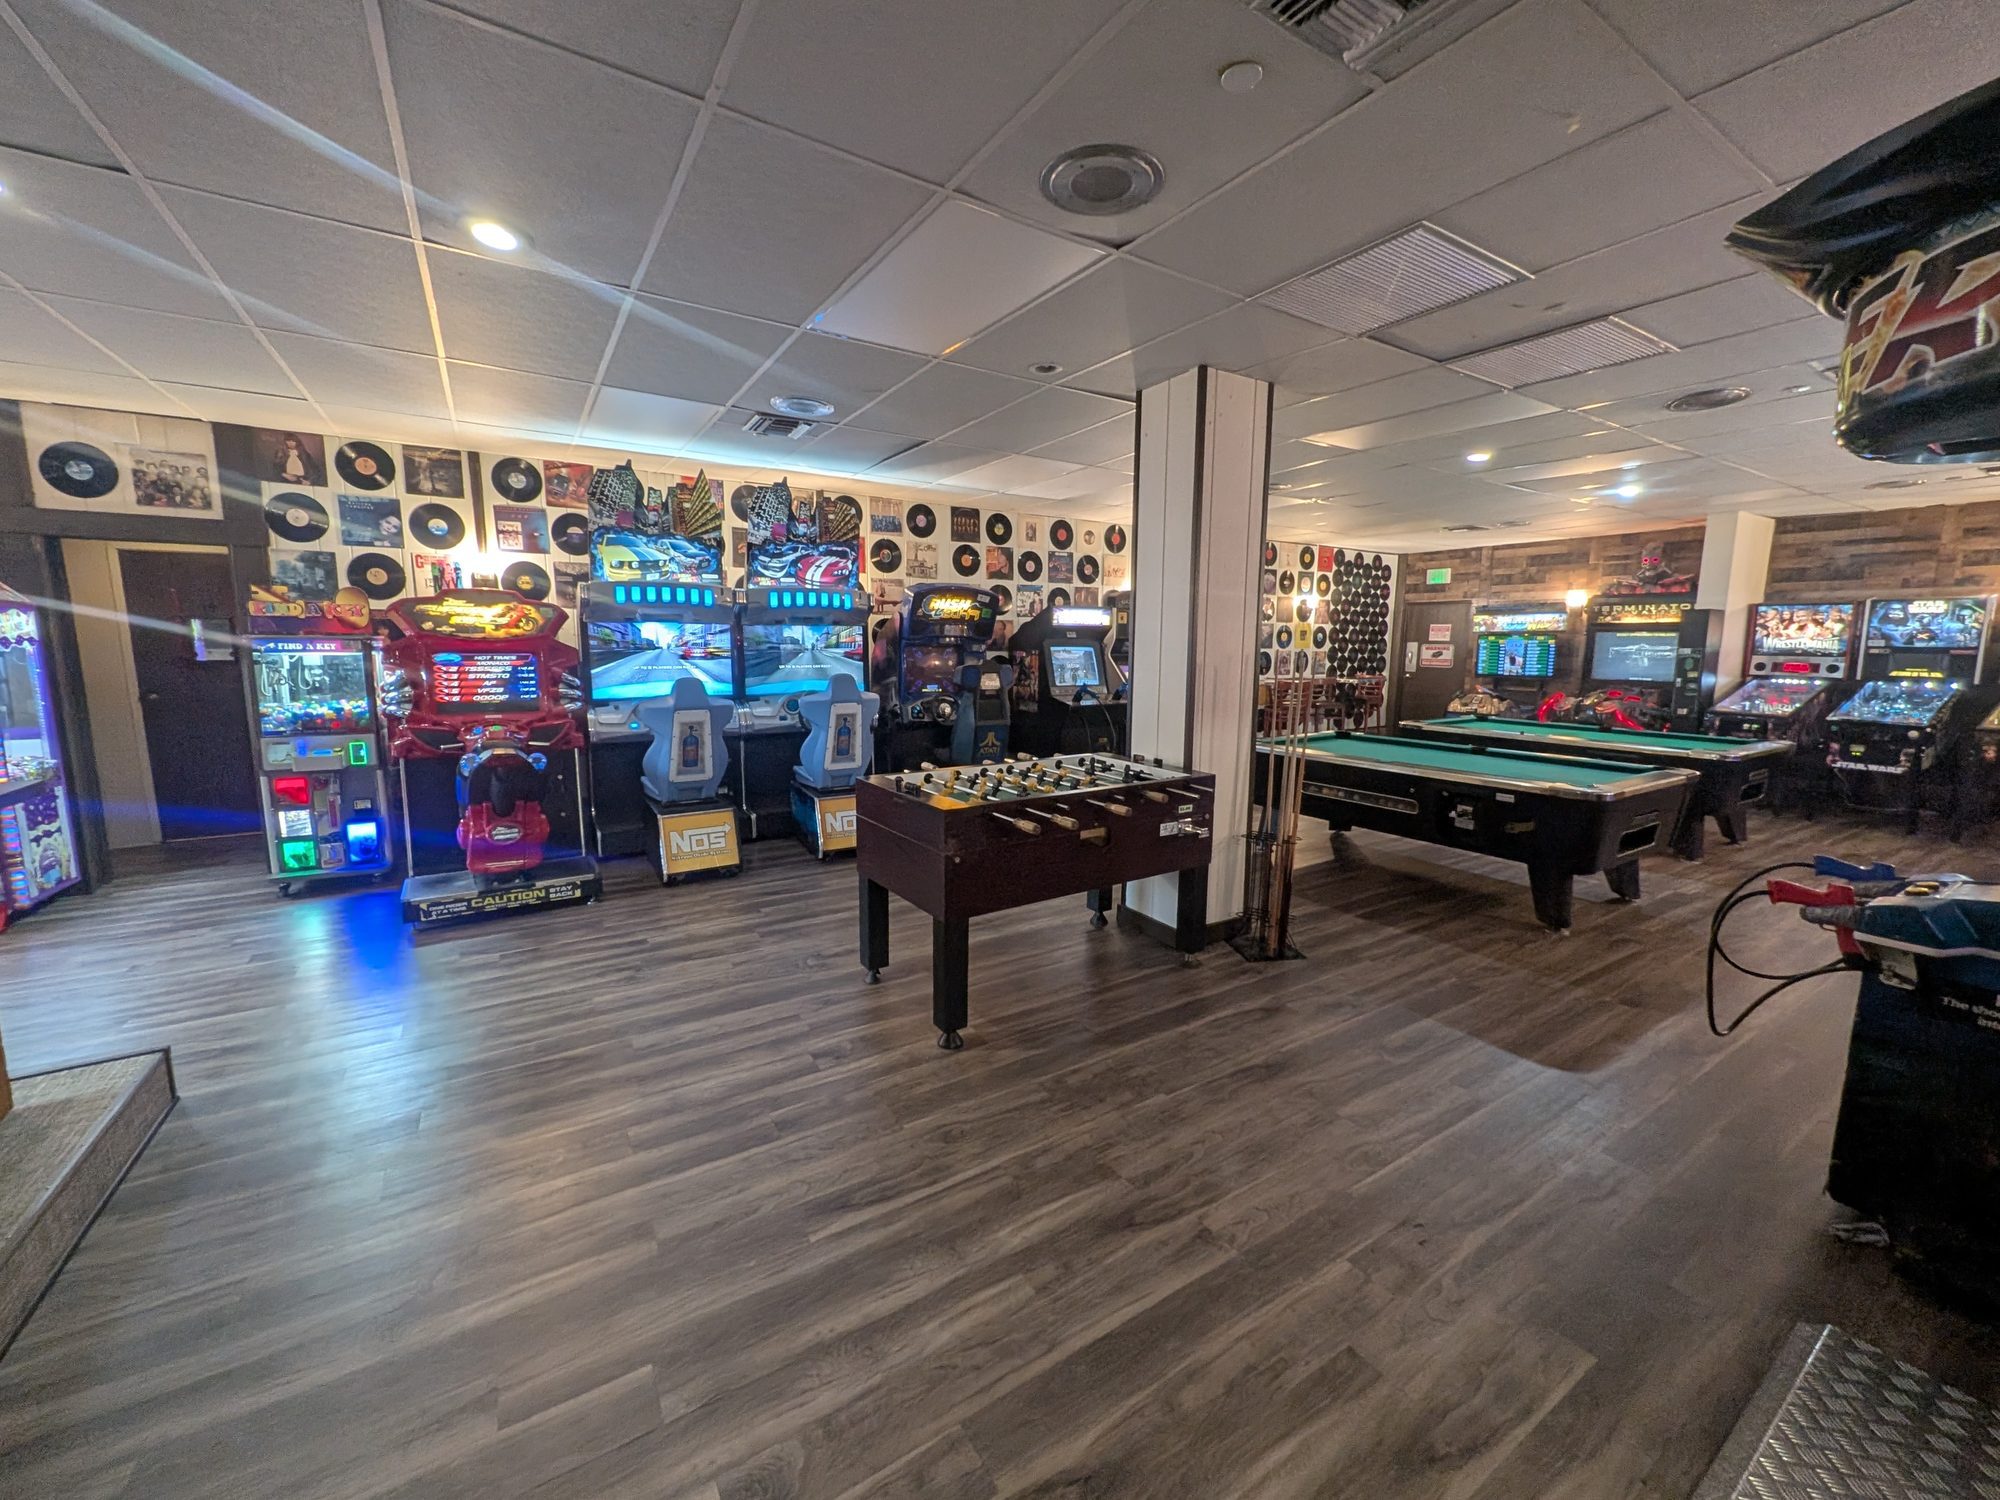
The arcade and game room. Pool tables, foosball, air hockey, racing games, and pinball. It's perfect for burning off any energy kids have left after hiking.
The location. It's an easy drive to the park, downtown, and the Riverwalk.
The second-floor patio and the arcade room
Breakfast and Food Allergies
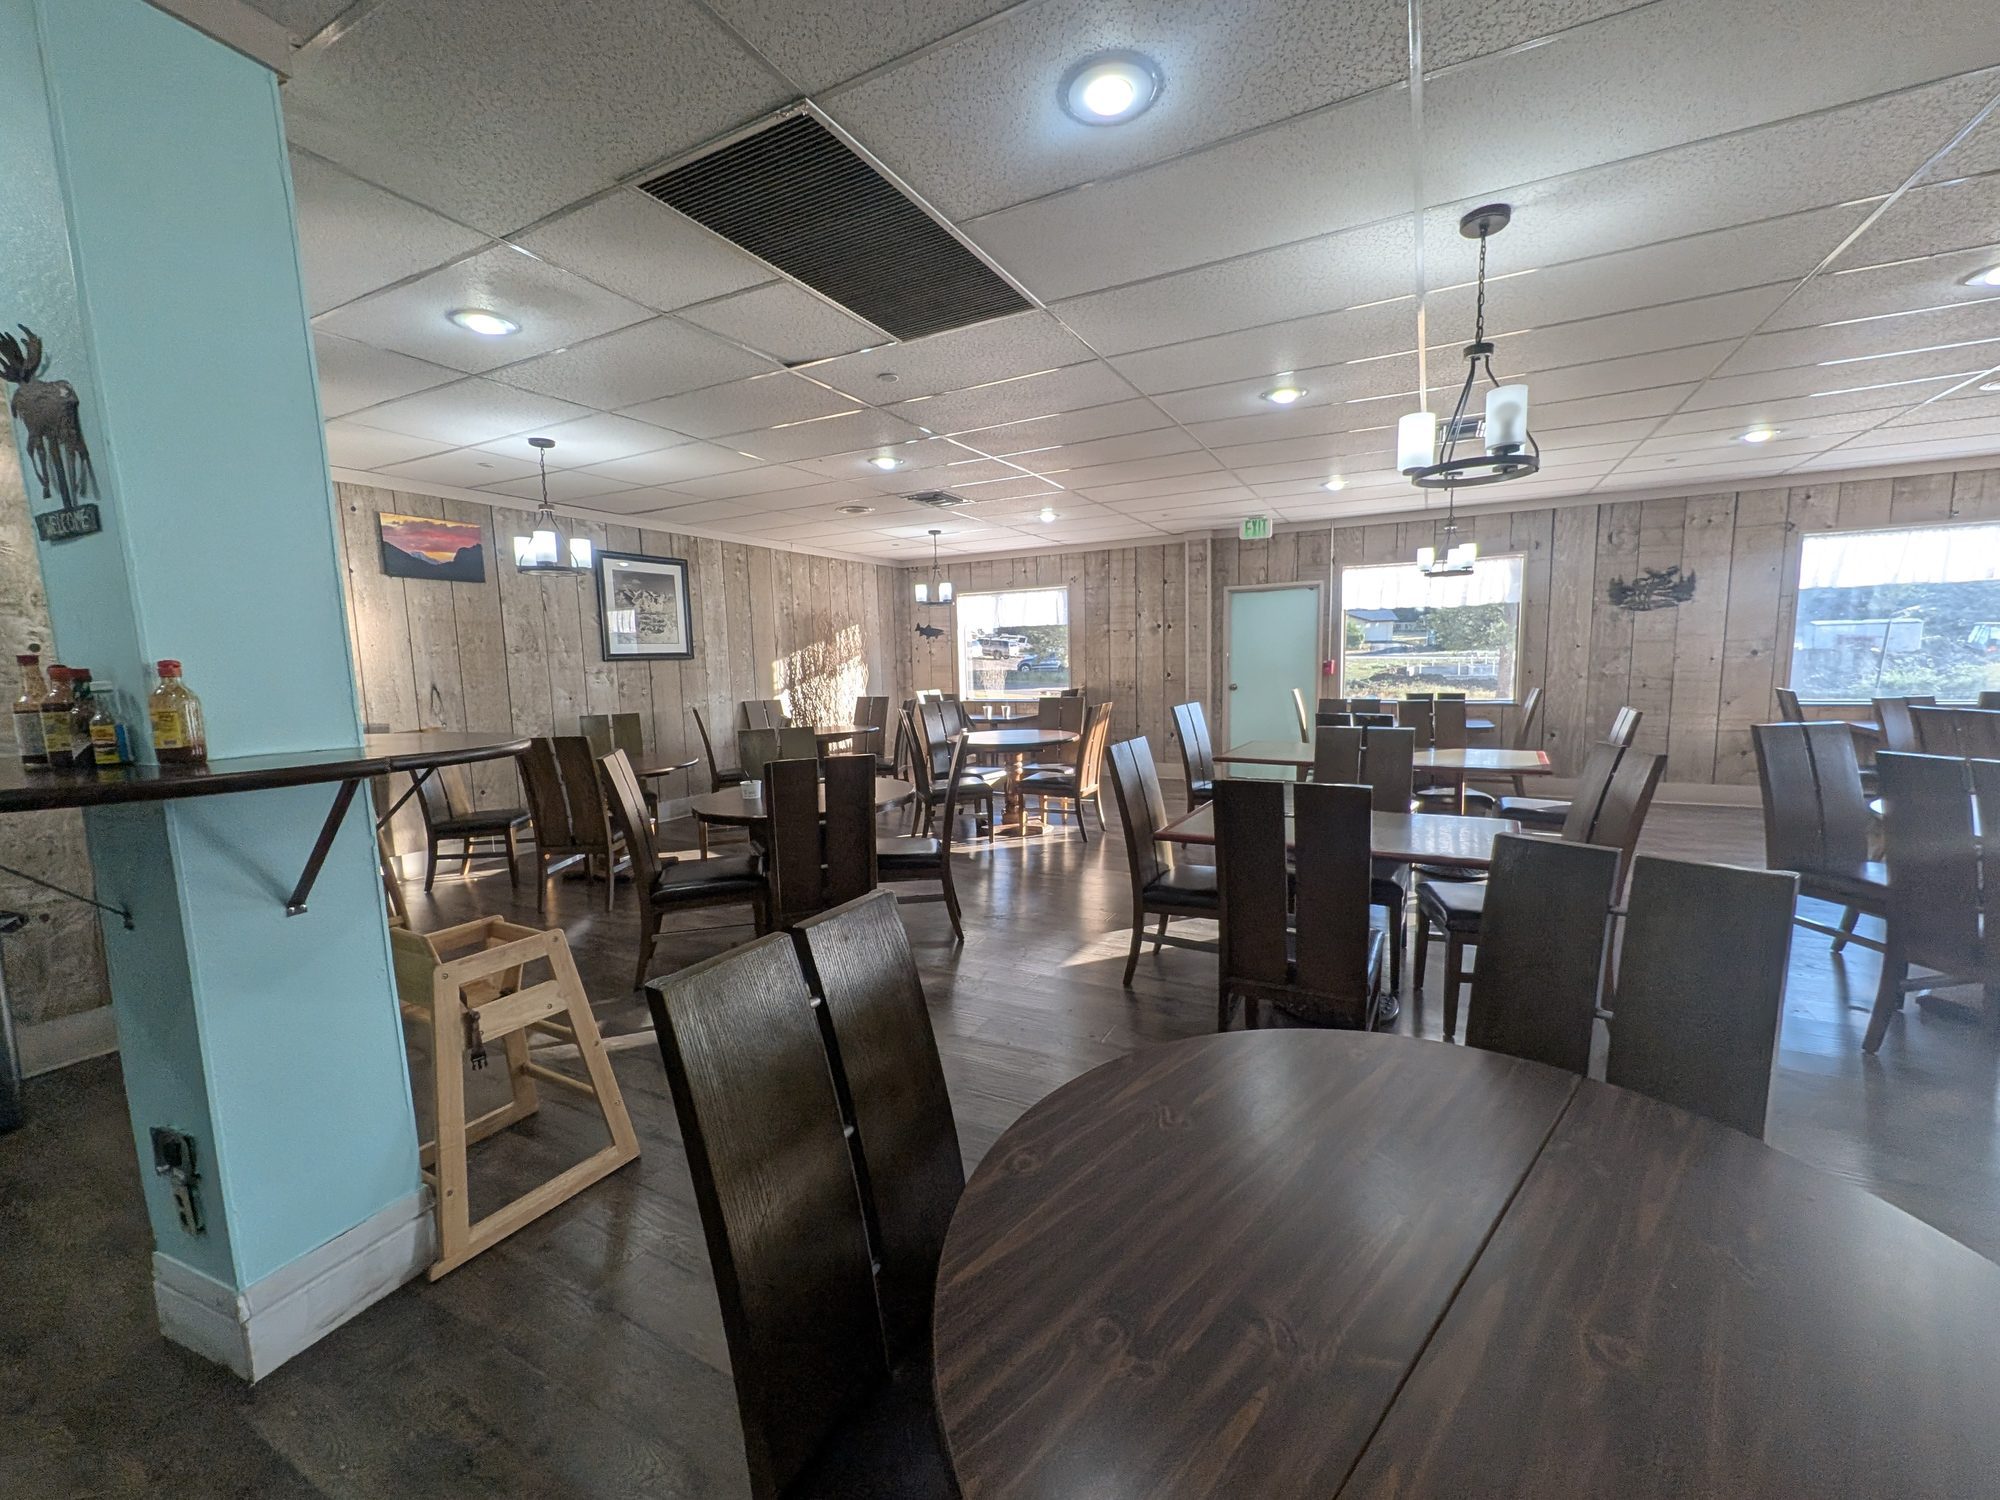
Breakfast is included, but it's basic. If you have time, we'd suggest eating breakfast in town instead. For families managing food allergies, a simple hotel breakfast usually means few options you can trust, so plan on bringing your own safe staples or heading downtown.
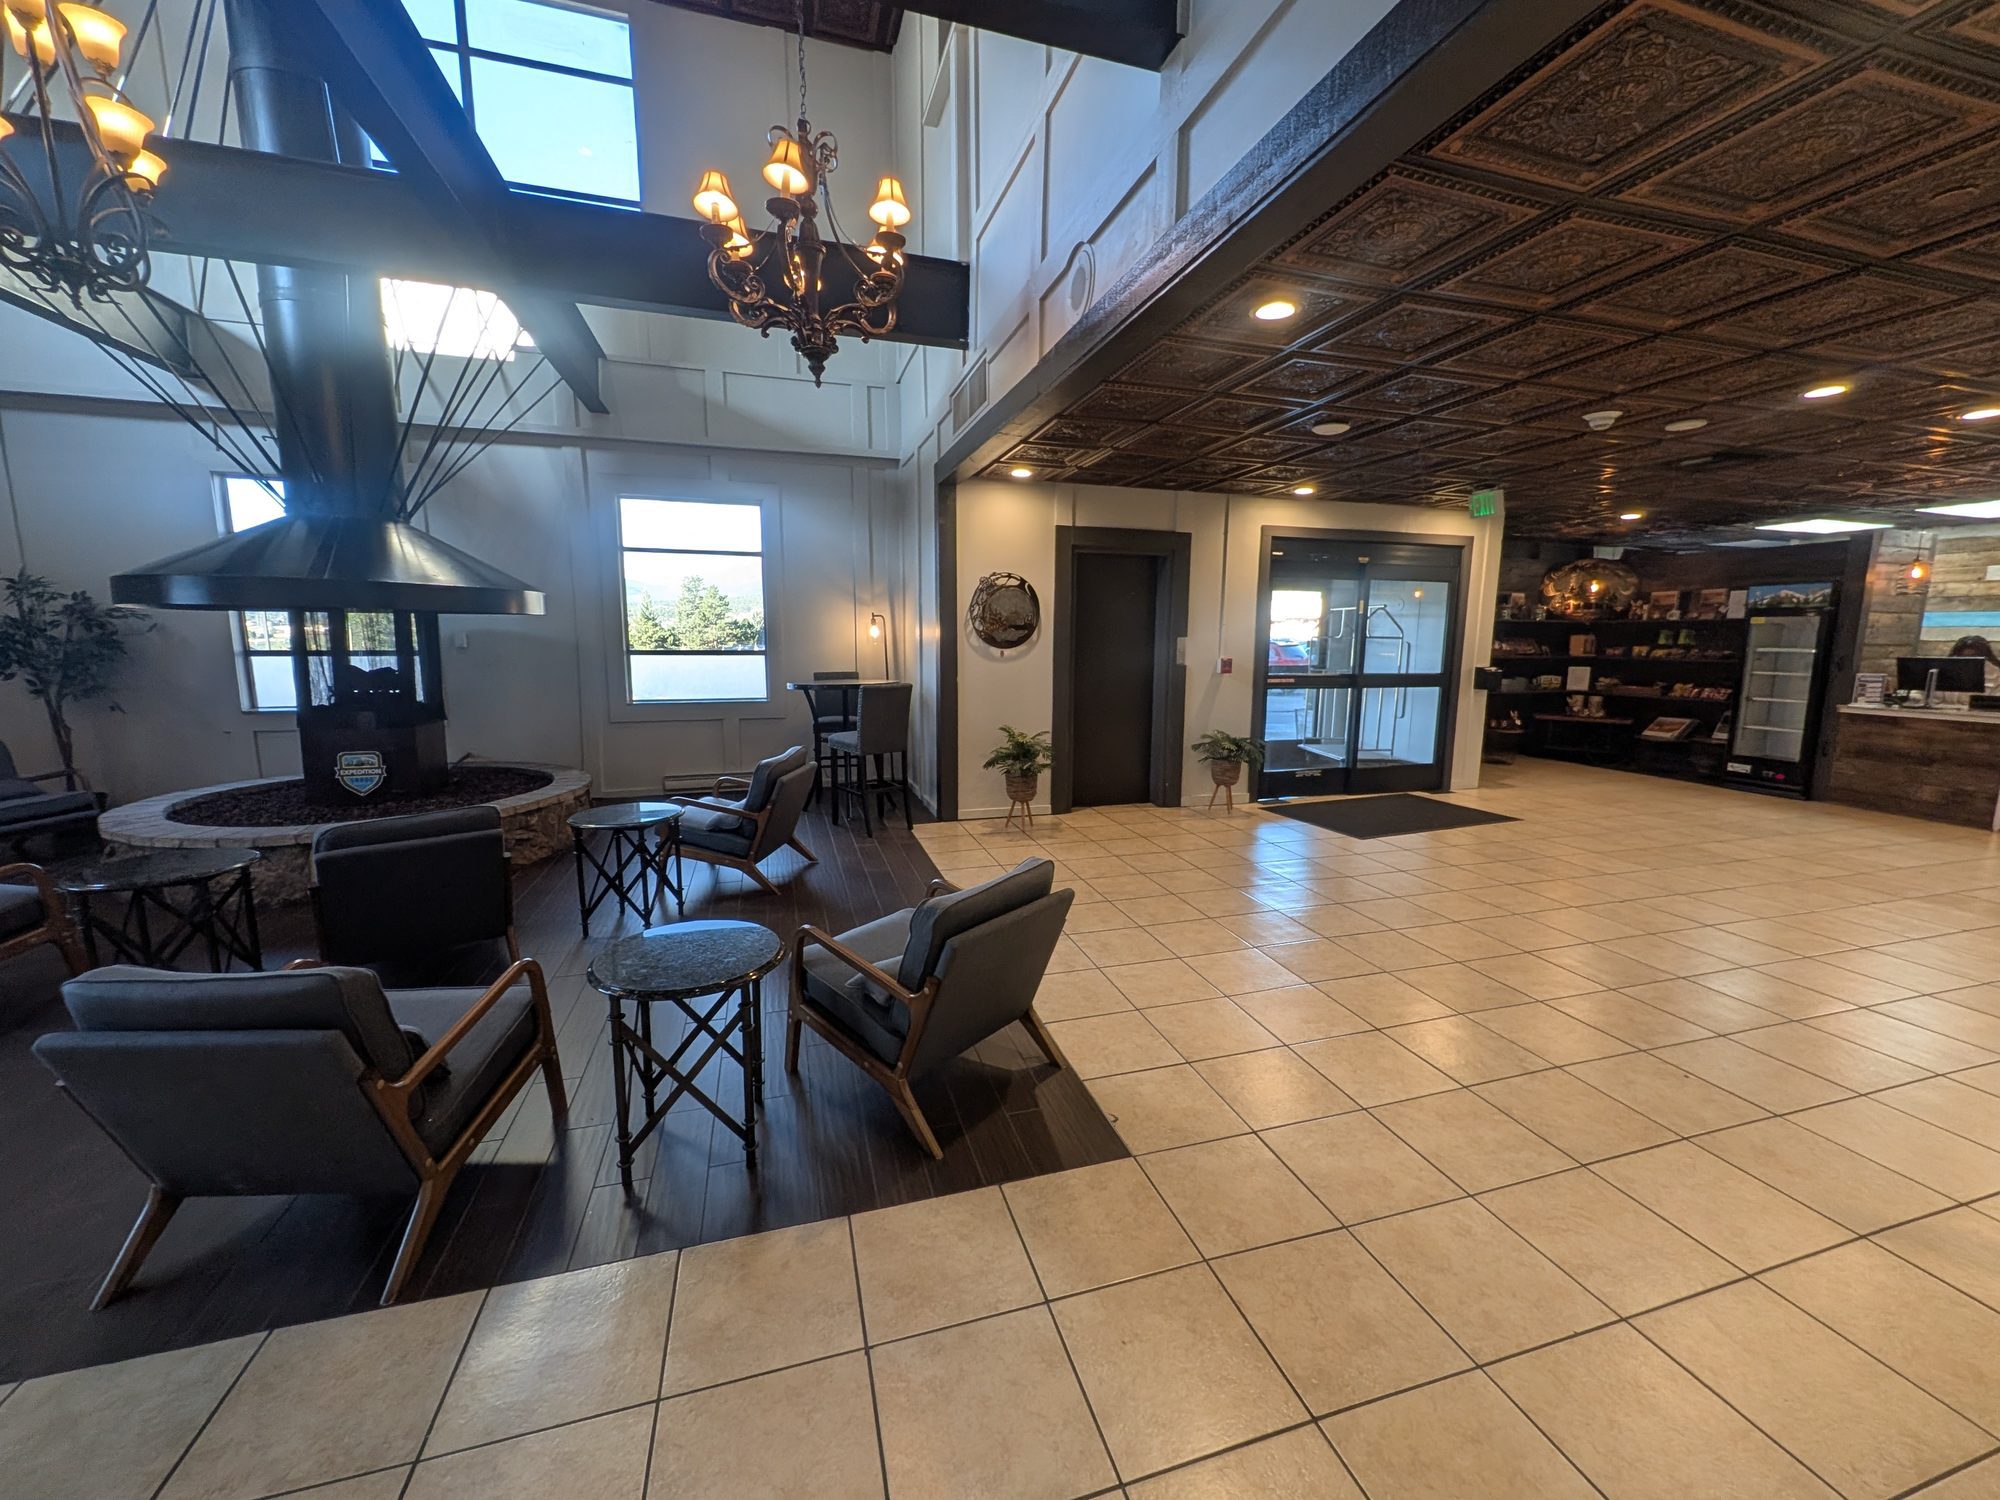
The lobby and the breakfast room
Who it's best for: Budget-minded families who want a simple, convenient base and don't mind an older property. If you want something more updated, look at the newer hotels closer to downtown and expect to pay more.
Where We Ate in Estes Park
Indian Bites
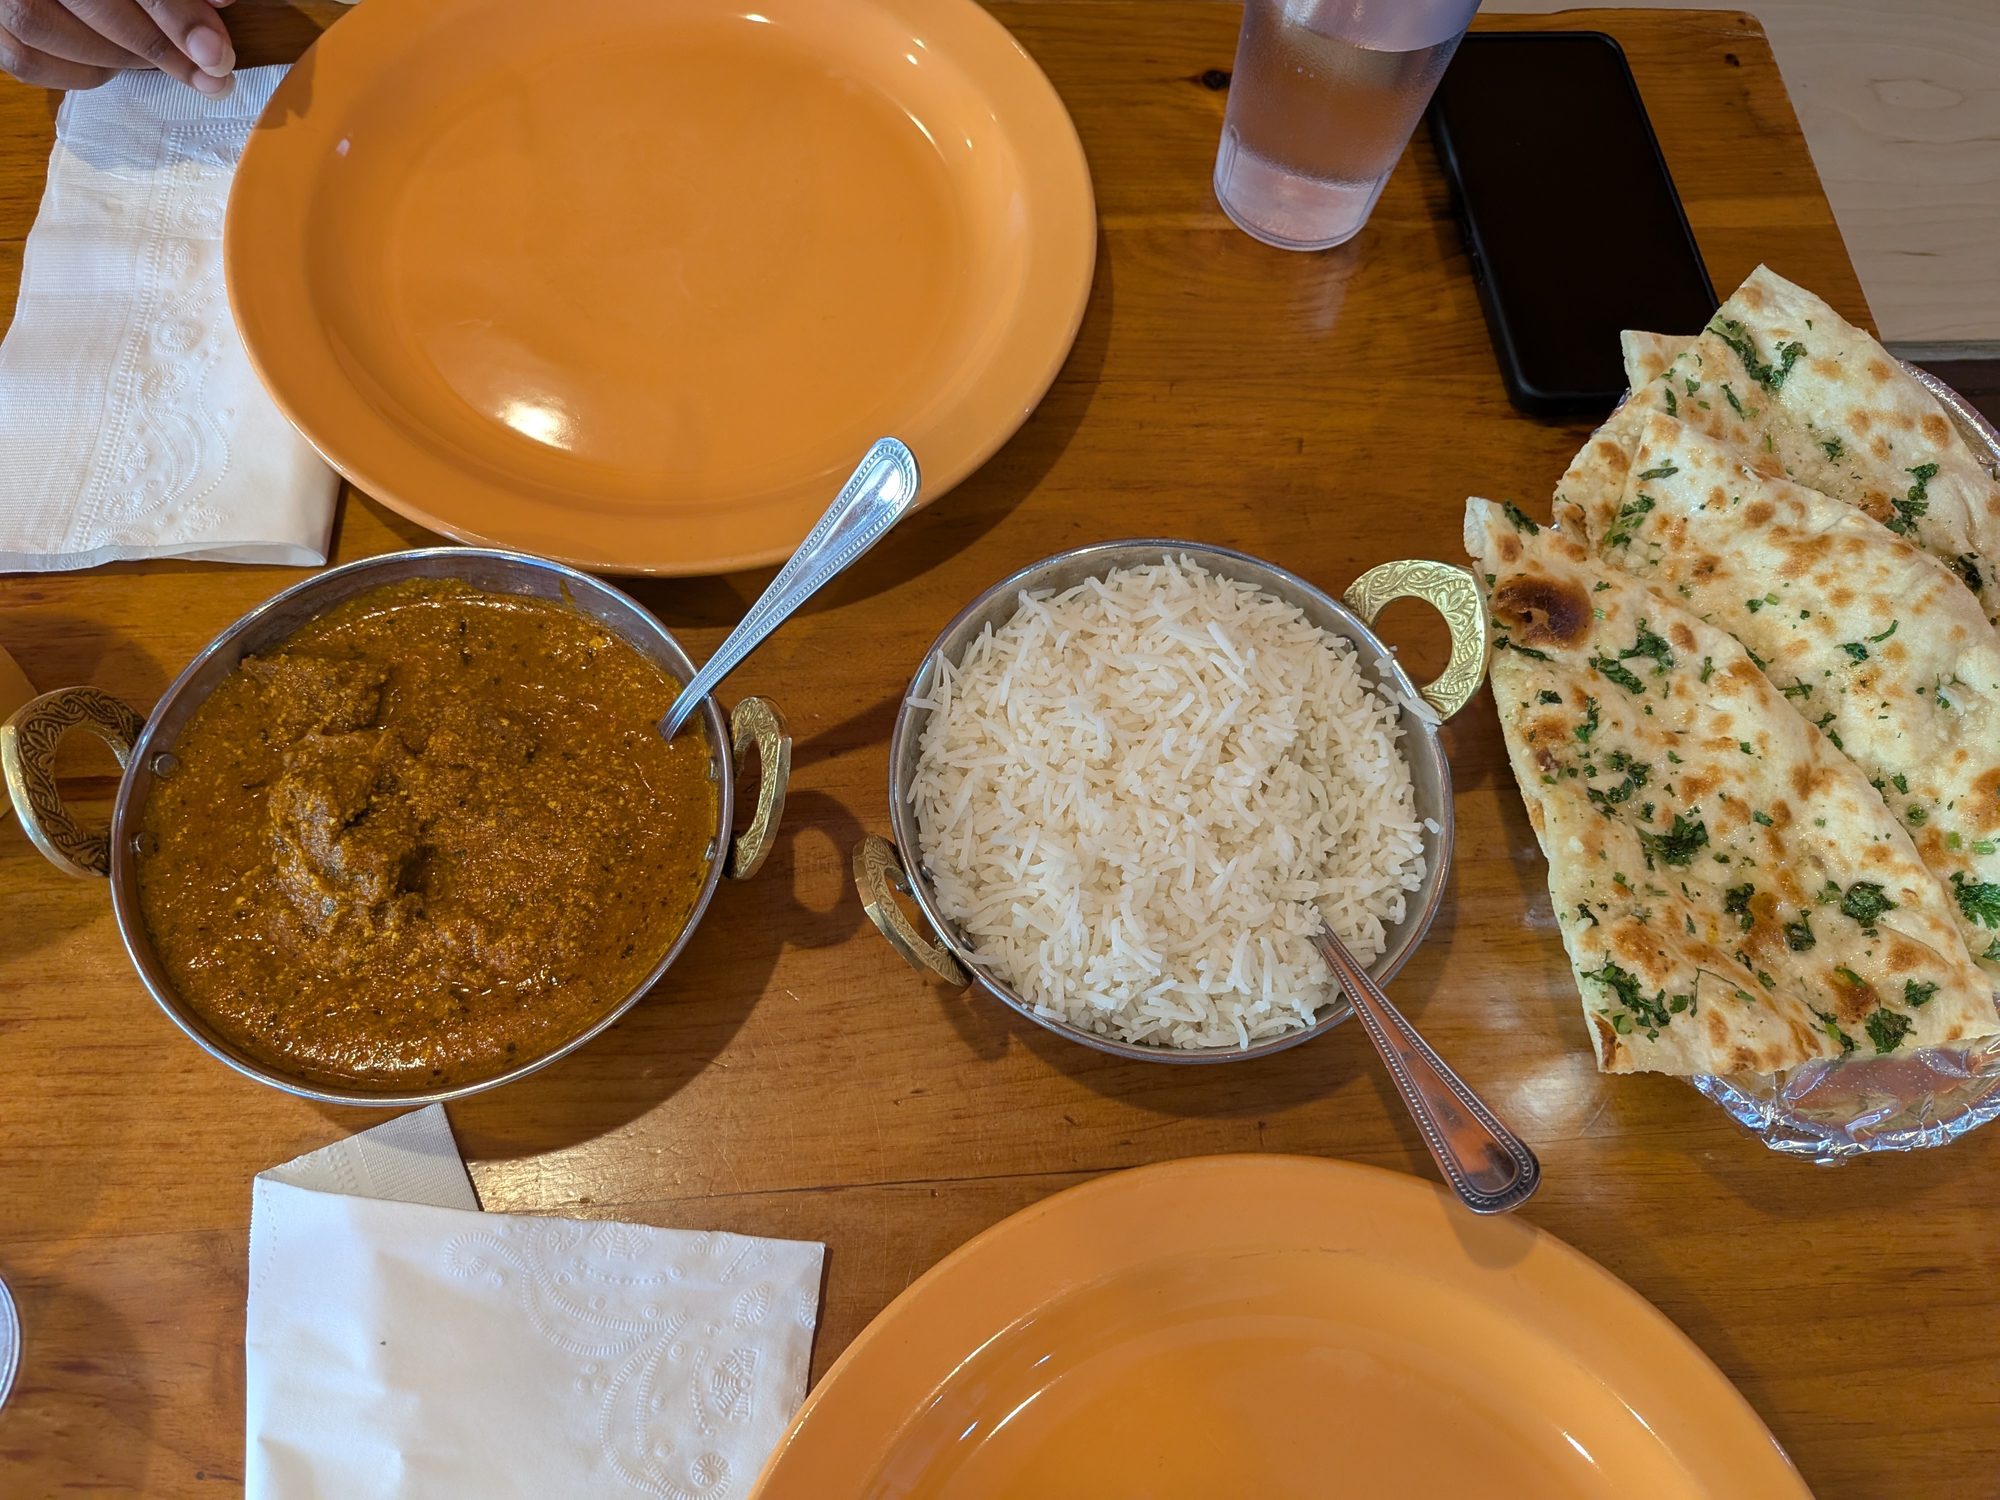
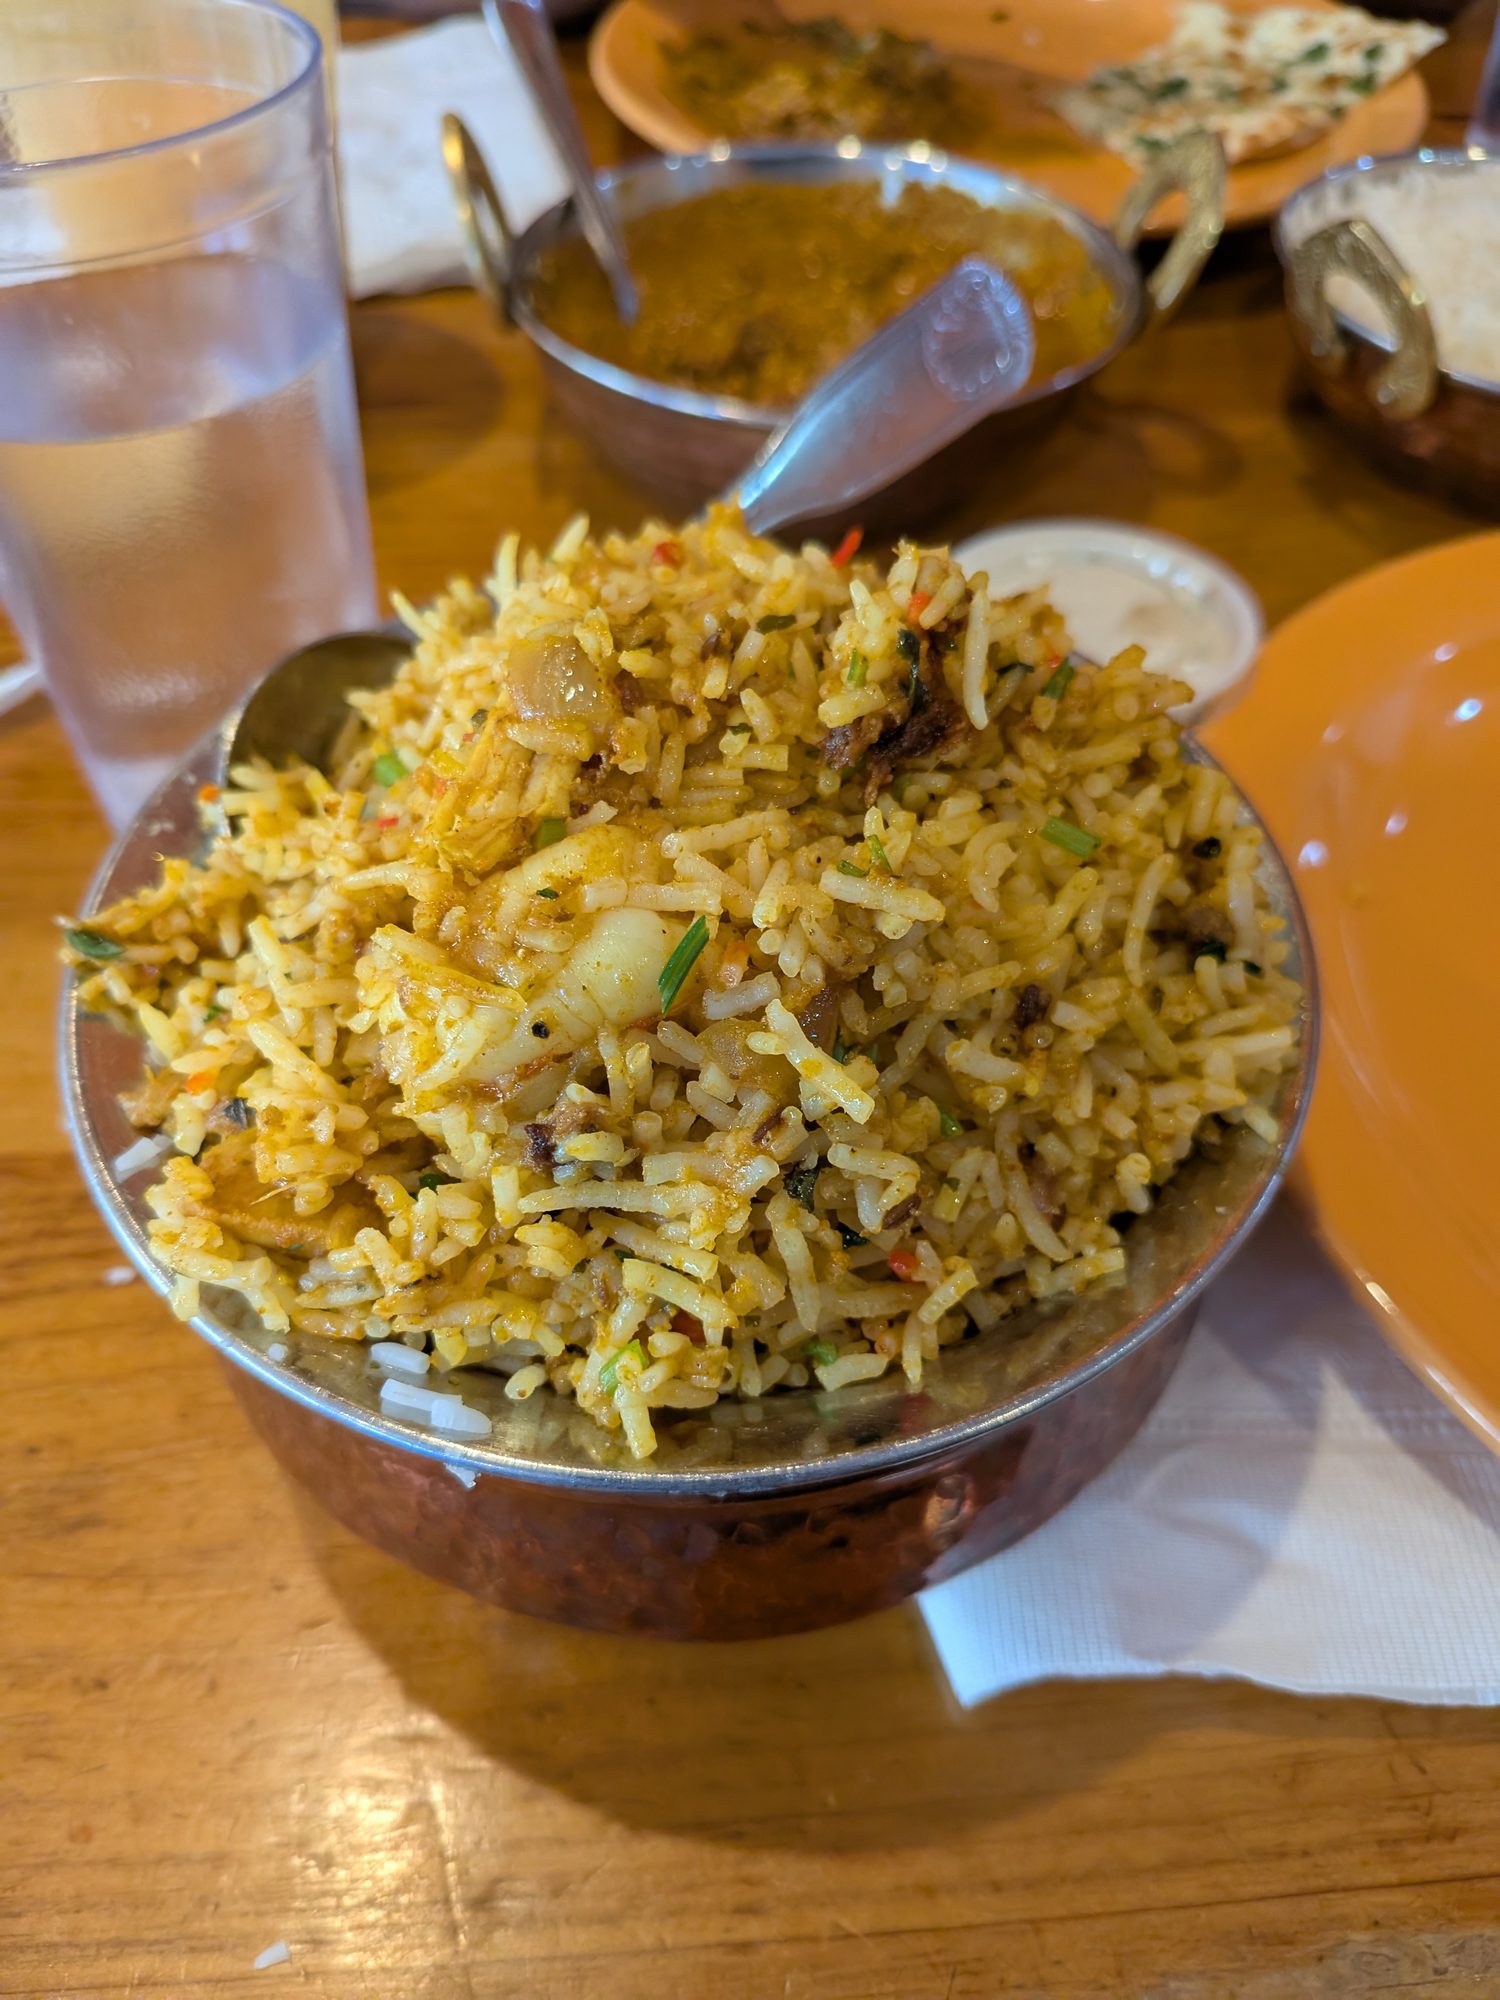
On our first full night, we had dinner at Indian Bites, at 181 W Riverside Dr near the Riverwalk. It was a welcome change from burgers and pub food. We ordered the biryani, lamb rogan josh, and naan.
Indian Bites was great. The food was flavorful, and it was a nice break from the burgers and pub food that fill most mountain-town menus.
How they handled food allergies: Indian food can be tricky with our son's allergies, so we brought him a meal from McDonald's instead. The staff had no problem at all with him eating outside food at the table. That flexibility matters a lot for allergy families. It means everyone can still sit down together at a restaurant the adults want to try.
Lamb rogan josh with naan, and the biryani
Rocky Mountain Crepe Company
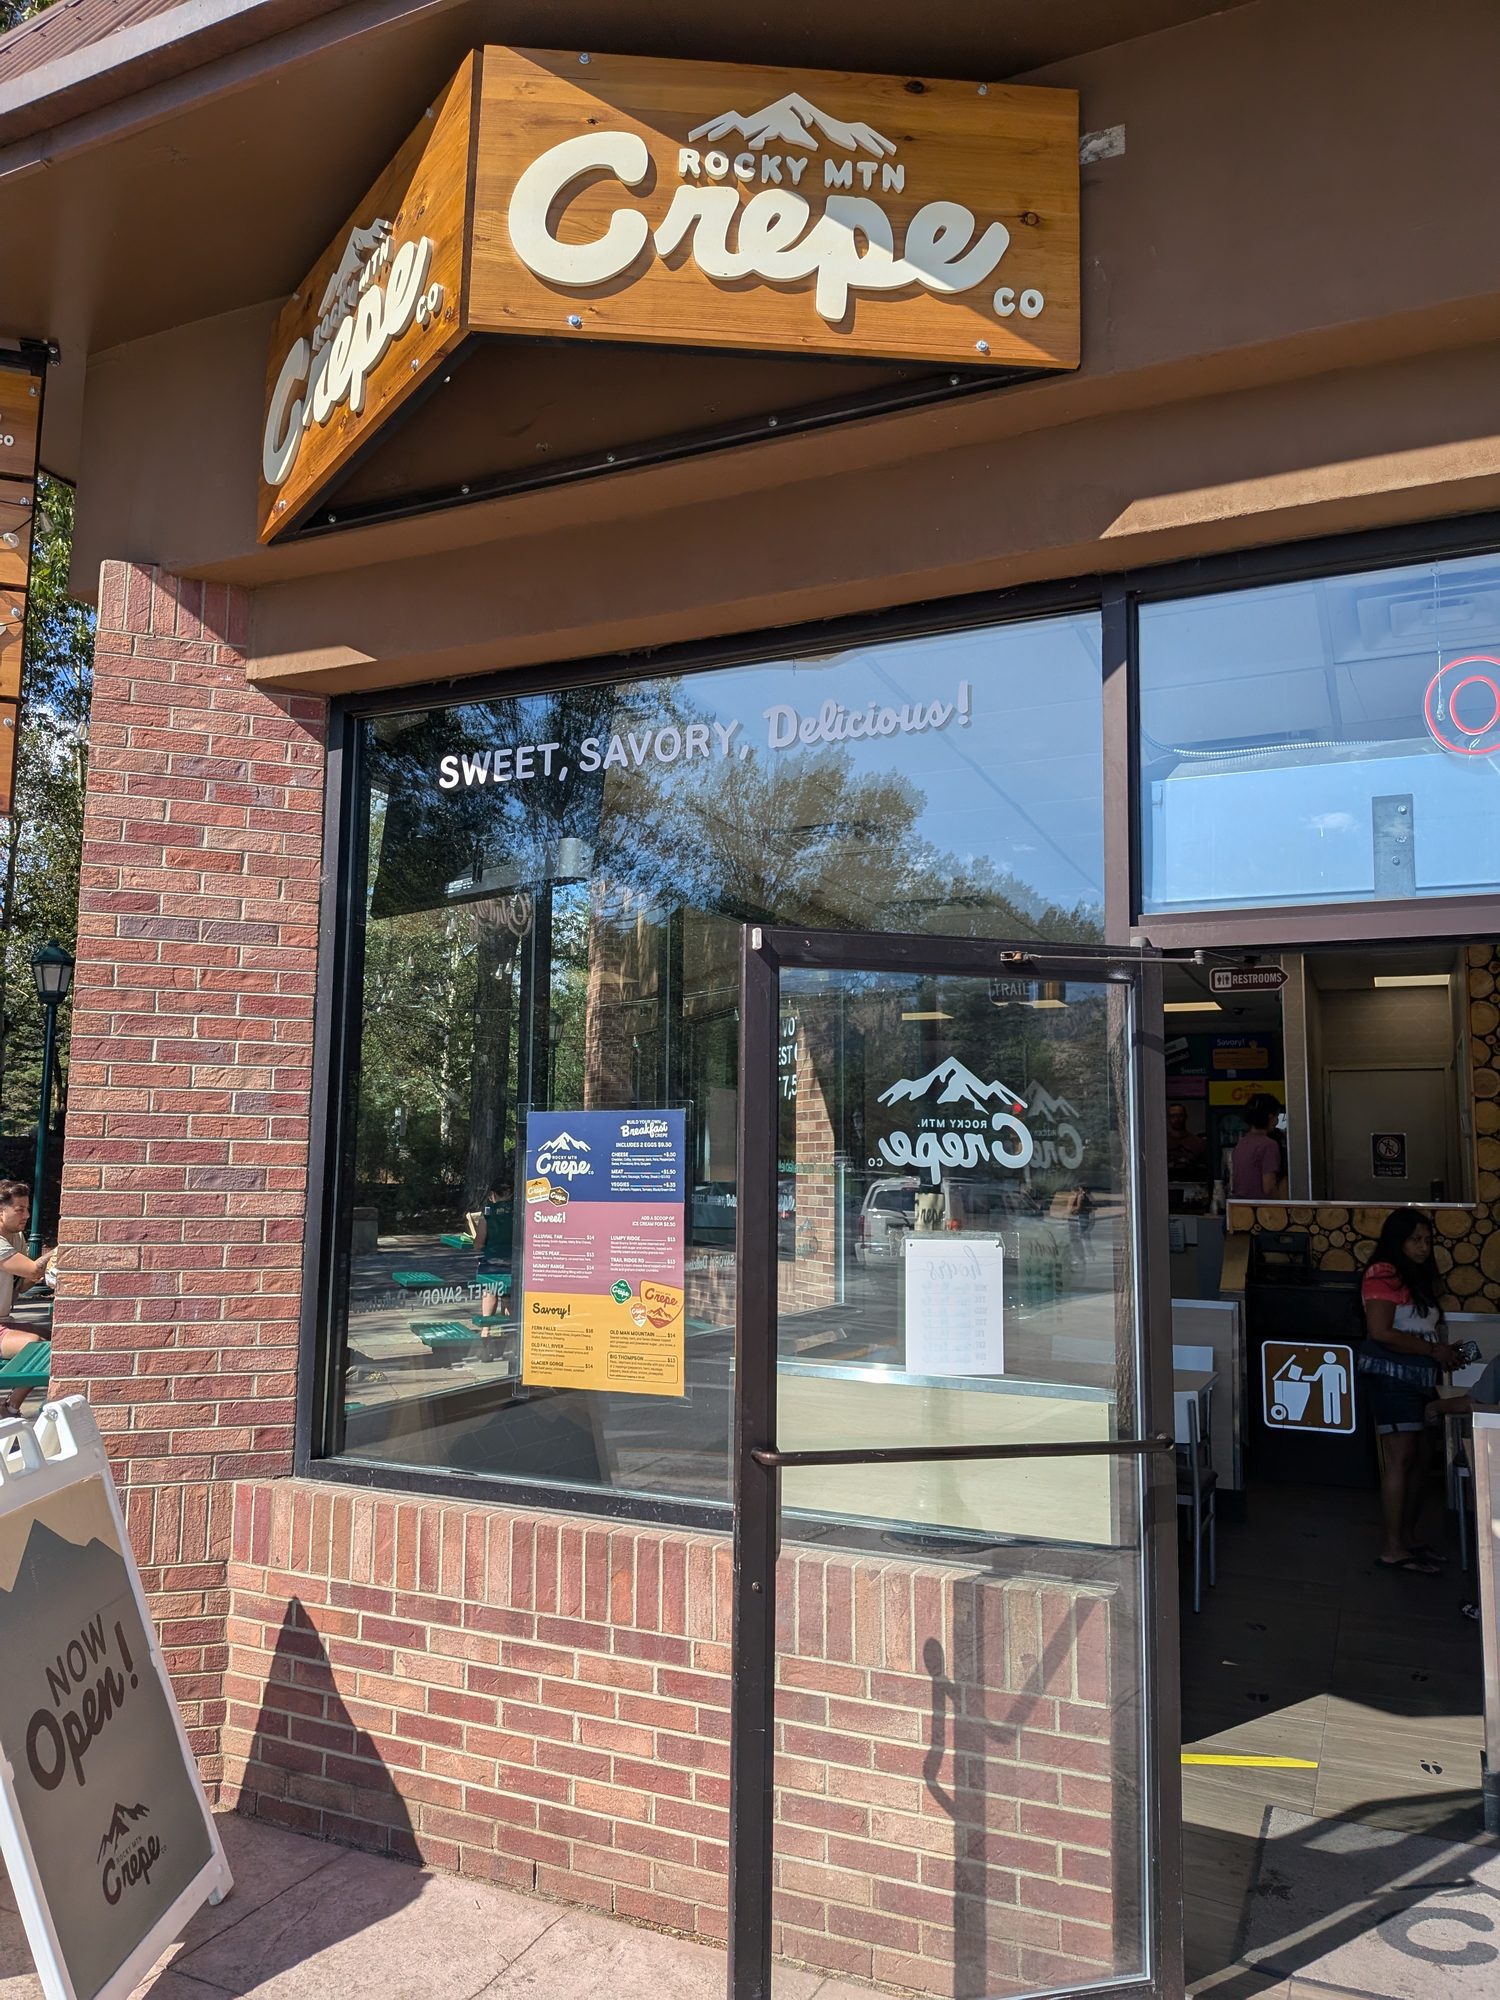
On our last morning, we grabbed a quick breakfast at Rocky Mountain Crepe Company downtown. The menu has sweet and savory crepes named after places in the park, plus a build-your-own breakfast crepe.
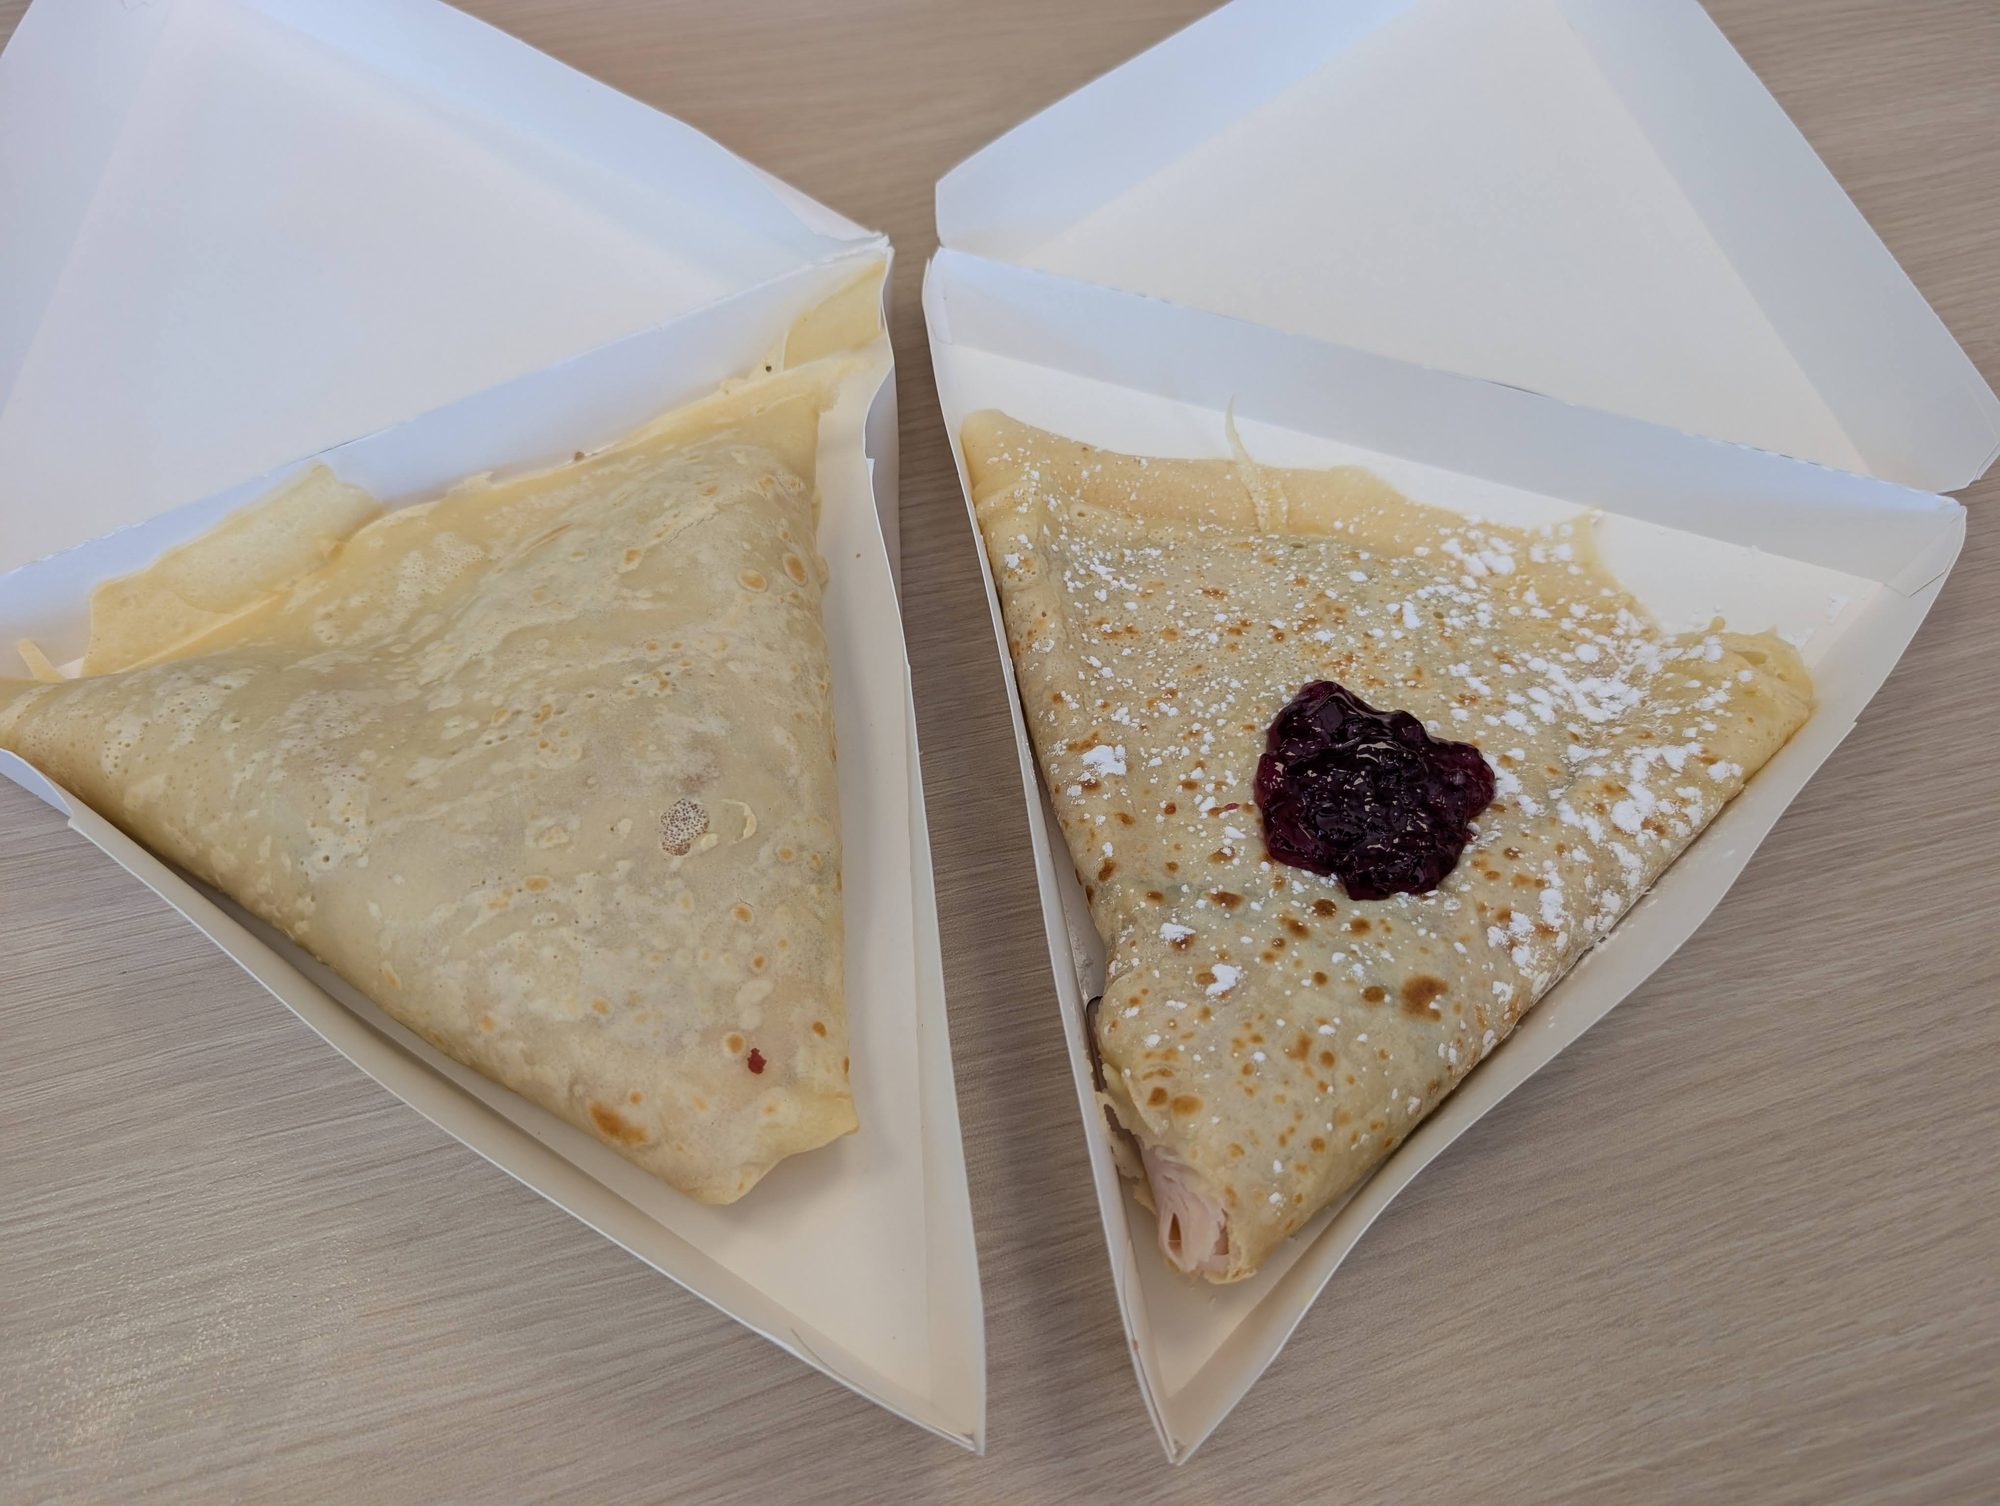
Build-your-own breakfast crepe with meat: The kitchen forgot the egg the first time, so we had them remake it.
Old Man Mountain: A Monte Cristo-style crepe with turkey, ham, and Swiss, dusted with powdered sugar and topped with jam. This one was good.
Rocky Mountain Crepe Company and the Old Man Mountain crepe
It was decent and pretty good. It wasn't the best crepe we've had, but it was a solid, quick breakfast before the drive back. Allergy note: Crepe batter is typically made with wheat, eggs, and milk, so this is a hard stop for those allergies. Ask about ingredients before you order.
The Estes Park Riverwalk
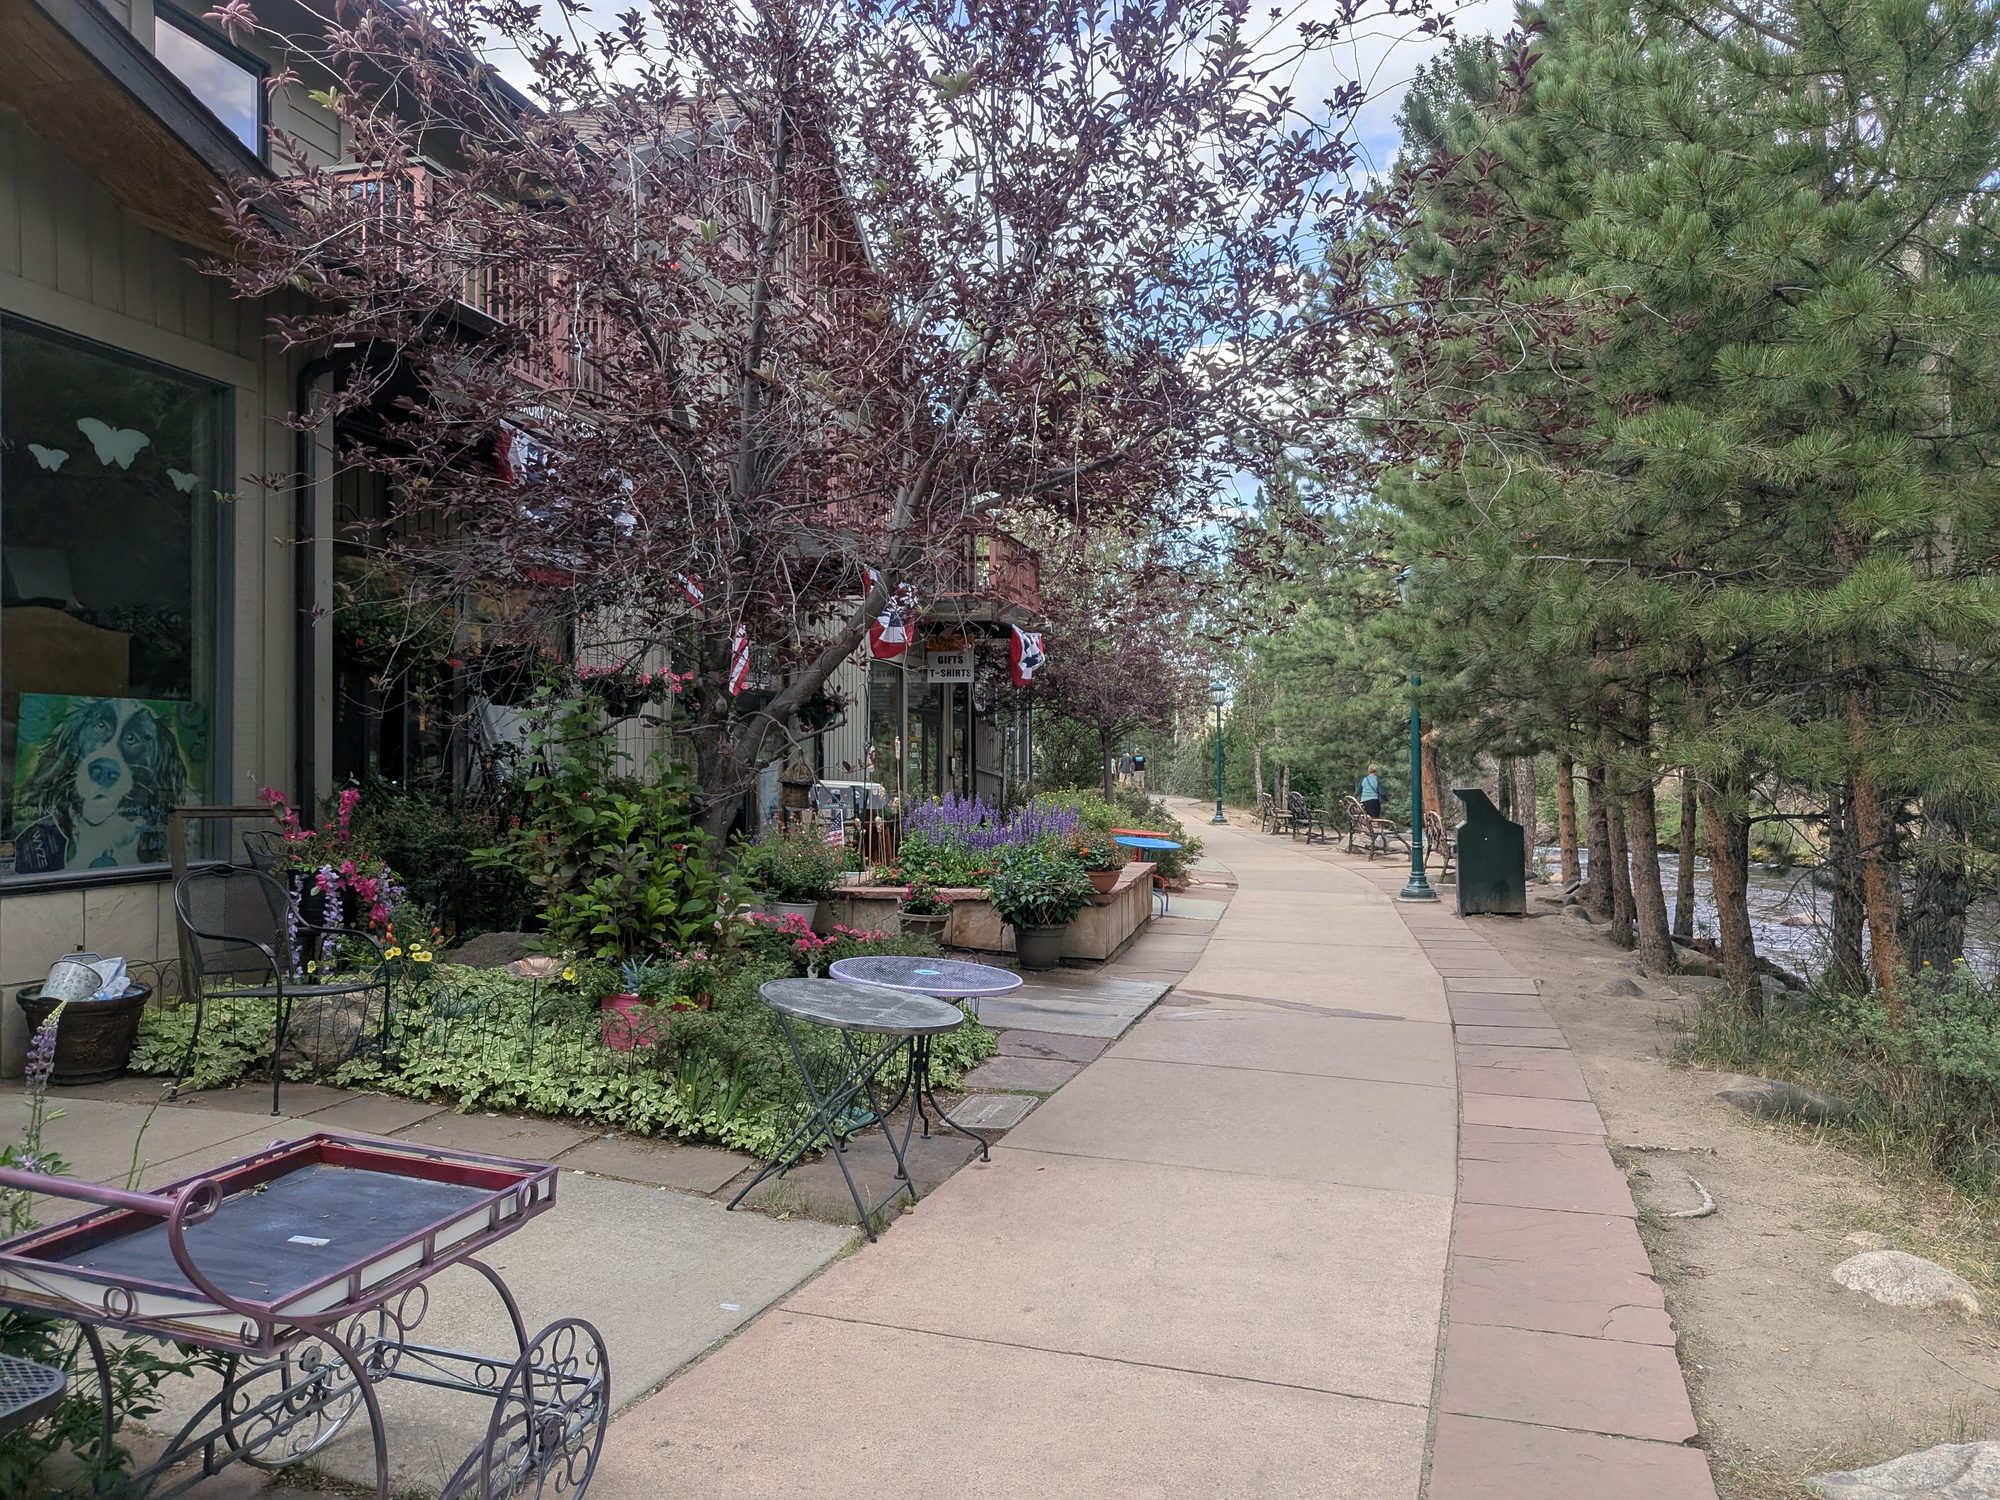
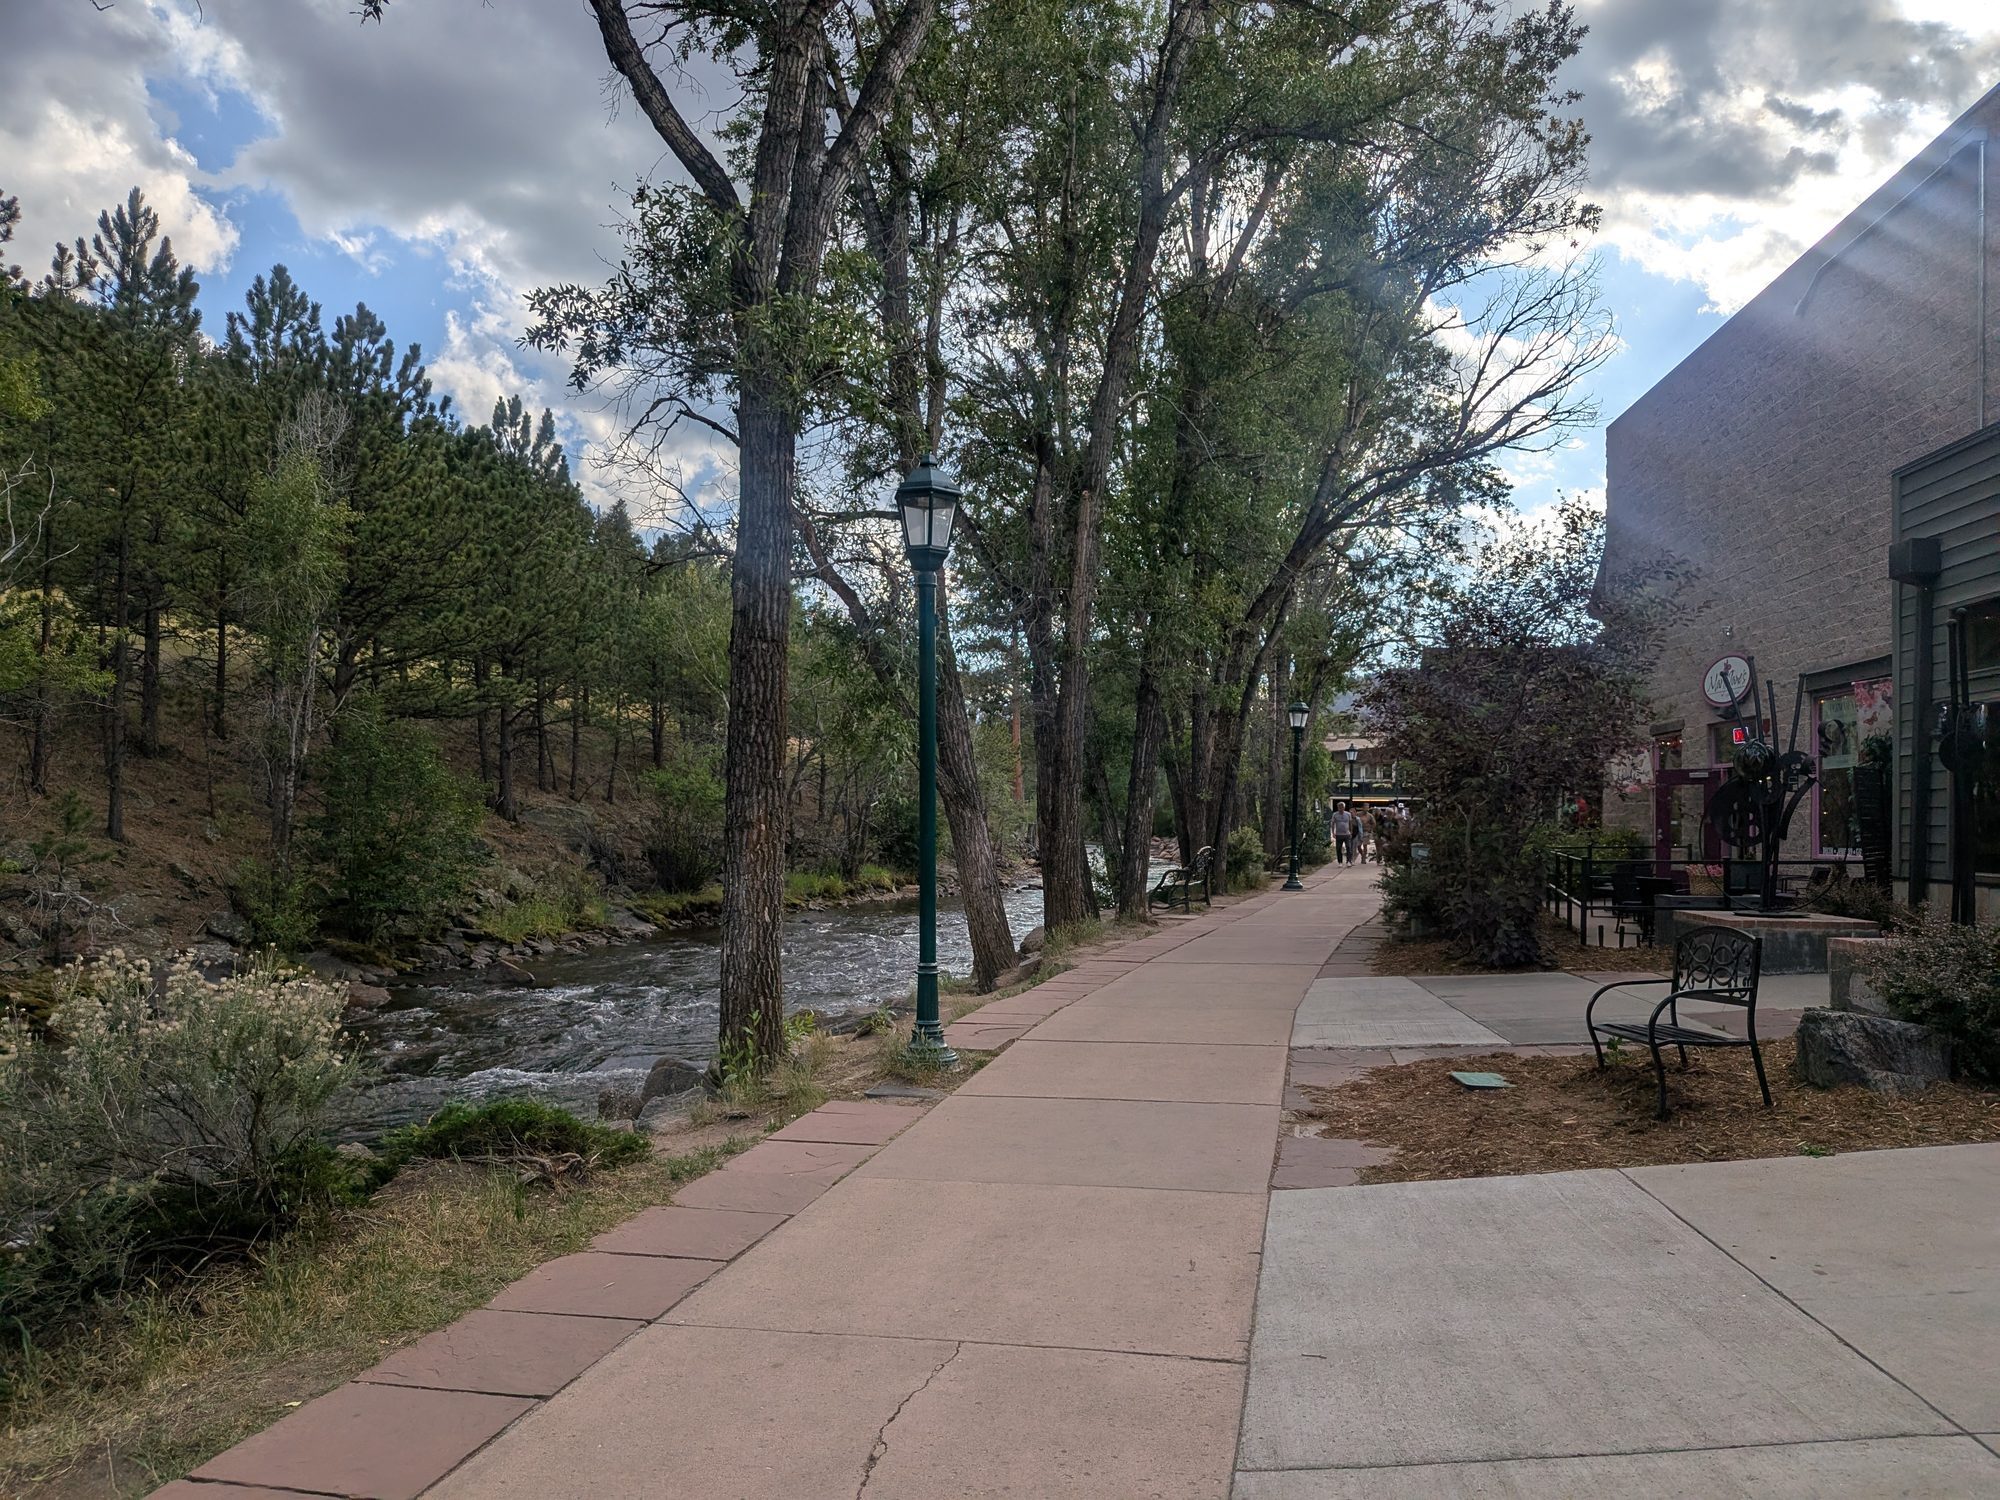
On our Thursday evening, we took a stroll along the Riverwalk. It follows the Big Thompson and Fall Rivers right through downtown, with plenty of benches and spots to sit and watch the river. It's an easy, relaxing way to end a park day with kids.
Strolling the Estes Park Riverwalk
Here's what you'll find along the way:
George Hix Riverside Plaza, where the two rivers meet, with bridges, sculptures, and seating
Coffee shops, including Inkwell & Brew and Kind Coffee, both local favorites
Restaurants with outdoor seating, such as Claire's Restaurant & Bar, The Wheel Bar, and Antonio's Real New York Pizza
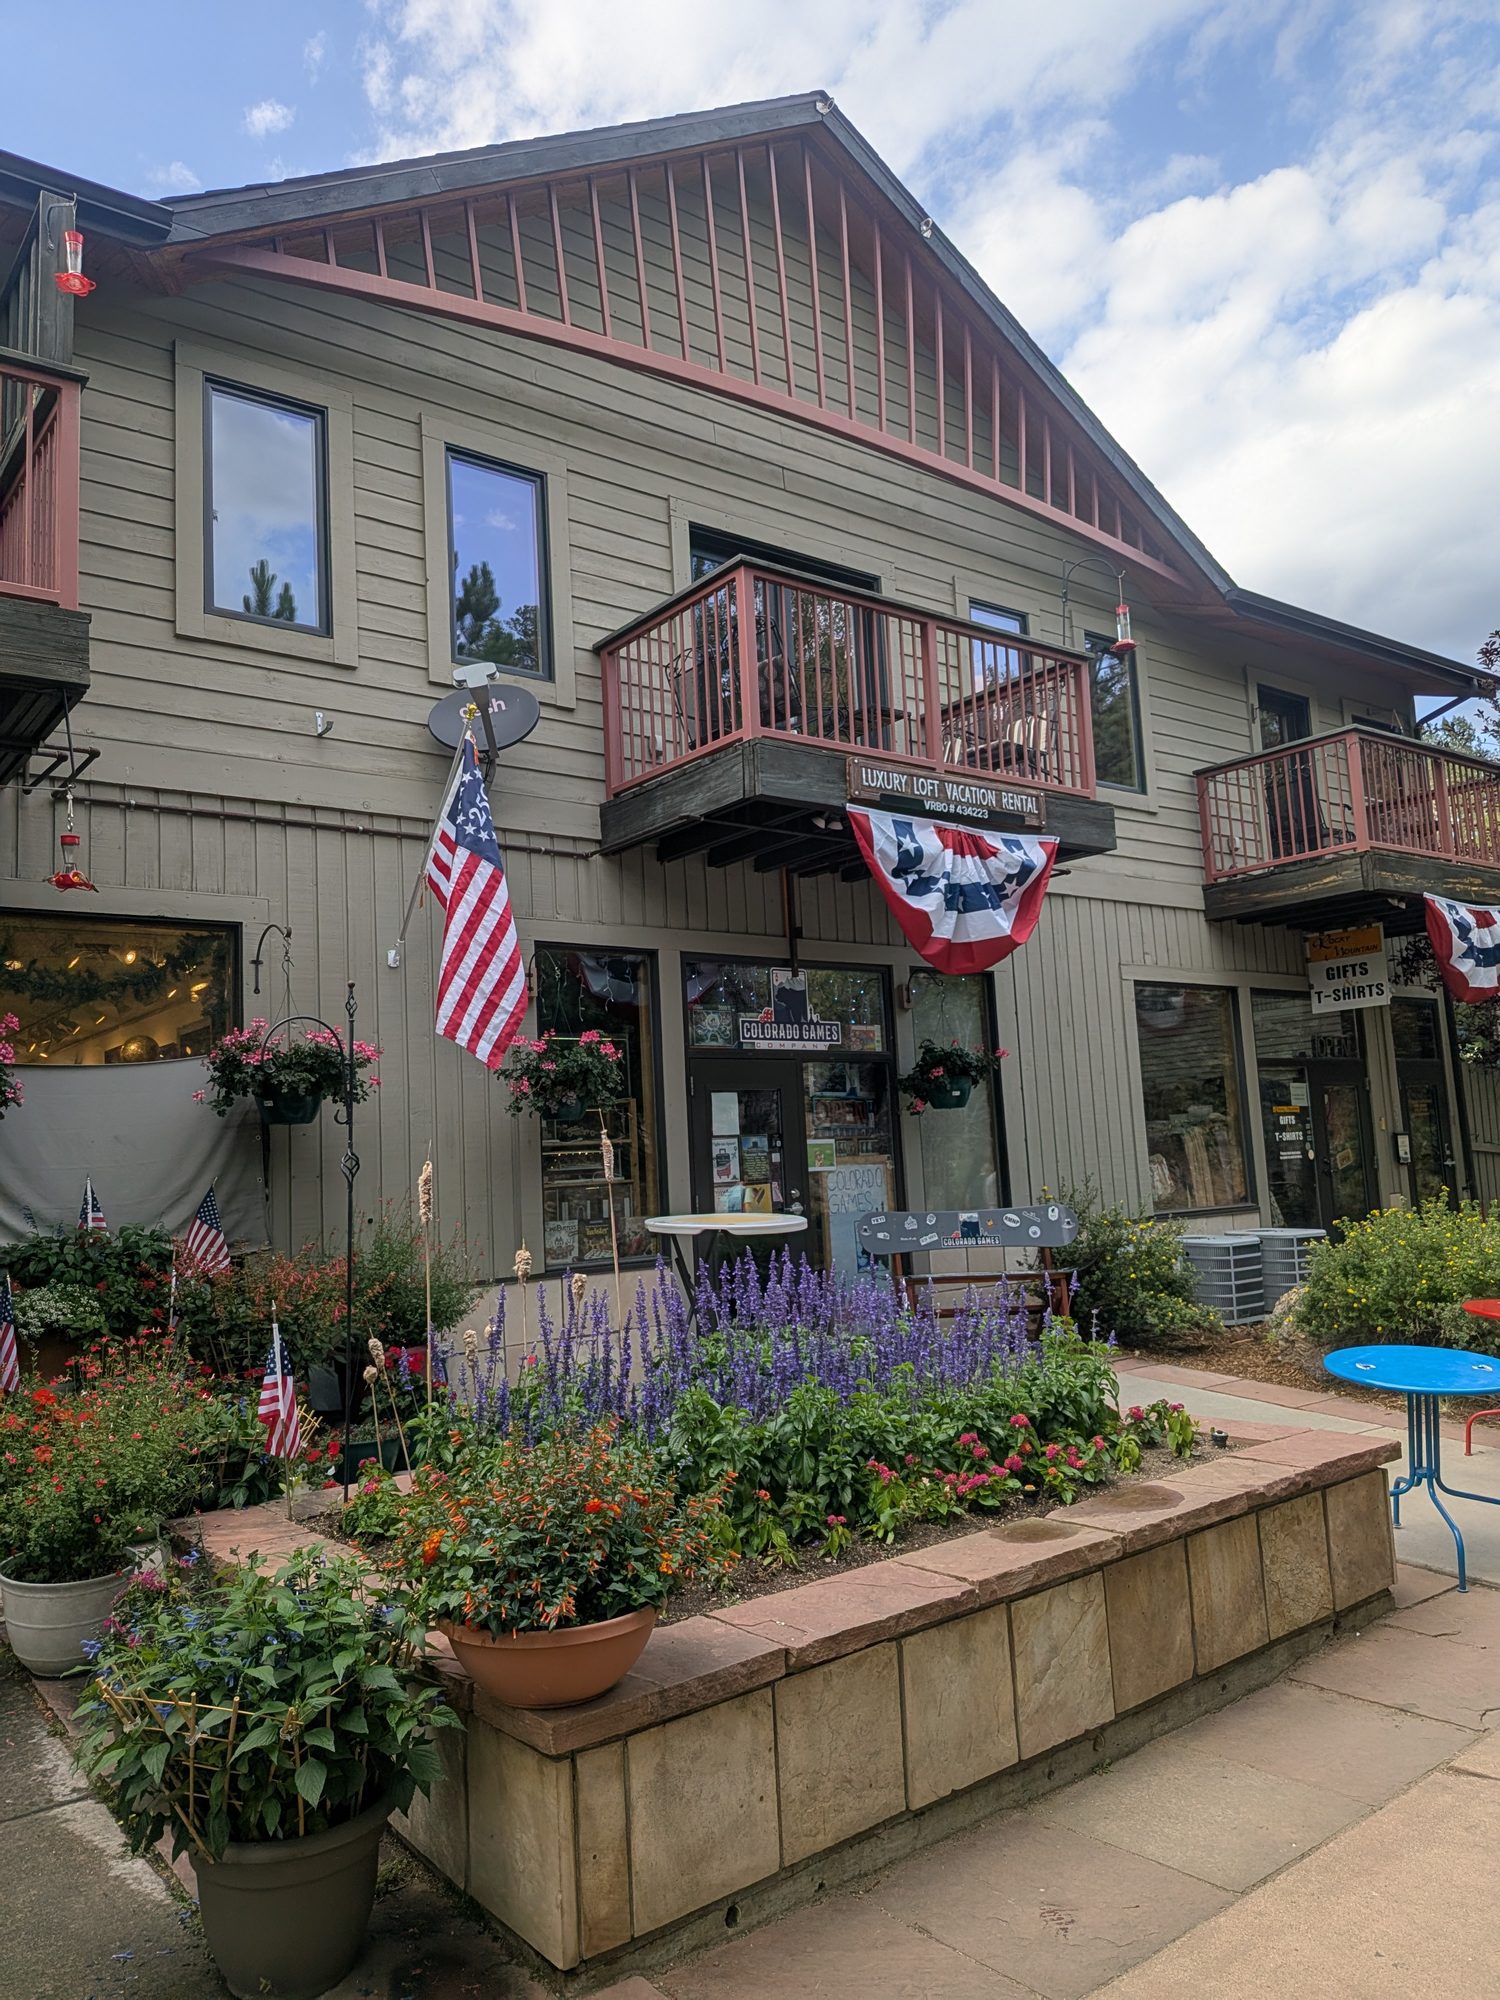
Souvenir shops, galleries, and boutiques, which spill over onto Elkhorn Avenue
We didn't eat on the Riverwalk, so we can't speak to the food. We did notice that several of the riverside restaurants had fairly low Google ratings. Even so, they were busy around 6:30 p.m. on a Thursday. The location alone draws people in, so read recent reviews if you're planning a sit-down meal there.
Shops along the Riverwalk and Elkhorn Avenue
Our 3-Night Estes Park Itinerary at a Glance
Day
What we did
Day 1 (arrival)
Land at Denver International Airport, pick up the rental car, dinner at Pumphouse Brewery in Longmont, check in at Expedition Lodge
Day 2
Trail Ridge Road and the Alpine Visitor Center, dinner at Indian Bites
Day 3
Bear Lake Road, the Dream Lake hike, Sprague Lake, and Moraine Park, then an evening on the Riverwalk
Day 4 (departure)
Breakfast at Rocky Mountain Crepe Company, drive back to Denver for an afternoon flight
Tips for Visiting Estes Park with Kids
Book your park timed entry first. Hotels are easier to find than reservations on busy summer dates. Our Rocky Mountain National Park guide explains how the reservations work.
Plan breakfast outside the hotel if your stay includes only a basic breakfast, especially if you're managing food allergies.
Pack lunches for park days. There's very little food inside the park, so a grocery stop in town makes park days easier.
Save evenings for downtown. The Riverwalk and Elkhorn Avenue are best after a long day outdoors, when kids are ready for something low-key.
Give yourself extra time on departure day. The drive to the airport plus rental car return and the train out to the gates add up.
FAQ
How far is Estes Park from Denver International Airport?
Estes Park is about 70 miles from Denver International Airport, roughly a 1.5 to 2 hour drive depending on traffic and route.
Is there a good place to stop between Denver airport and Estes Park?
Longmont is about halfway. We had dinner at Pumphouse Brewery on Main Street, which had good food, a big beer list, and handled food allergies well.
Is Expedition Lodge in Estes Park good for families?
It's a solid budget-friendly base. The rooms are dated, but the second-floor patio and arcade room are great for families. The included breakfast is basic.
Is the Estes Park Riverwalk worth visiting with kids?
Yes. It's an easy, flat walk through downtown with river views, benches, coffee shops, and souvenir stores. It's a relaxing way to spend an evening.
Do you need a car in Estes Park?
Yes. Downtown is walkable, but you'll need a car to reach the park entrances, trailheads, and the Bear Lake Road Park & Ride.
Final Thoughts
Estes Park made an easy, practical base for our Rocky Mountain National Park trip. The drive from Denver is straightforward with a dinner stop in Longmont. Expedition Lodge gave us a comfortable place to rest, and downtown had enough good food and evening strolls to round out each day. Book your timed entry early, plan your breakfasts, and then head to our Rocky Mountain National Park with kids guide to plan your days in the park.
If you're planning a trip to Rocky Mountain National Park with kids and want big mountain views without a hard, all-day hike, this is the plan we used. We spent two days in the park in mid-July with our 10-year-old. One day was the Trail Ridge Road scenic drive up to the Alpine Visitor Center. The other was Bear Lake Road, where we took the shuttle and hiked to Dream Lake.
Both days were very doable for a family, and both gave us some of the best scenery we've seen on any trip. Here's exactly what we did, what we skipped, and what we'd tell a friend before they go.
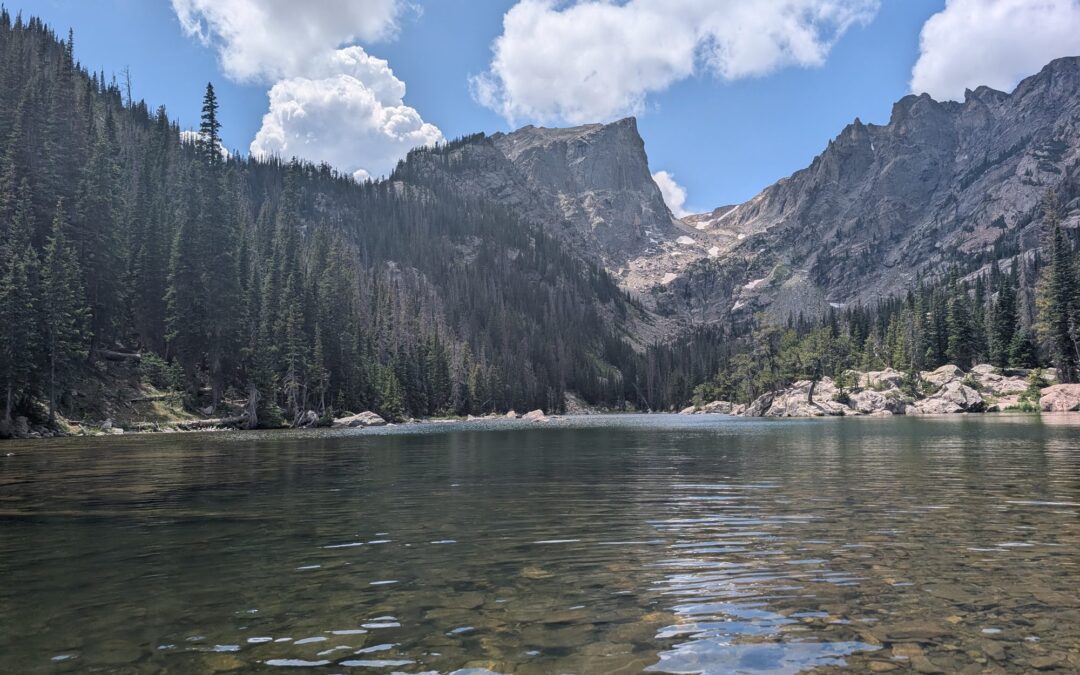
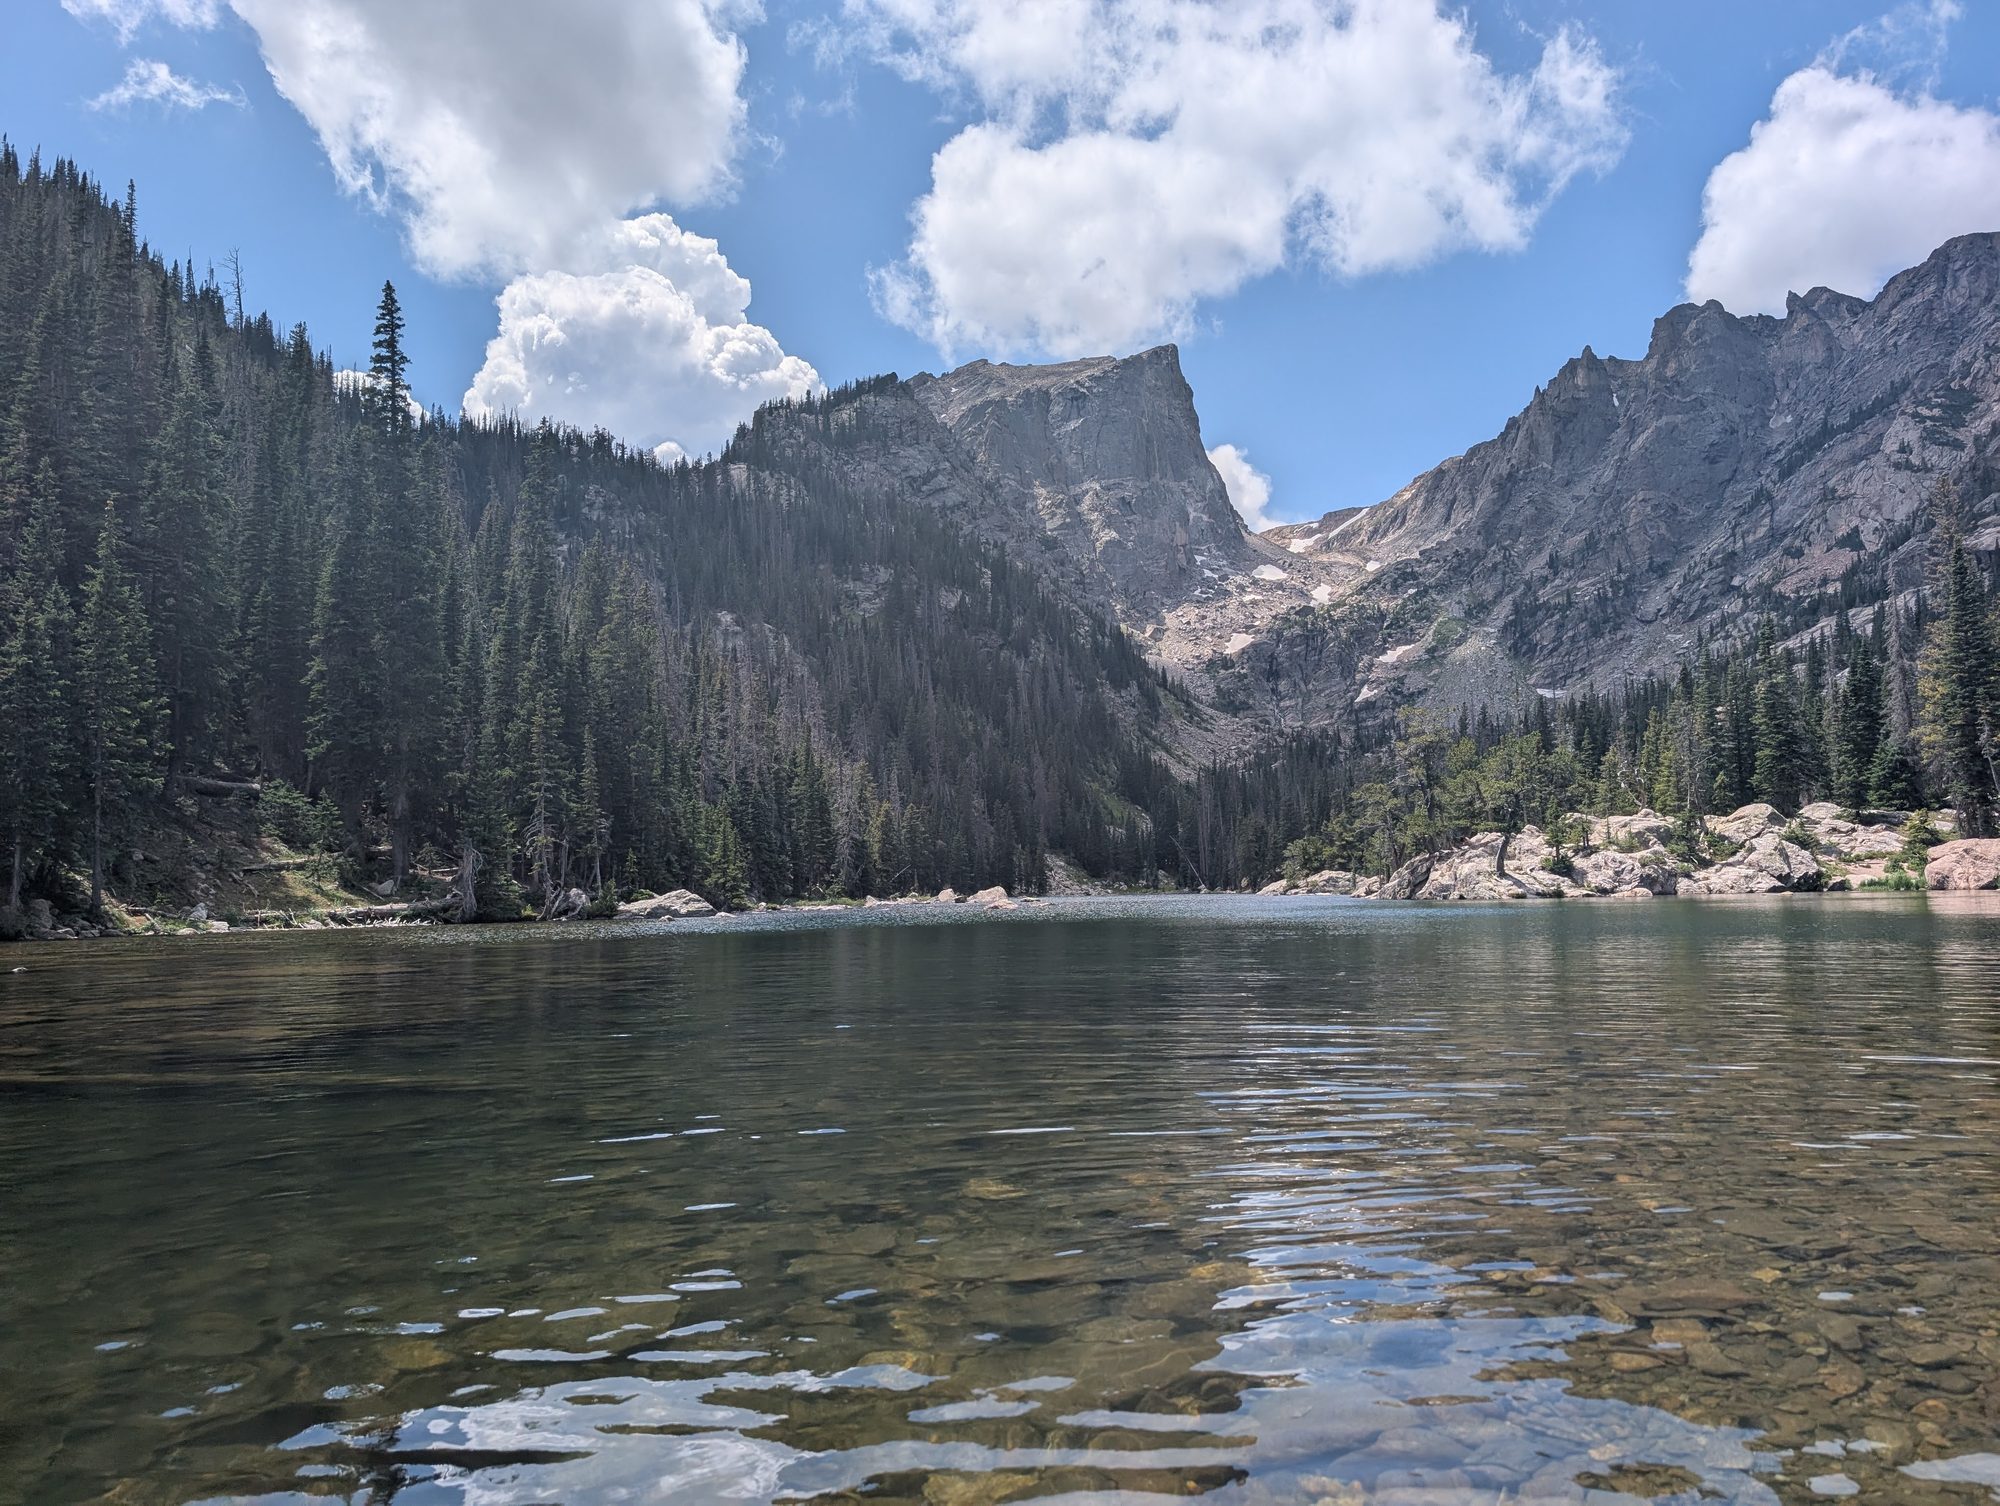
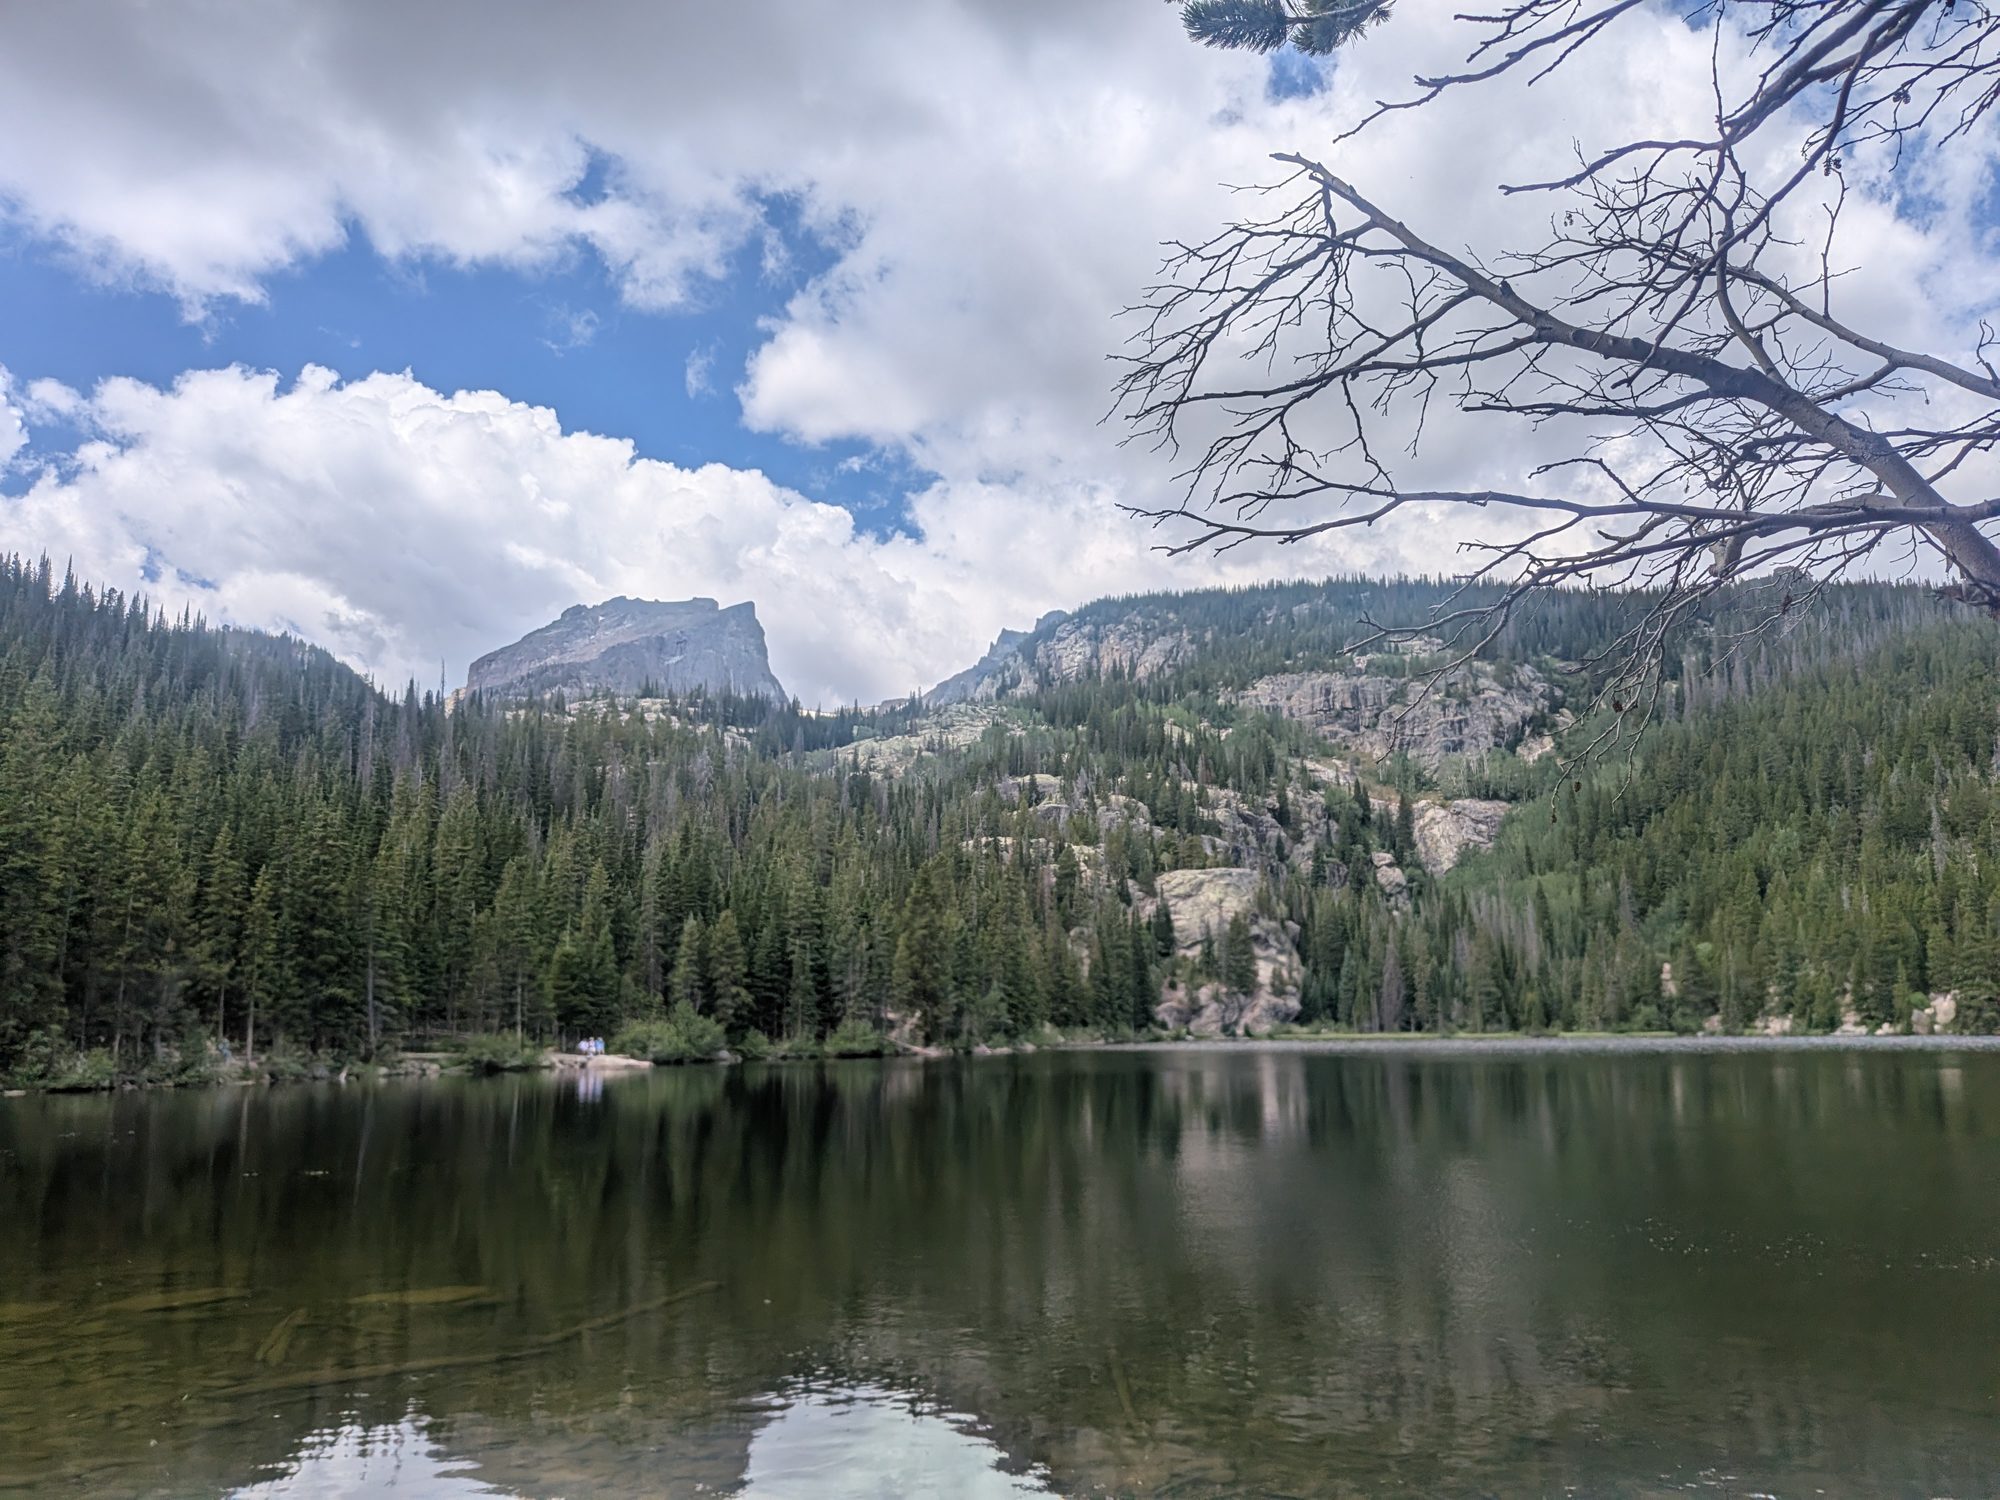
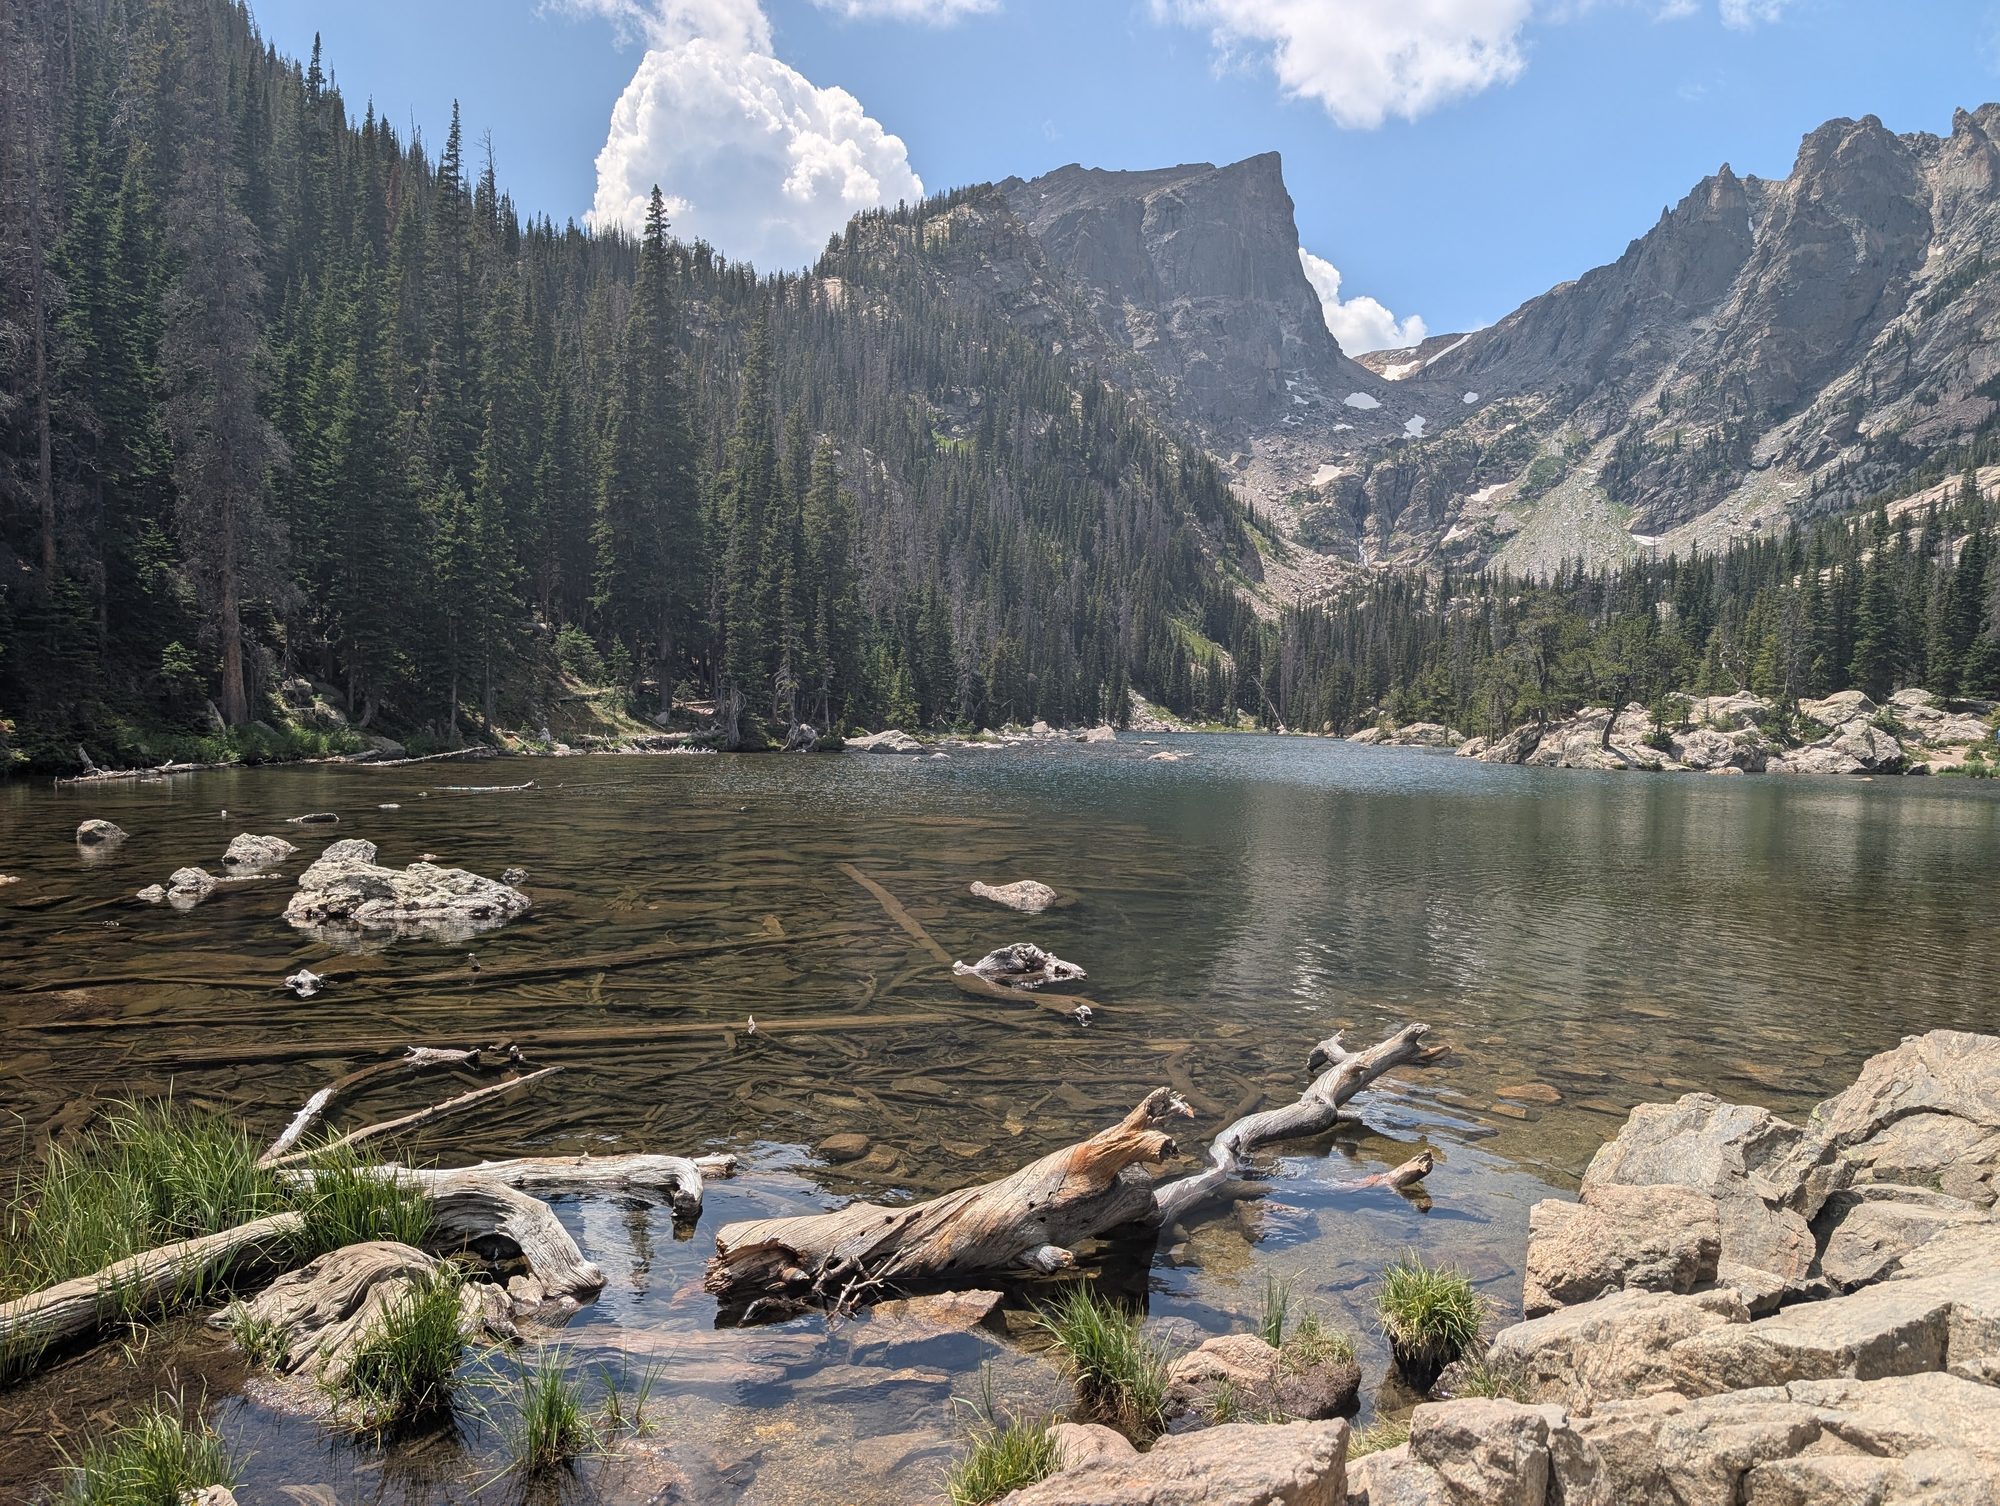
Dream Lake, the turnaround point of our hike, with Hallett Peak behind it
Quick Summary
Day 1: Trail Ridge Road. Four scenic overlooks plus the Alpine Visitor Center at nearly 12,000 feet. Mostly driving, with short walks.
Day 2: Bear Lake Road. Park & Ride shuttle to Bear Lake, then an easy-to-moderate hike past Nymph Lake to Dream Lake (about 2.2 miles round trip, roughly 474 feet of elevation gain). We finished with Sprague Lake and Moraine Park.
Reservations: In summer you need a timed entry reservation, and Bear Lake Road needs its own reservation type.
Best for: Kids about 6 and up who can handle a steady uphill walk at altitude.
Where we stayed: Estes Park, about 15 minutes from the Beaver Meadows Entrance. See our Estes Park family guide for the hotel, the drive from Denver, and where we ate.
Rocky Mountain National Park Timed Entry: What Families Need to Know
From late May to mid-October, Rocky Mountain National Park uses a timed entry reservation system. This is the first thing to sort out, because popular days sell out. There are two types:
Reservation type
What it covers
When you need it
Timed Entry+ (Bear Lake Road)
Bear Lake Road corridor plus the rest of the park
Entering between 5 a.m. and 6 p.m.
Timed Entry (park only)
Everything except Bear Lake Road, including Trail Ridge Road
Entering between 9 a.m. and 2 p.m.
Reservations open on Recreation.gov at 8 a.m. Mountain Time on the first of the month before your visit. A second batch is released at 7 p.m. the night before.
The reservation itself only carries a $2 processing fee. You still need a park entrance pass. As of summer 2026, a private vehicle pass is $30 for one day or $35 for seven days, and an annual America the Beautiful pass is $80. Check the NPS fees page before you go.
Each reservation is for a two-hour arrival window. You can stay as long as you like once you're in.
We booked a Bear Lake Road reservation for 10 a.m. on our second day. It also lets you into the rest of the park, so it's the more flexible of the two. On a weekday in July, we didn't wait long at the gate either day. On our Bear Lake day we arrived between 10:30 and 11 a.m., and it took about two minutes to get through.
Day 1: Driving Trail Ridge Road with Kids
Trail Ridge Road crosses the park and climbs above 12,000 feet, so you go from pine forest to open alpine tundra in under an hour. It's the easiest way to see the high country with kids, because most of the views are a short walk from the parking lot.
Plan on most of a day for the round trip from Estes Park with stops. Bring layers. It was warm in town and noticeably cooler and windier at the top. We also watched a thunderstorm build over the tundra by early afternoon, which is common in summer, so an earlier start is better.
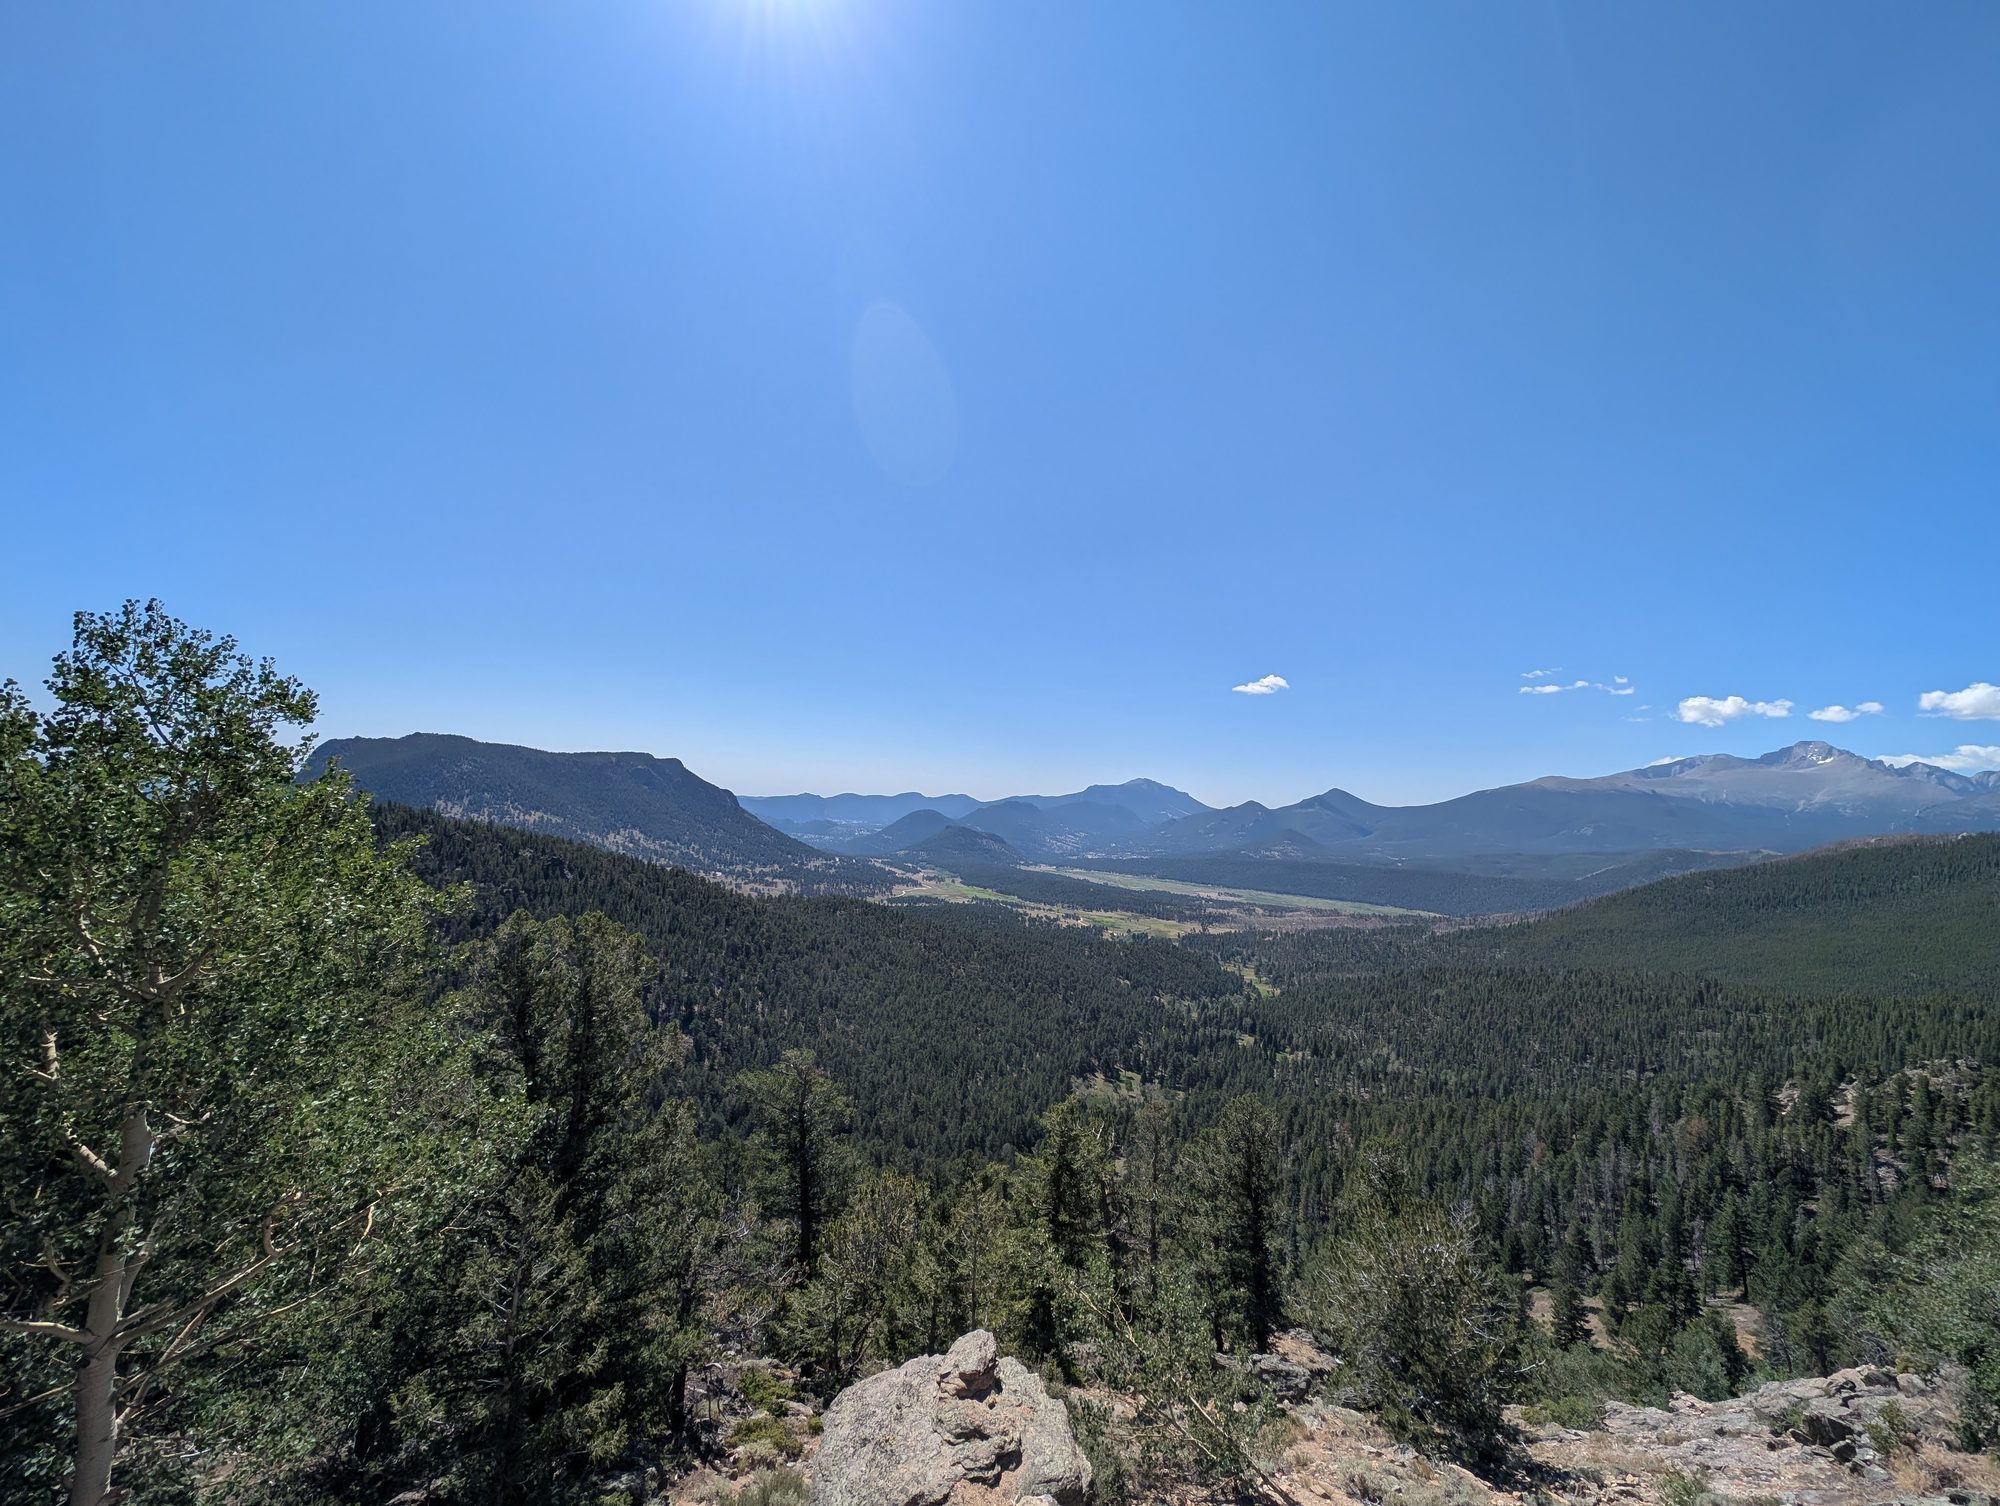
Many Parks Curve Overlook
This is the first big pullout as you climb. Plan on 10 to 15 minutes. You get wide views over the valleys and meadows below and the mountains around them. It's a good first stop to stretch your legs and let the kids get oriented.
The view from Many Parks Curve Overlook
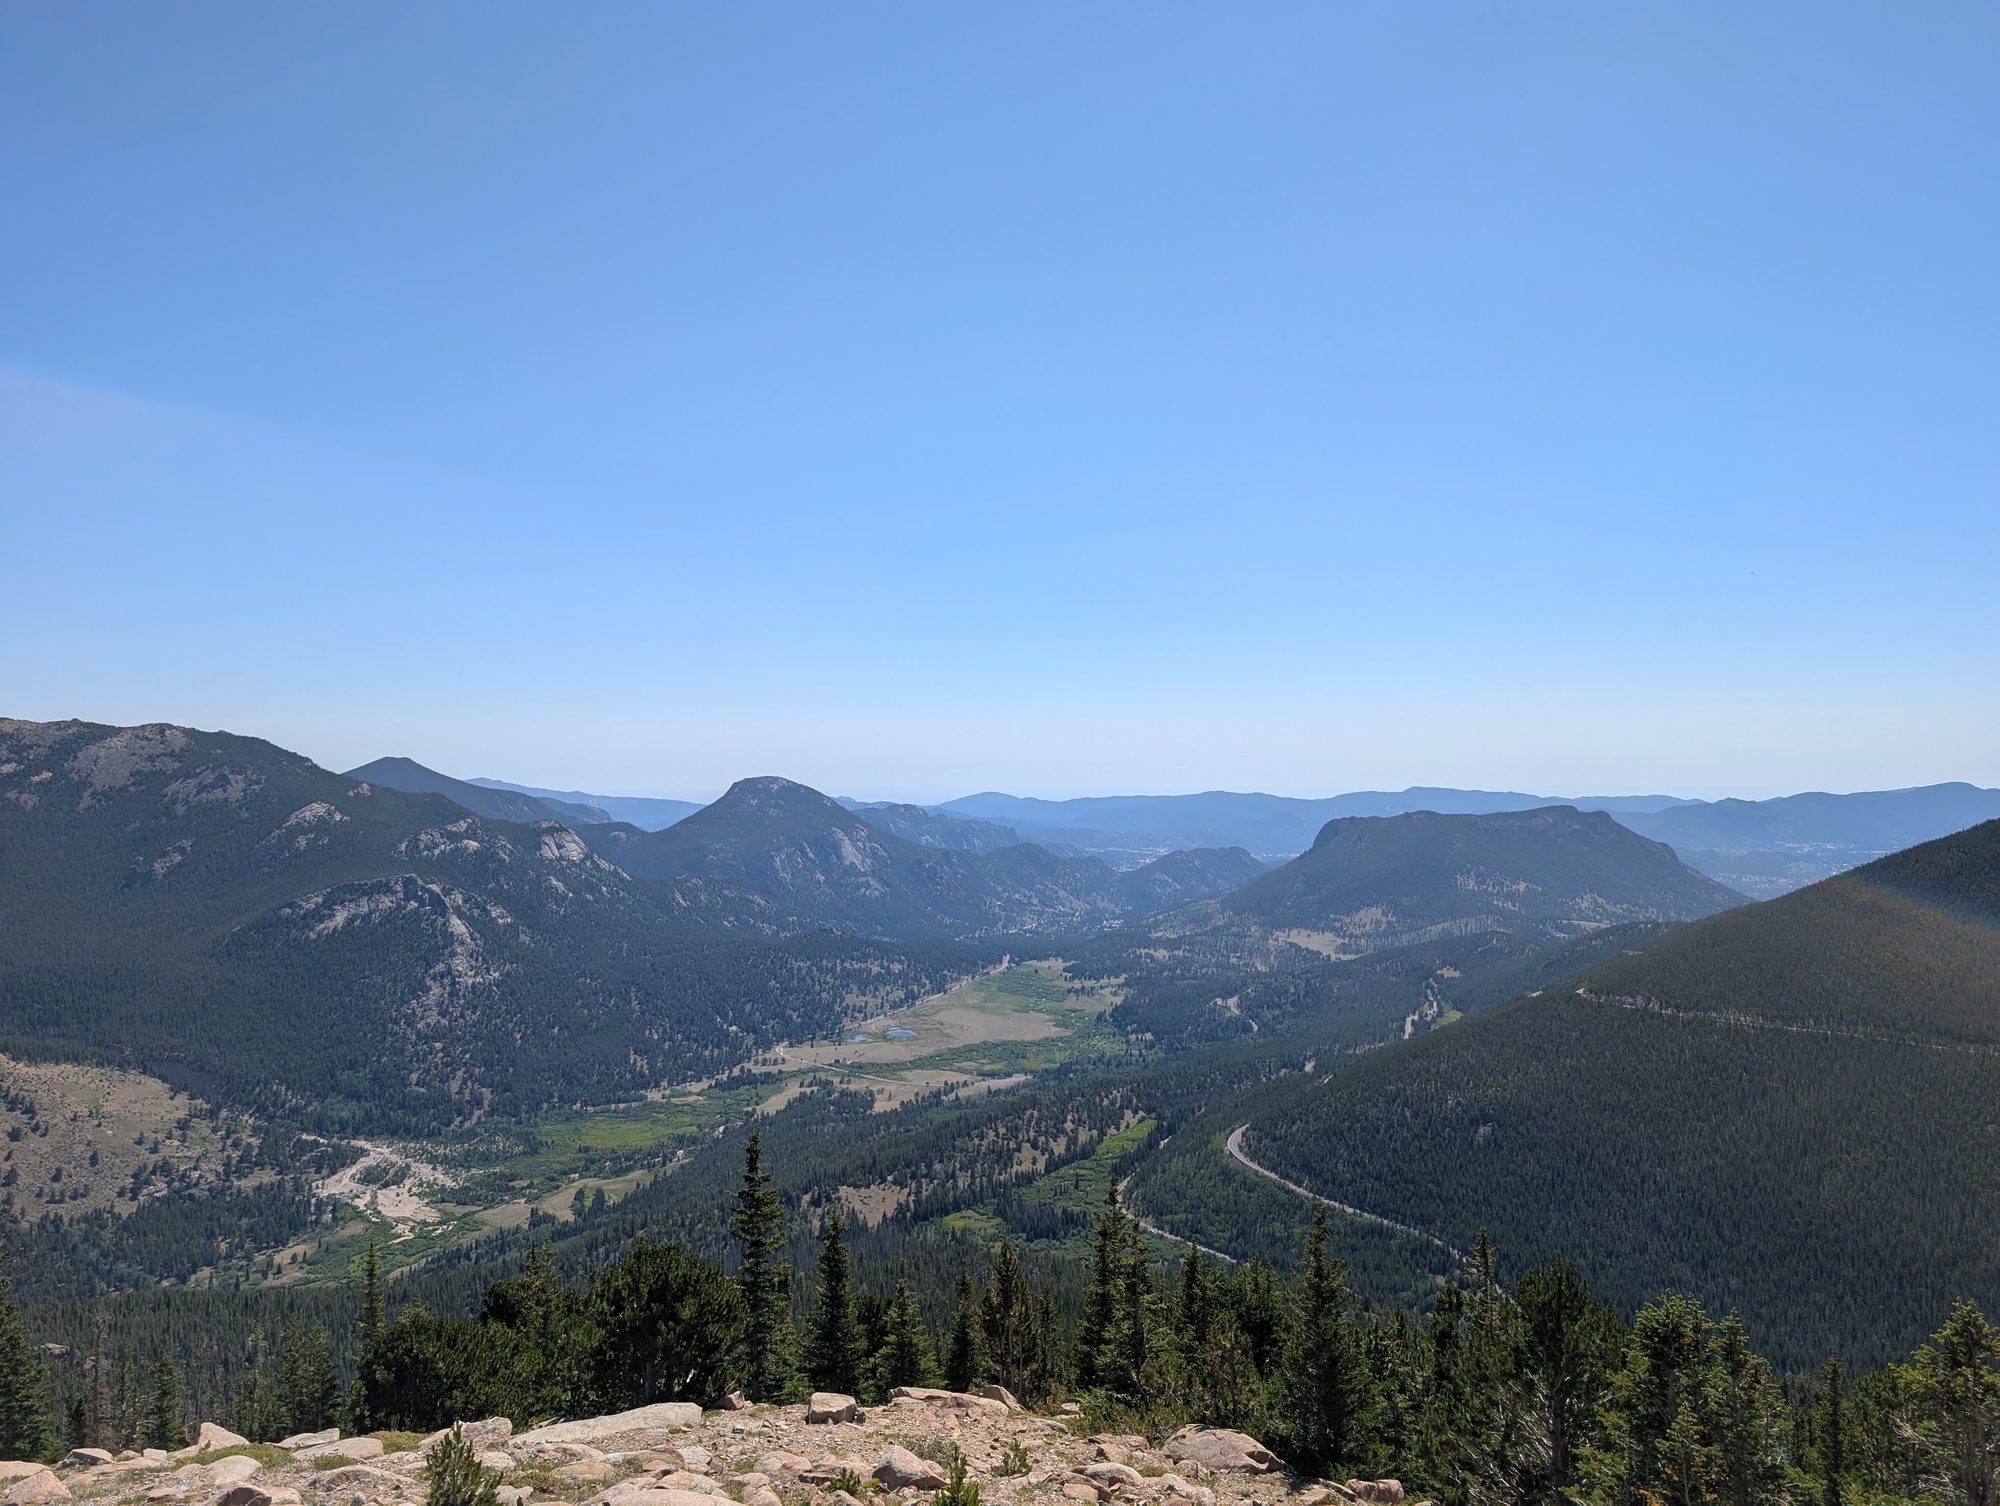
Rainbow Curve Overlook
Another 10 to 15 minute stop, higher up, where the trees start thinning out. Parking here is limited and can fill up. If it's full, don't circle for long. Skip it and try again on the drive back down.
Rainbow Curve, where you can see the road switchbacking below
Forest Canyon Overlook
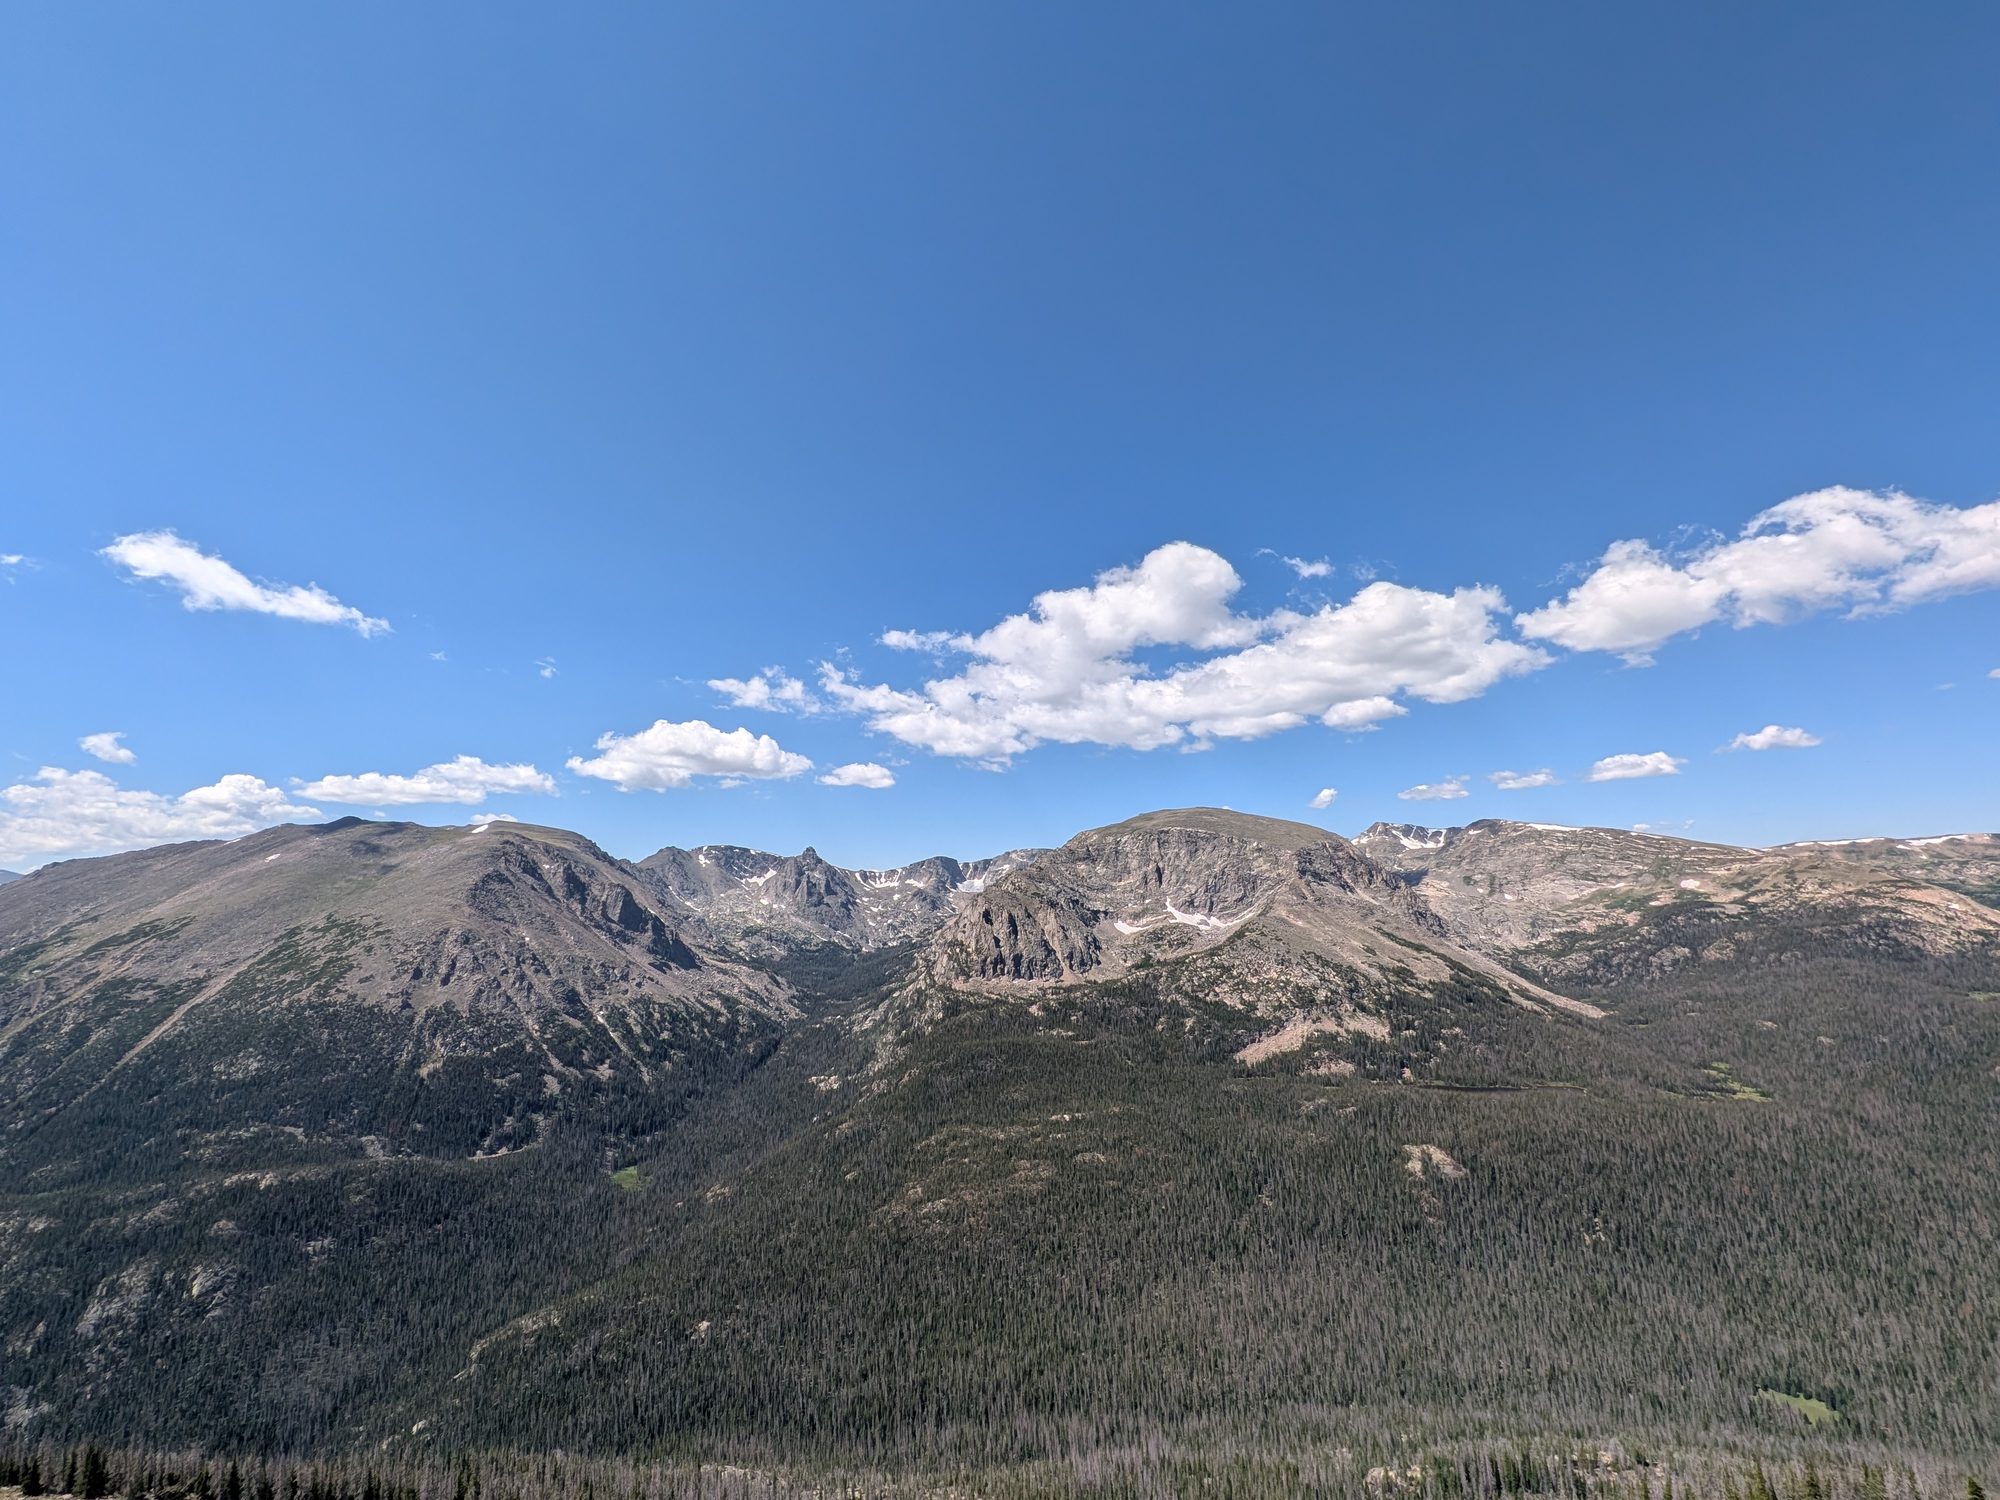
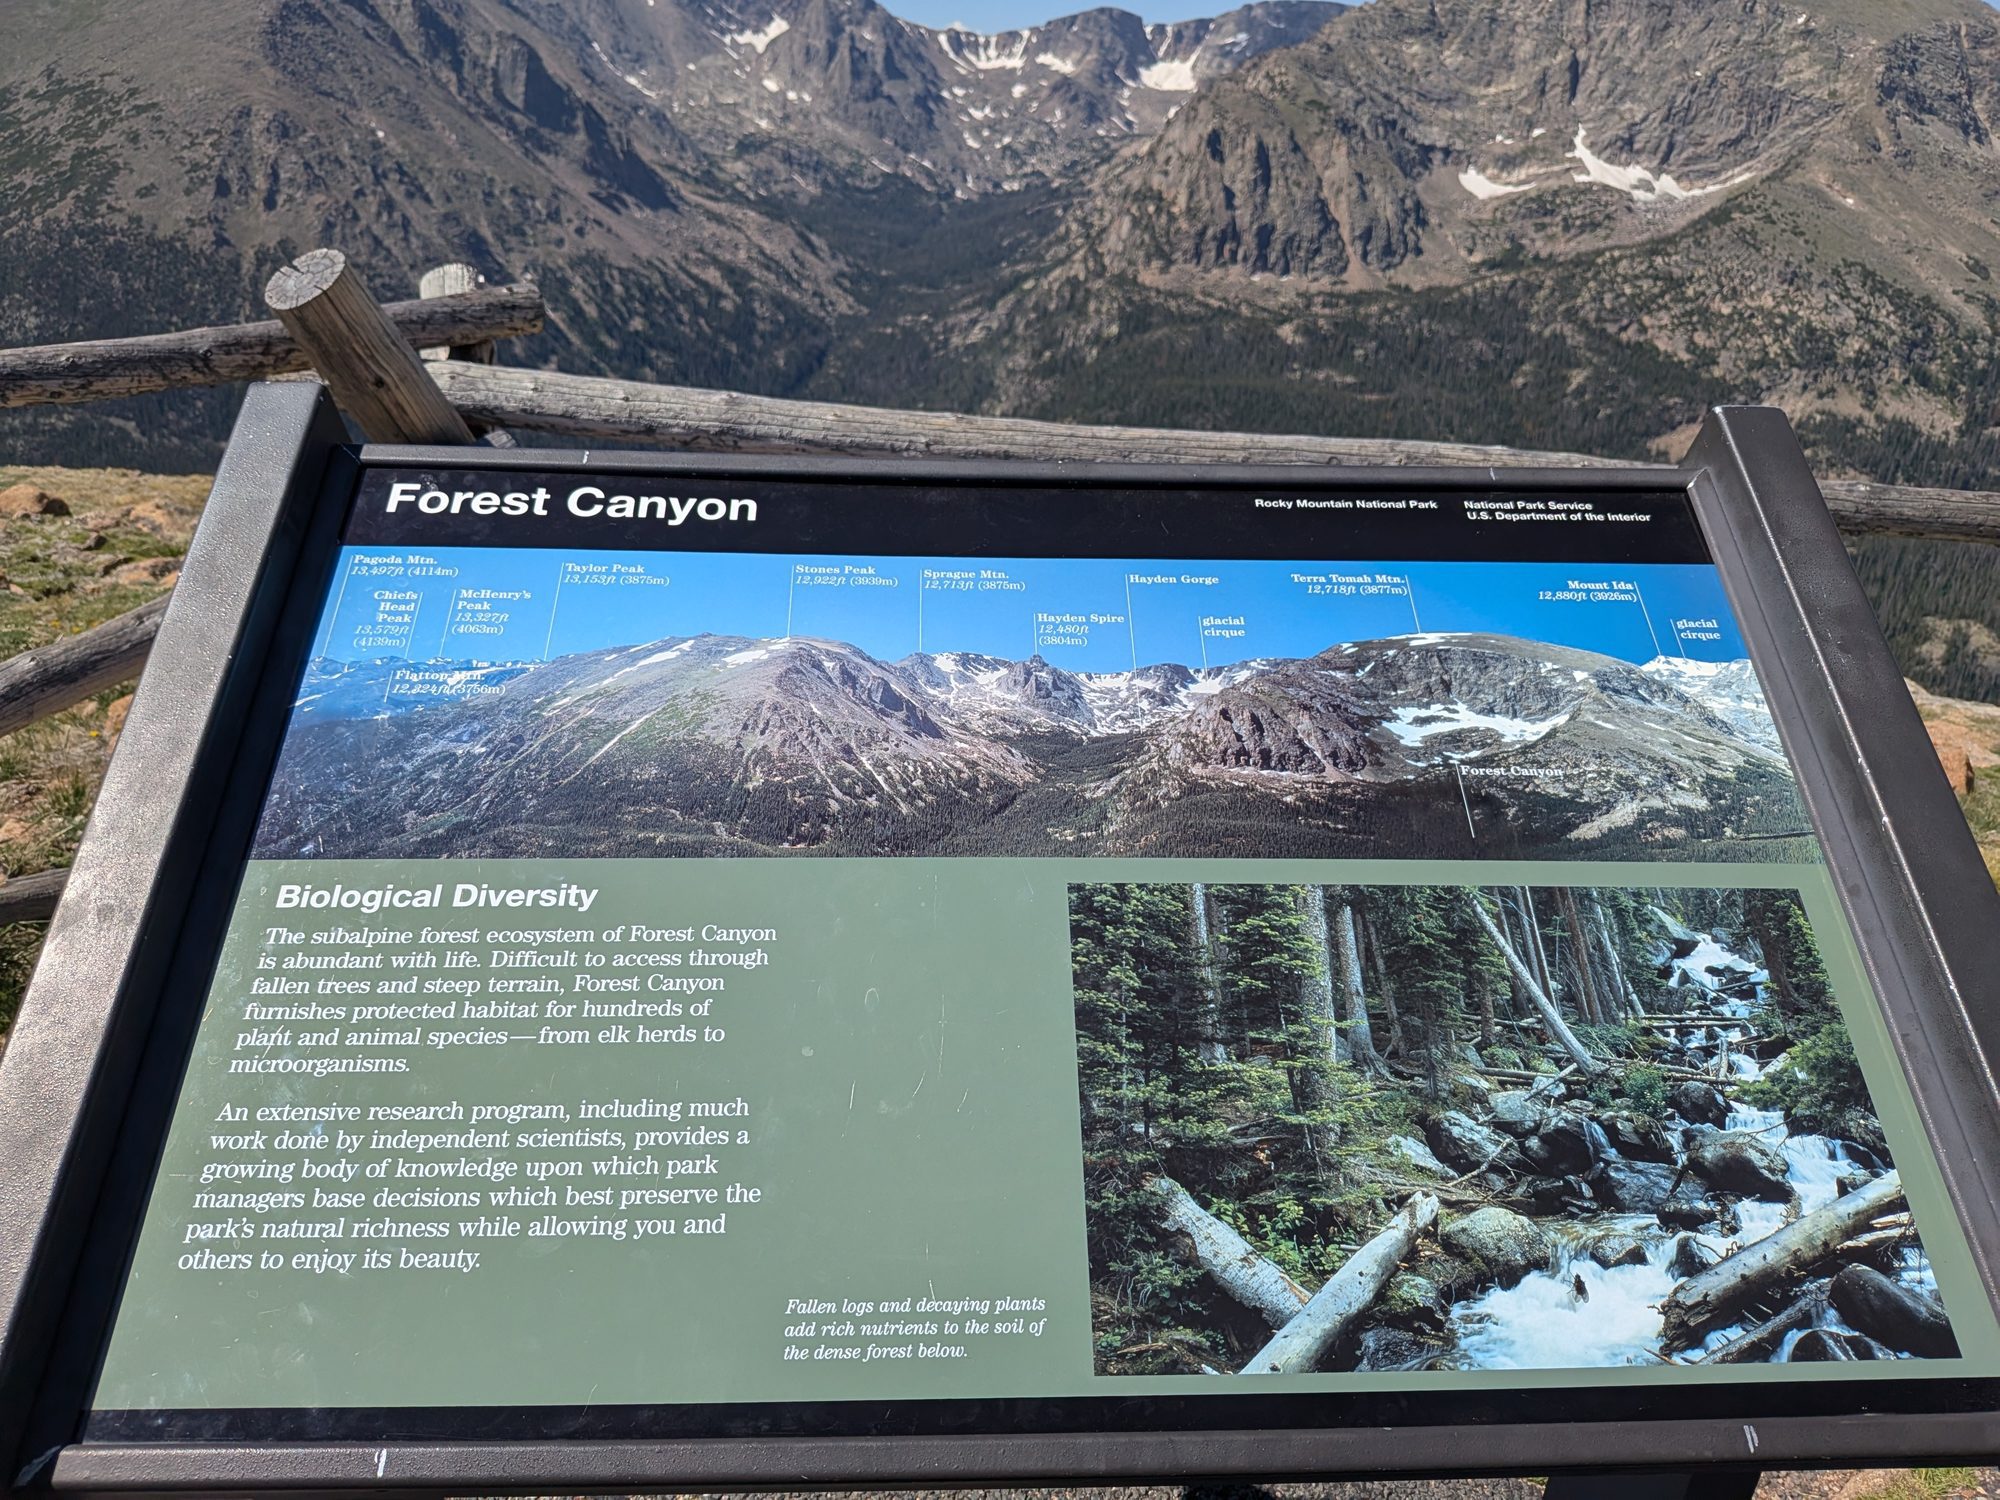
This was our favorite overlook. A short paved walkway leads out to a viewing platform looking straight into a deep glacier-carved canyon, with jagged peaks and summer snowfields on the far side. Give it 15 to 20 minutes. The interpretive signs are great for kids who like to know what they're looking at.
Forest Canyon Overlook, the best view of the drive in our opinion
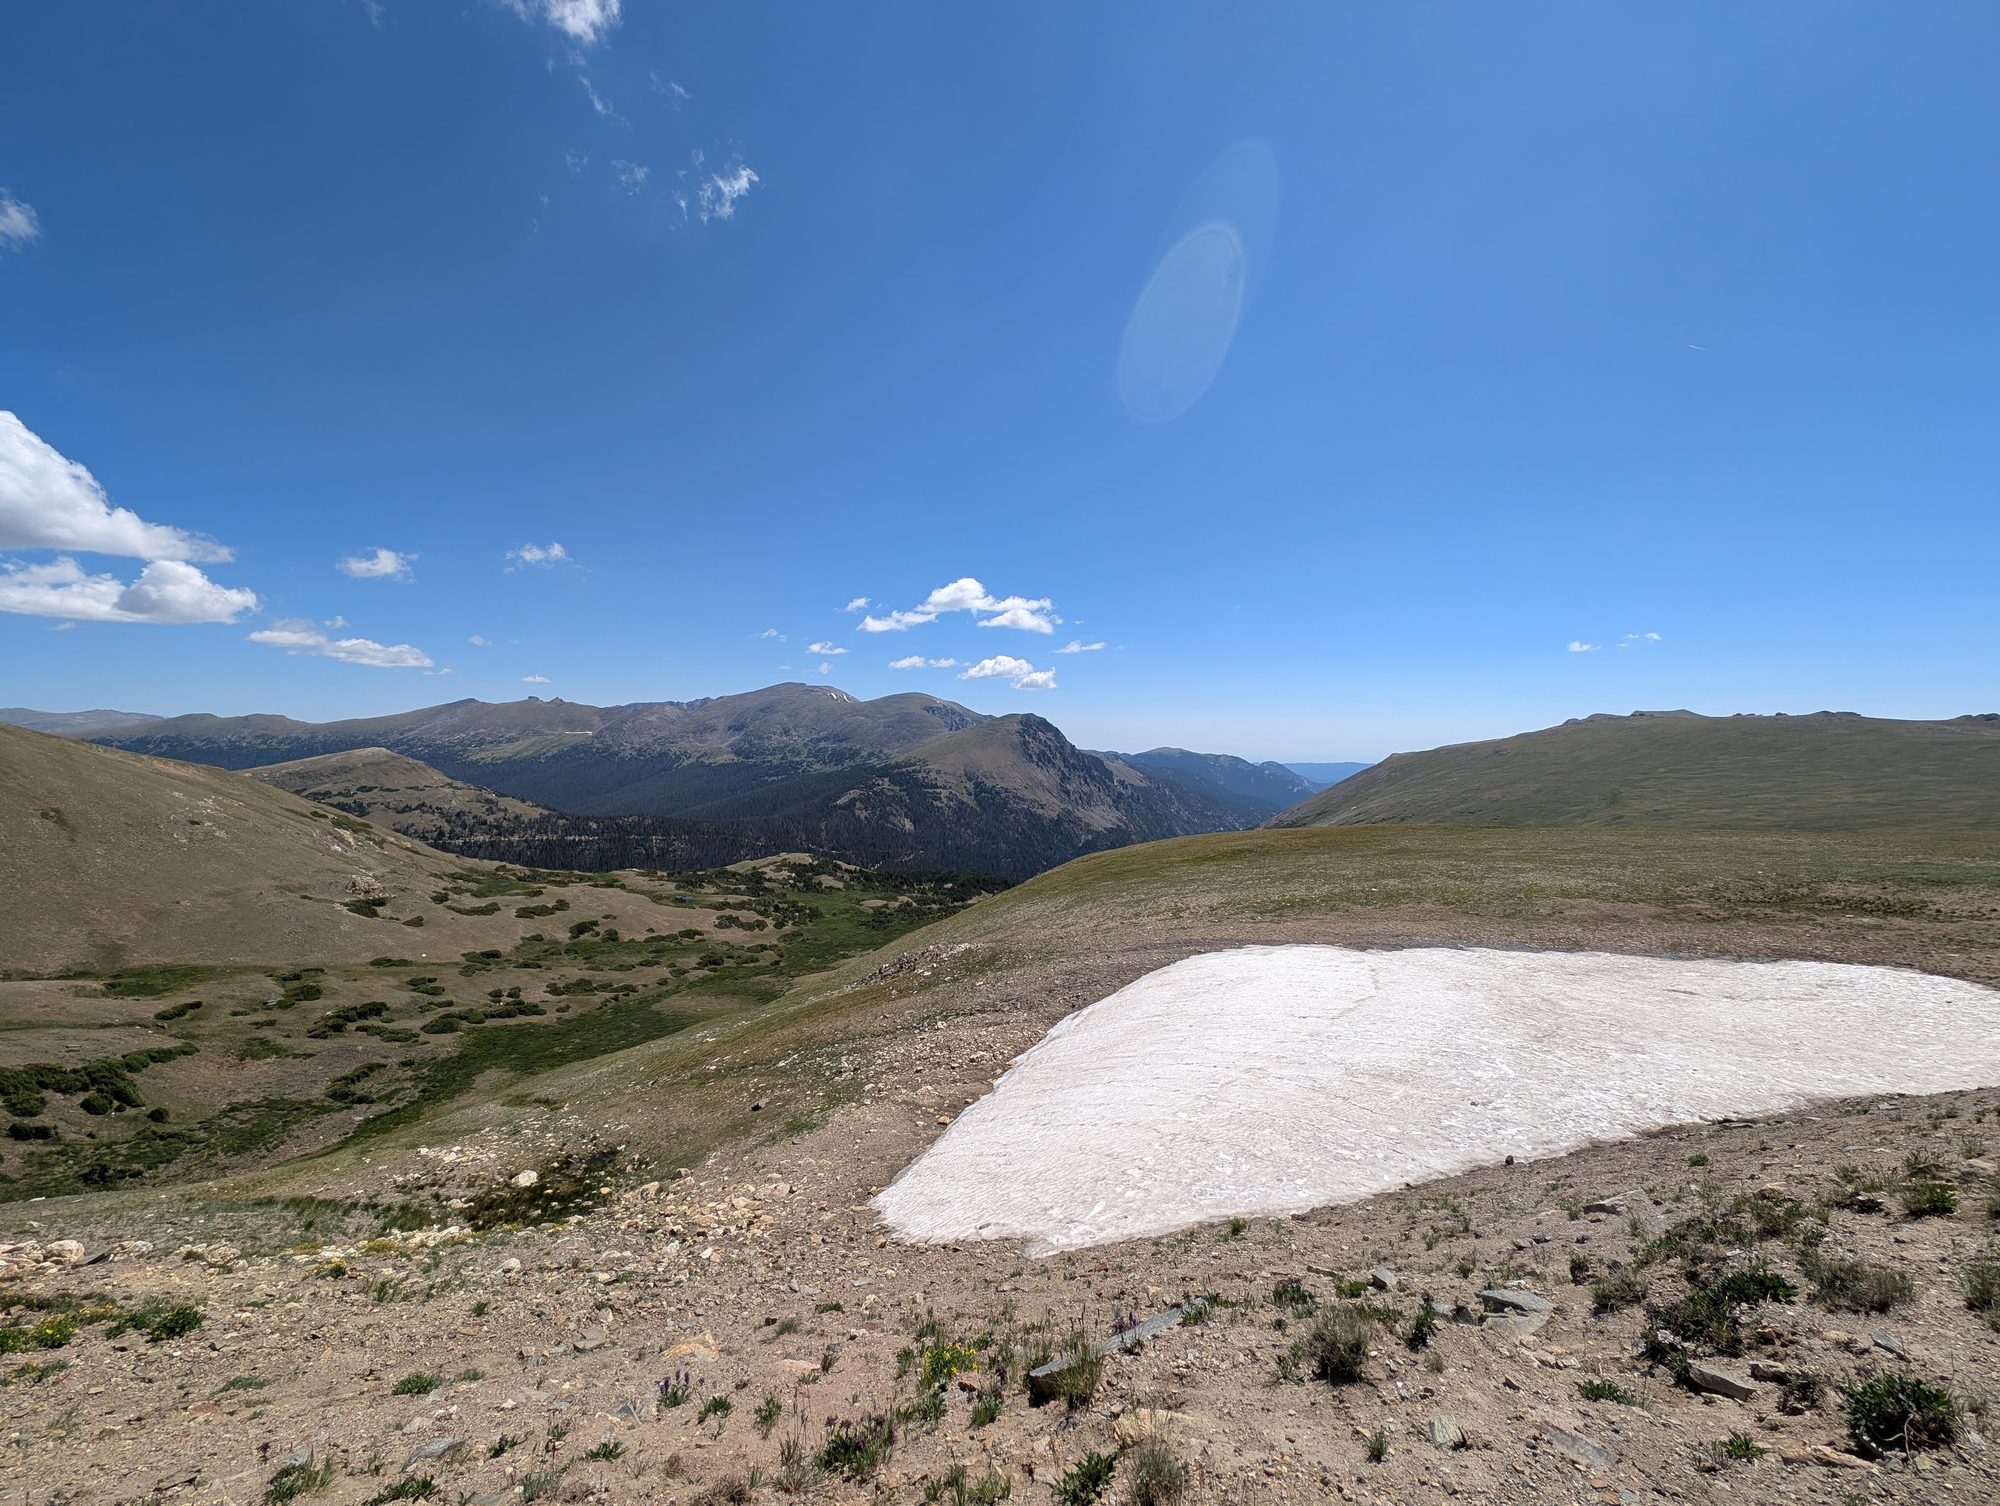
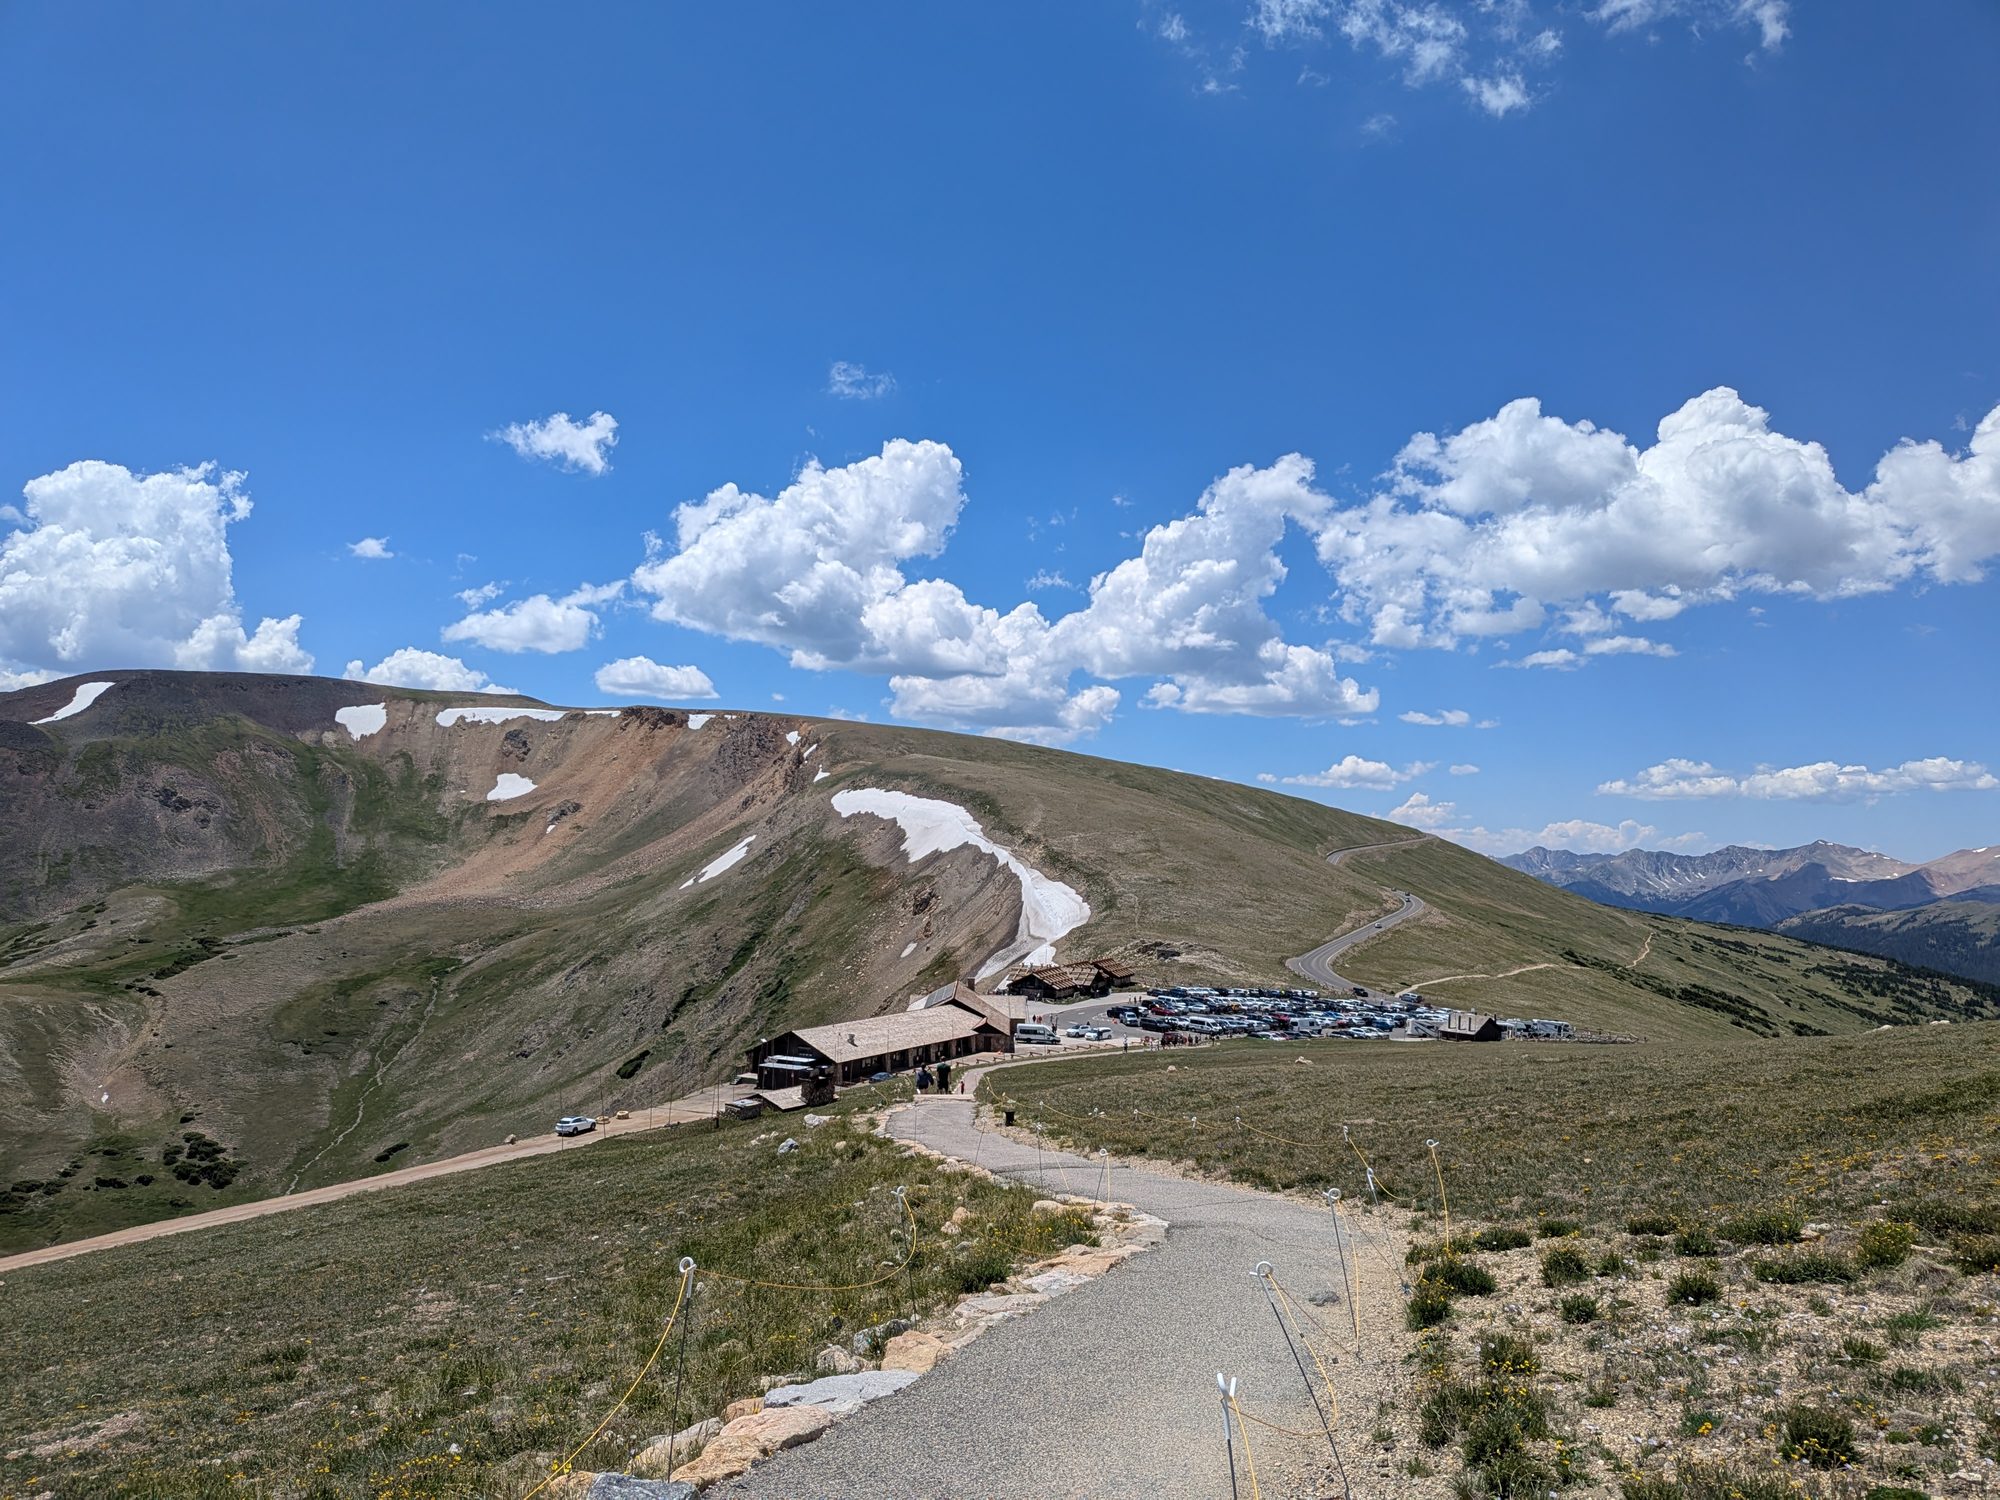
Past Forest Canyon you're fully above the treeline. Even in mid-July we saw snowfields right next to the road, which our son thought was the coolest thing of the day.
Snow on the tundra in the middle of July
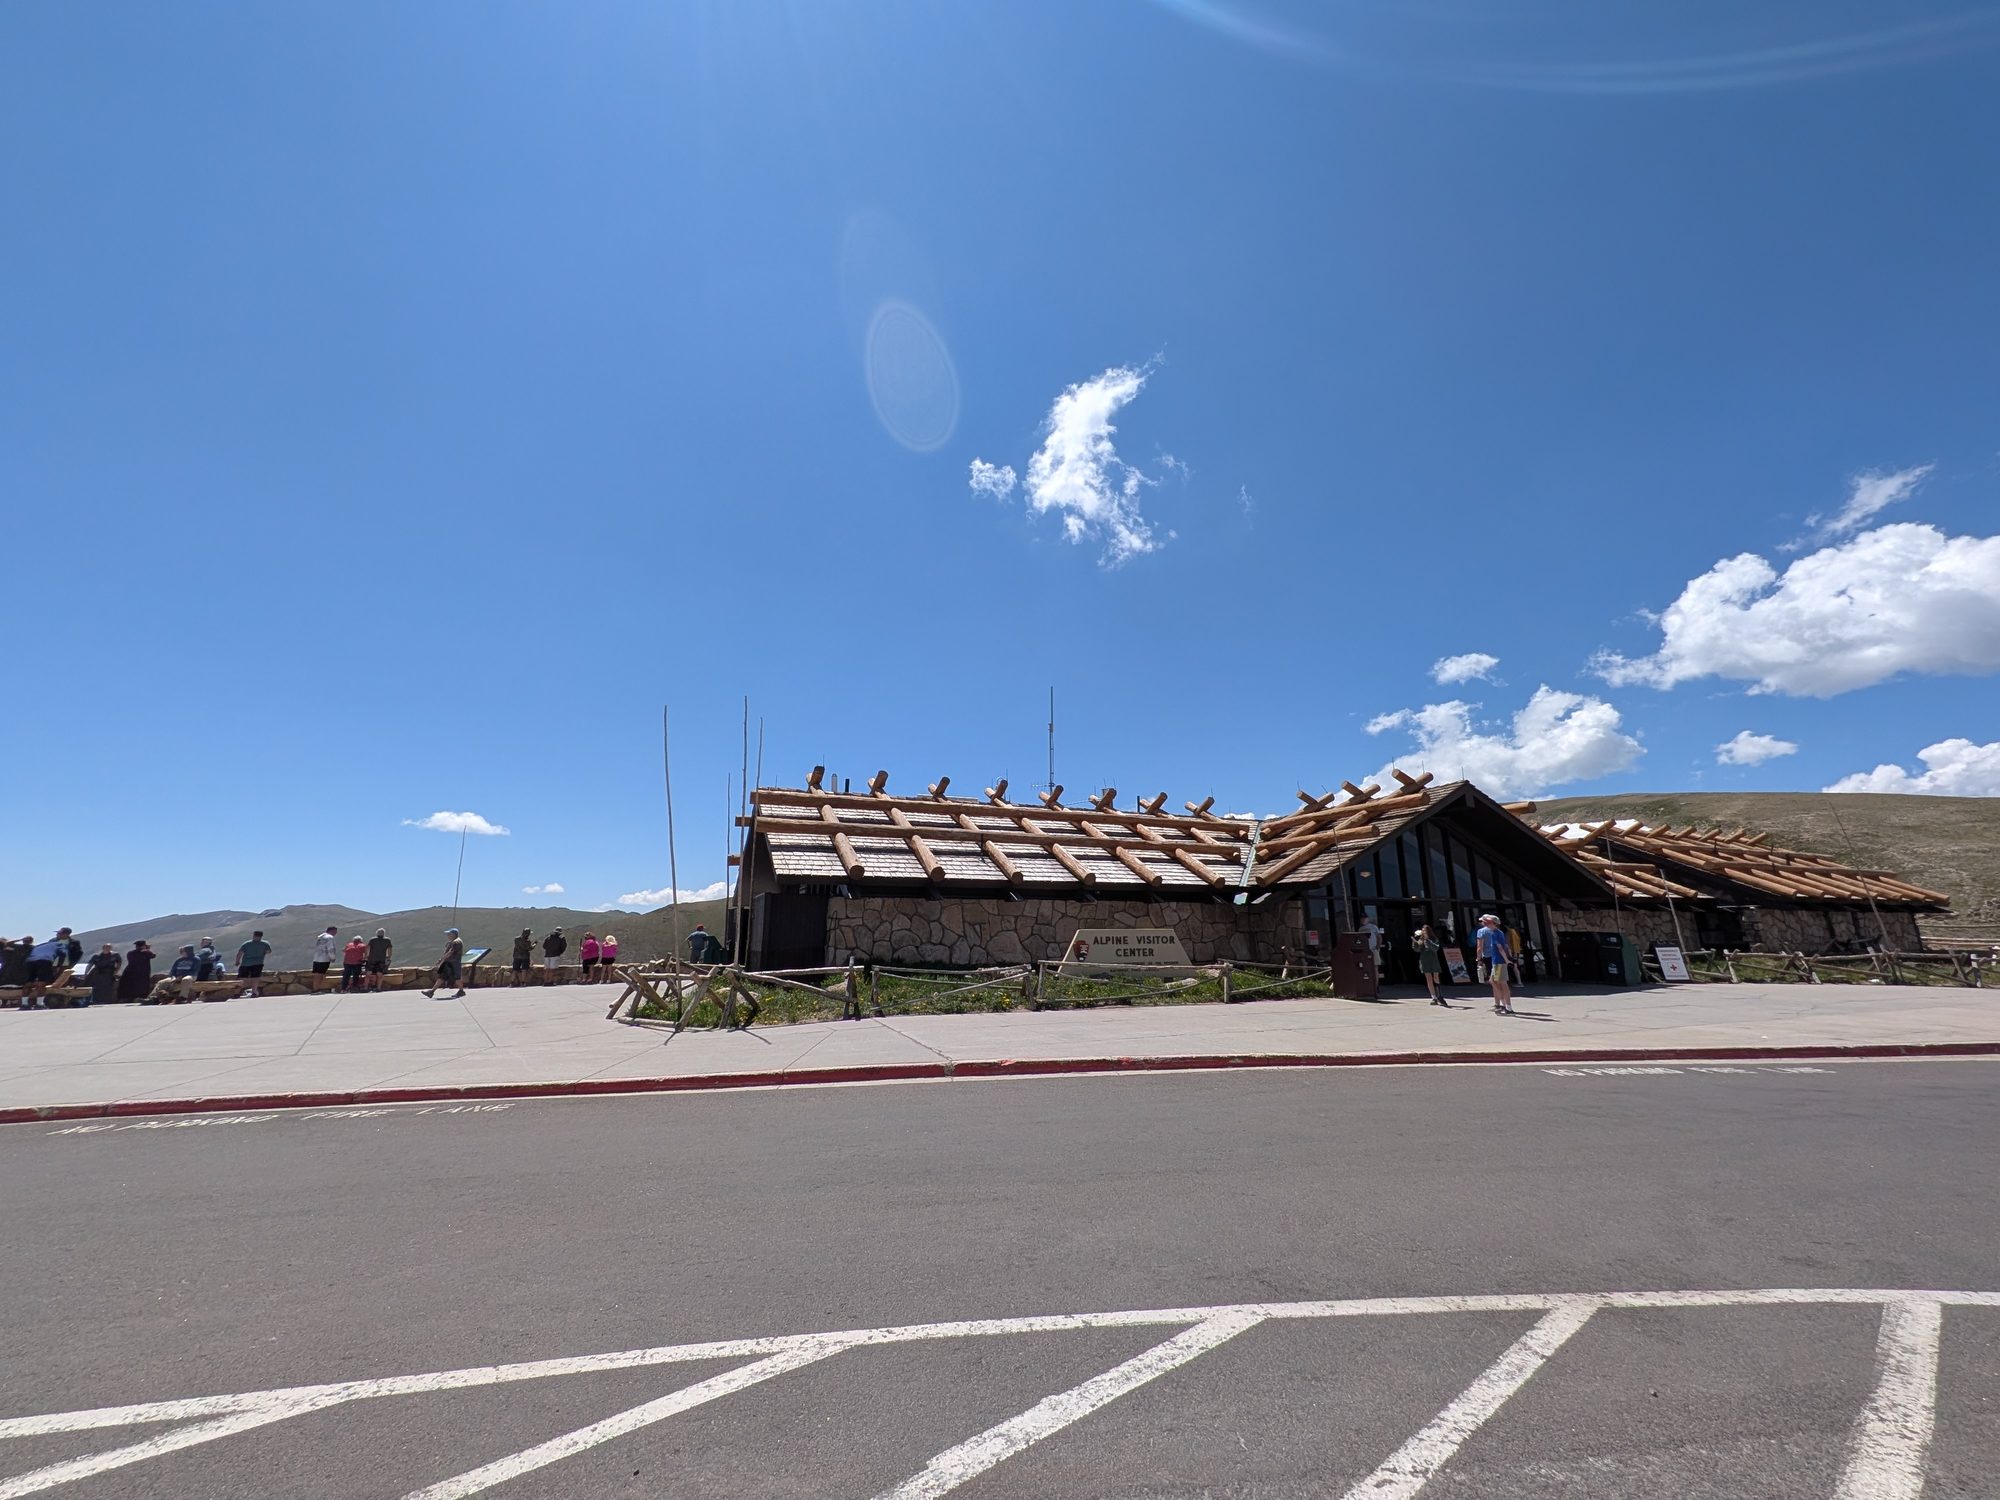
Alpine Visitor Center
The Alpine Visitor Center sits at about 11,800 feet and is the natural turnaround point for families. Plan on 45 to 60 minutes. You'll find:
Restrooms (the last real ones until you head back down)
Visitor center exhibits and park rangers
The Trail Ridge Store with a cafe and a gift shop
Viewpoints right off the parking lot, and a chance to spot marmots, elk, or bighorn sheep
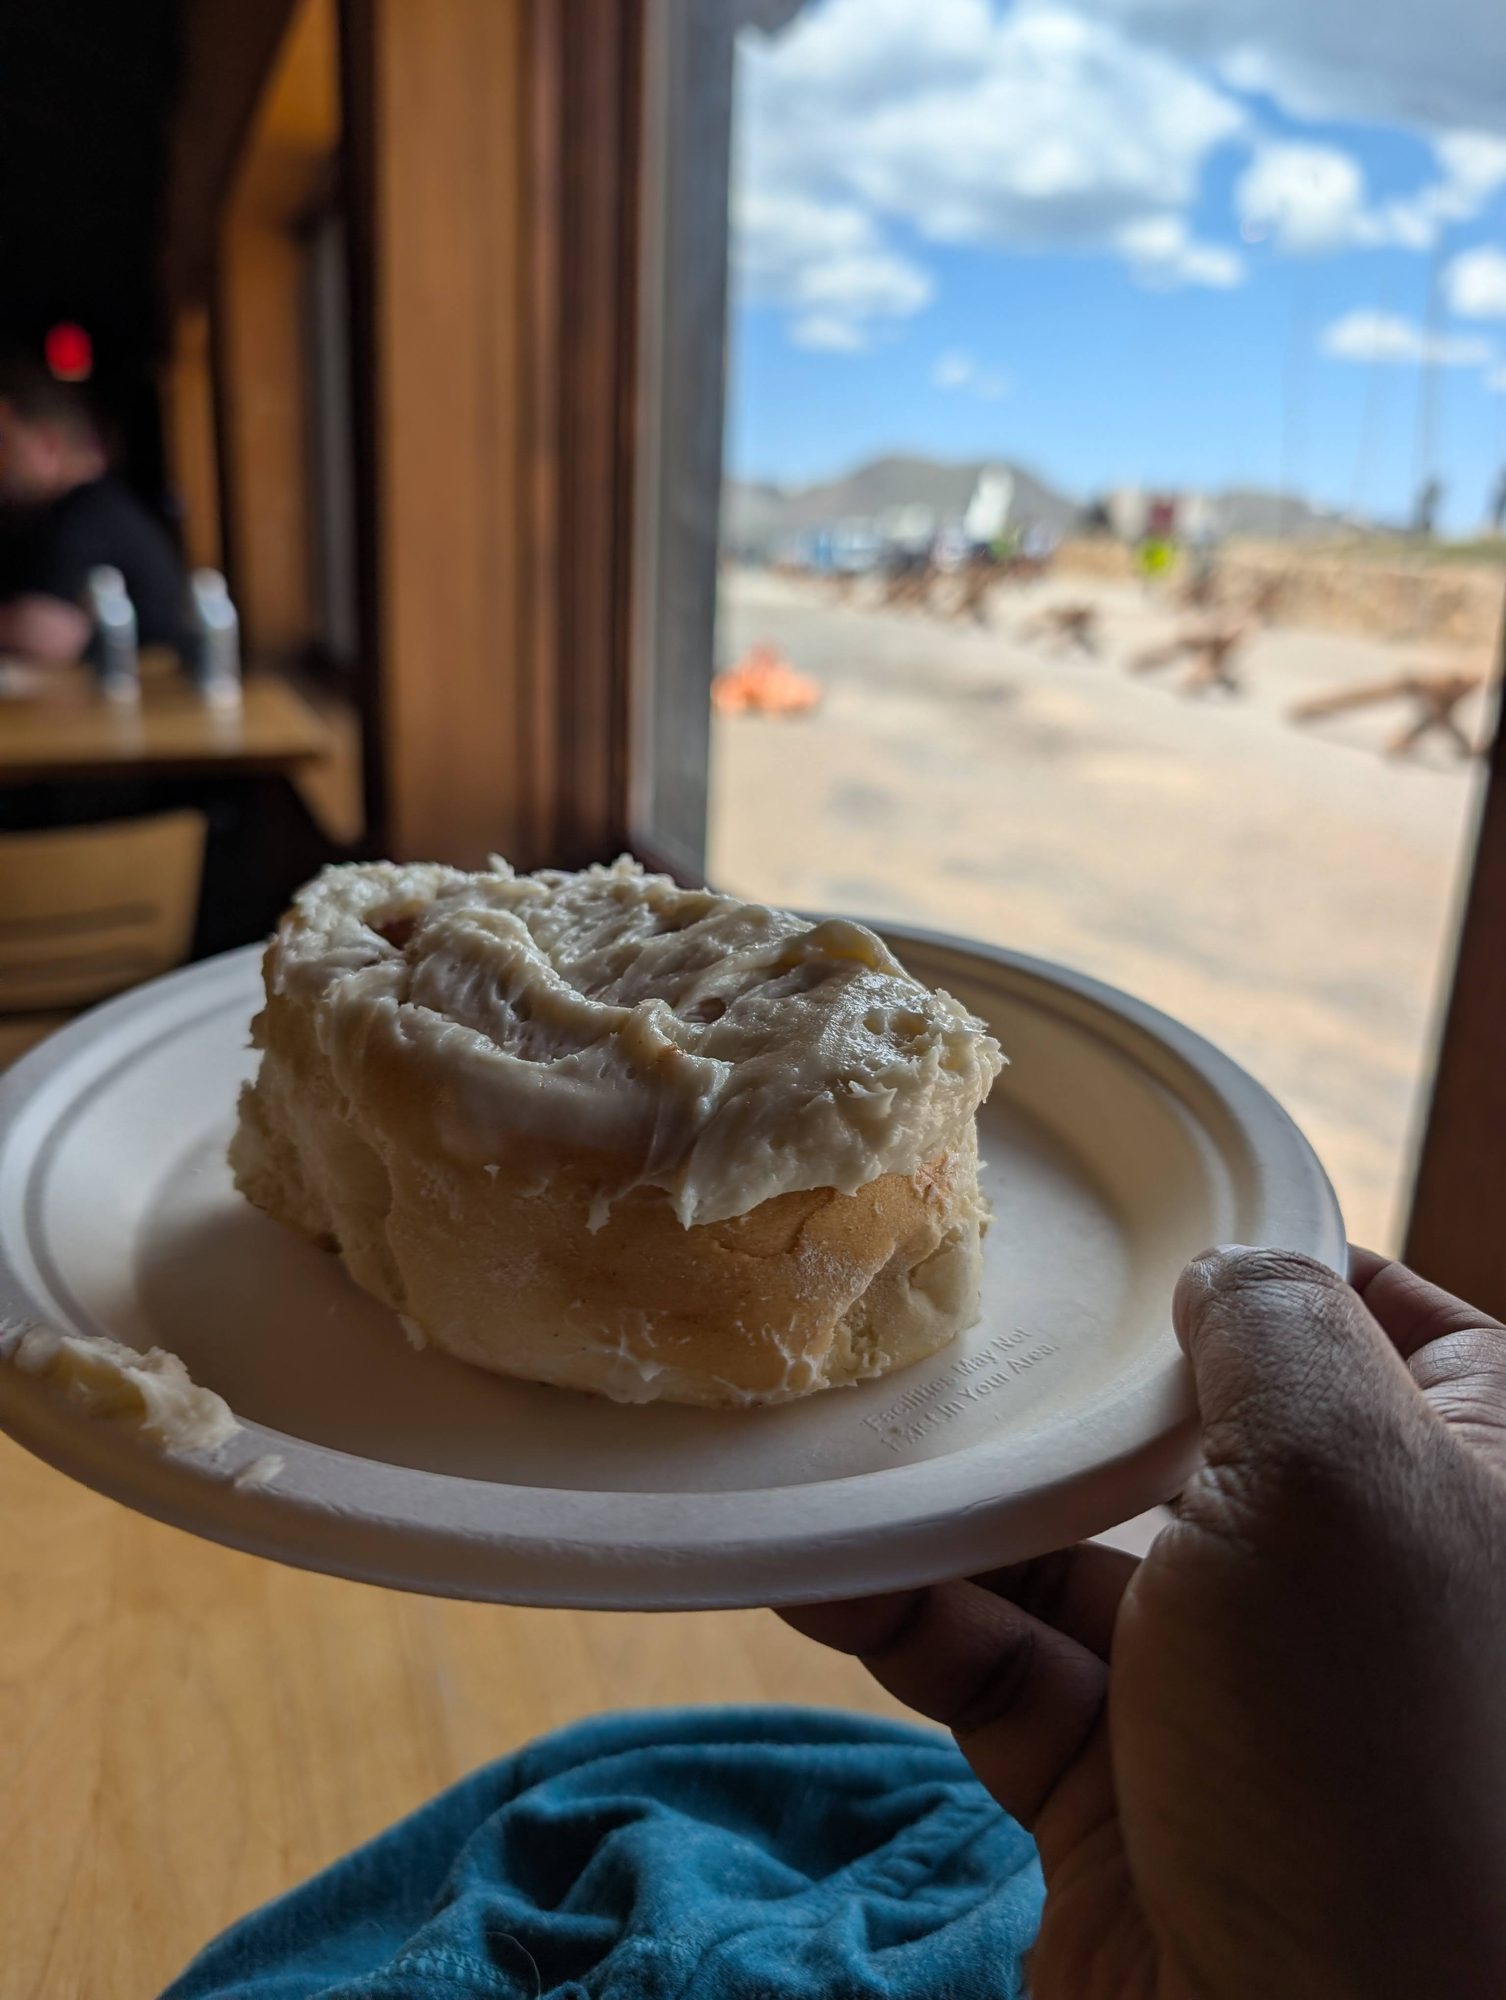
The cafe was better than we expected. Their cinnamon roll has a reputation, and it lived up to it. We also tried the elk bratwurst, which was really good and a fun thing to try in the park. Food is ordered at a counter, cafeteria style, and lines can build around lunchtime.
The Alpine Visitor Center and the cinnamon roll everyone talks about
Food allergy note: The cafe is a busy counter-service spot, and the menu is mostly sandwiches, hot dogs, bratwurst, and baked goods. If your child has food allergies, pack safe snacks and a lunch for this day. There's nowhere else to buy food on the high part of Trail Ridge Road.
Alpine Ridge Trail
The Alpine Ridge Trail starts right from the visitor center parking lot. It's only about 0.6 miles round trip, but it's almost all stairs and gains around 200 feet to a high point just over 12,000 feet. At that altitude it feels much harder than the distance suggests. We made it about halfway up before turning around, and that was plenty. You don't need to reach the top to get the view back down over the visitor center and tundra. Take it slow and turn around whenever someone needs to.
Looking back down the Alpine Ridge Trail toward the visitor center
On the Way Down: Alluvial Fan
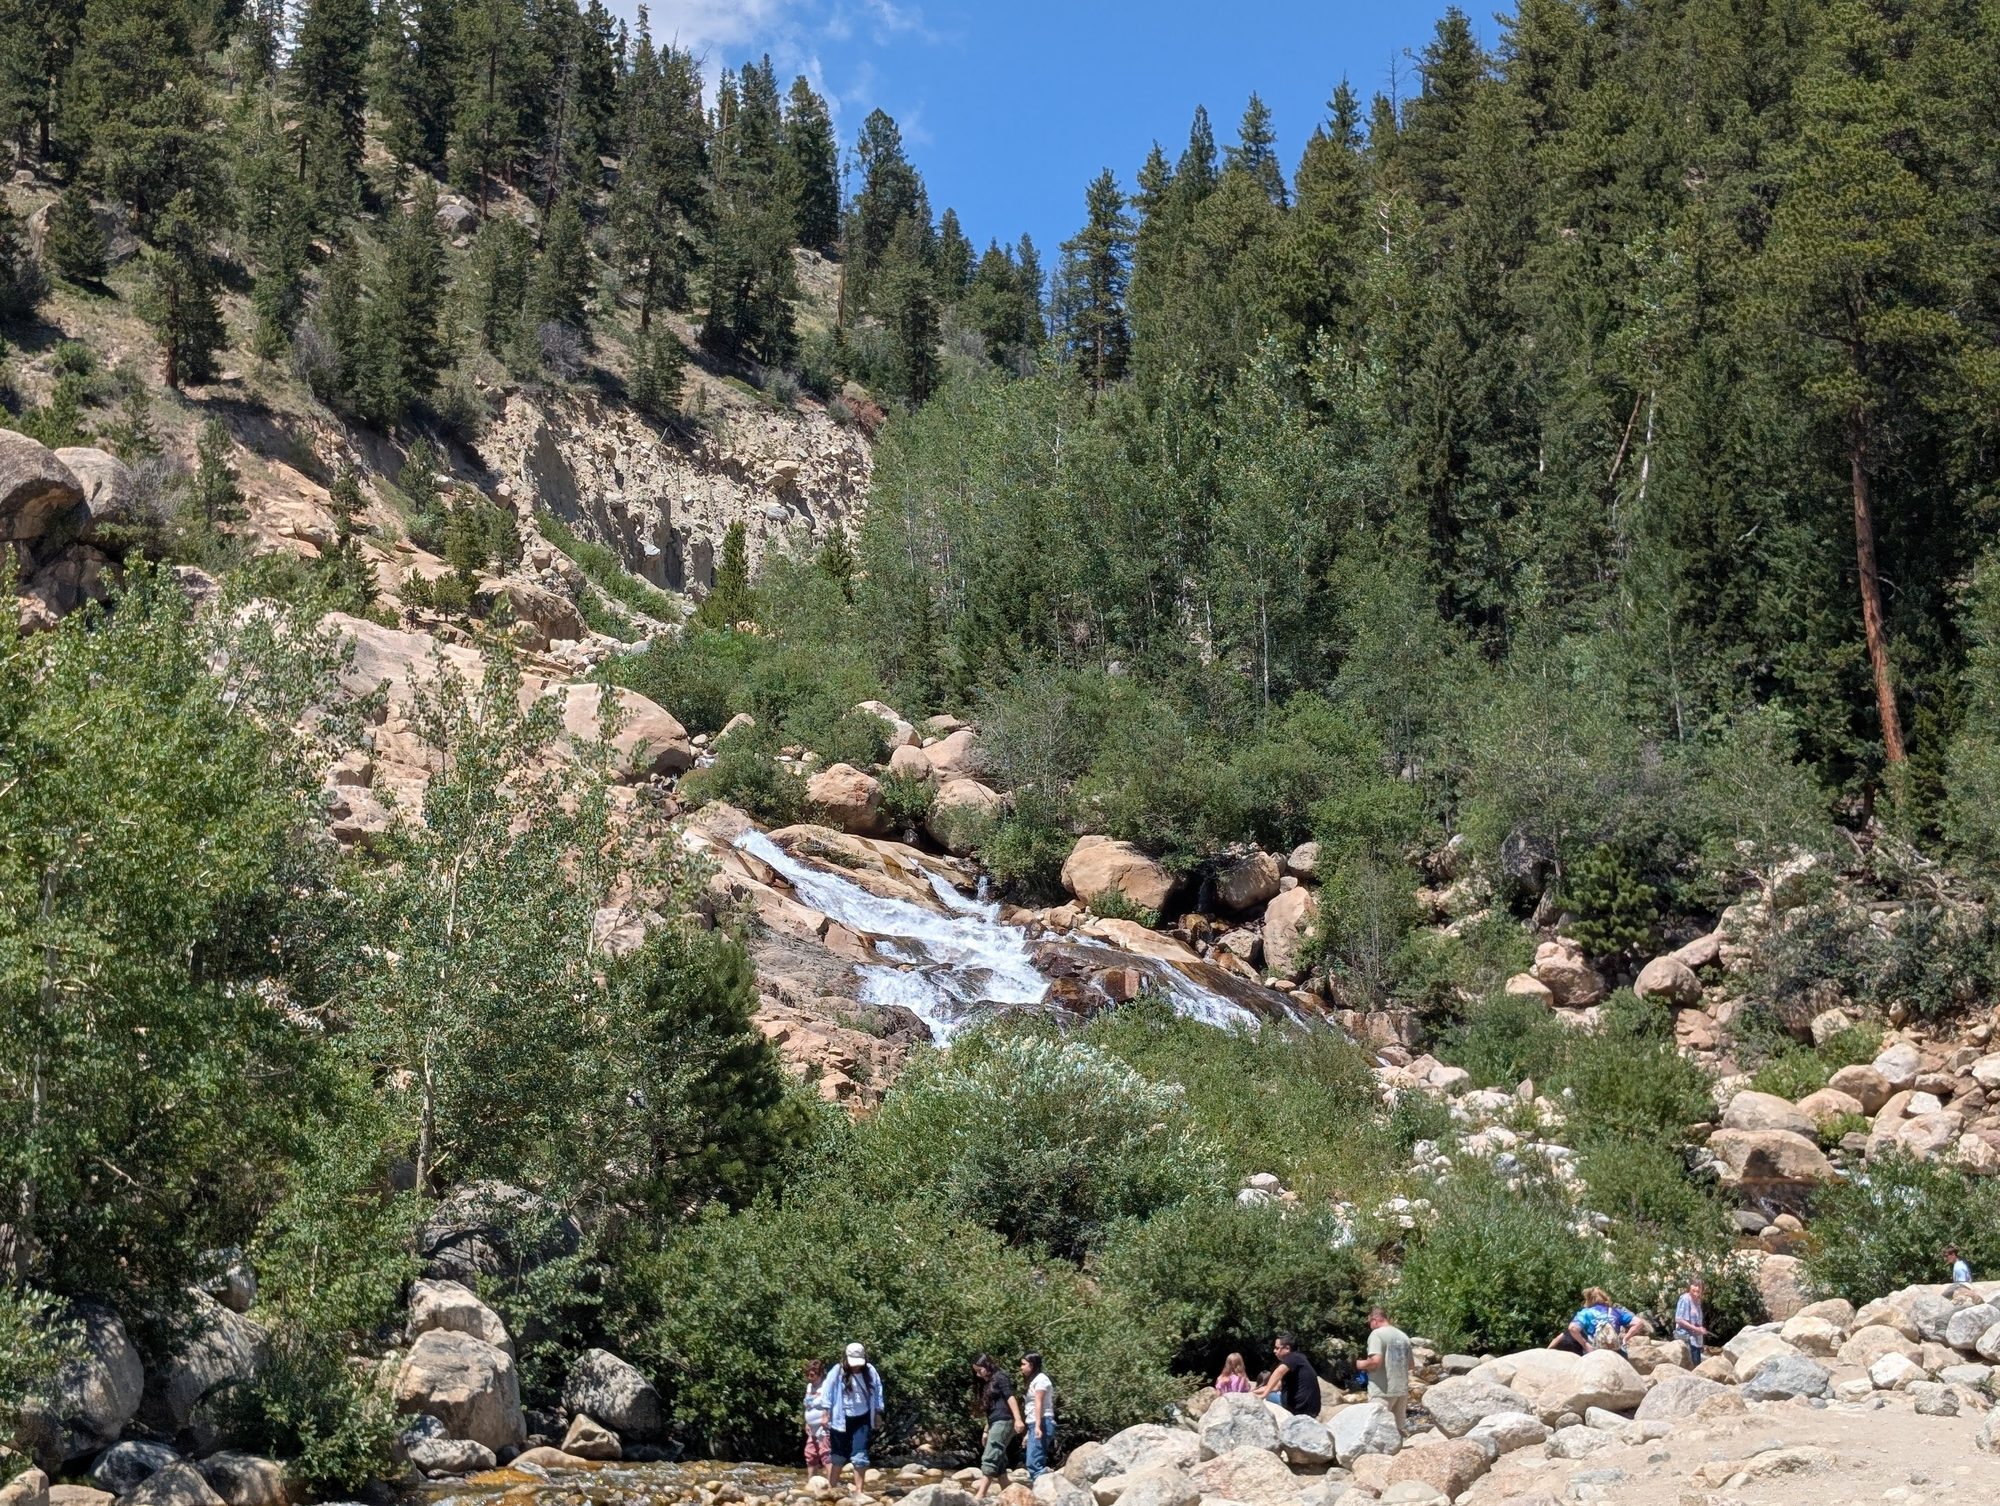
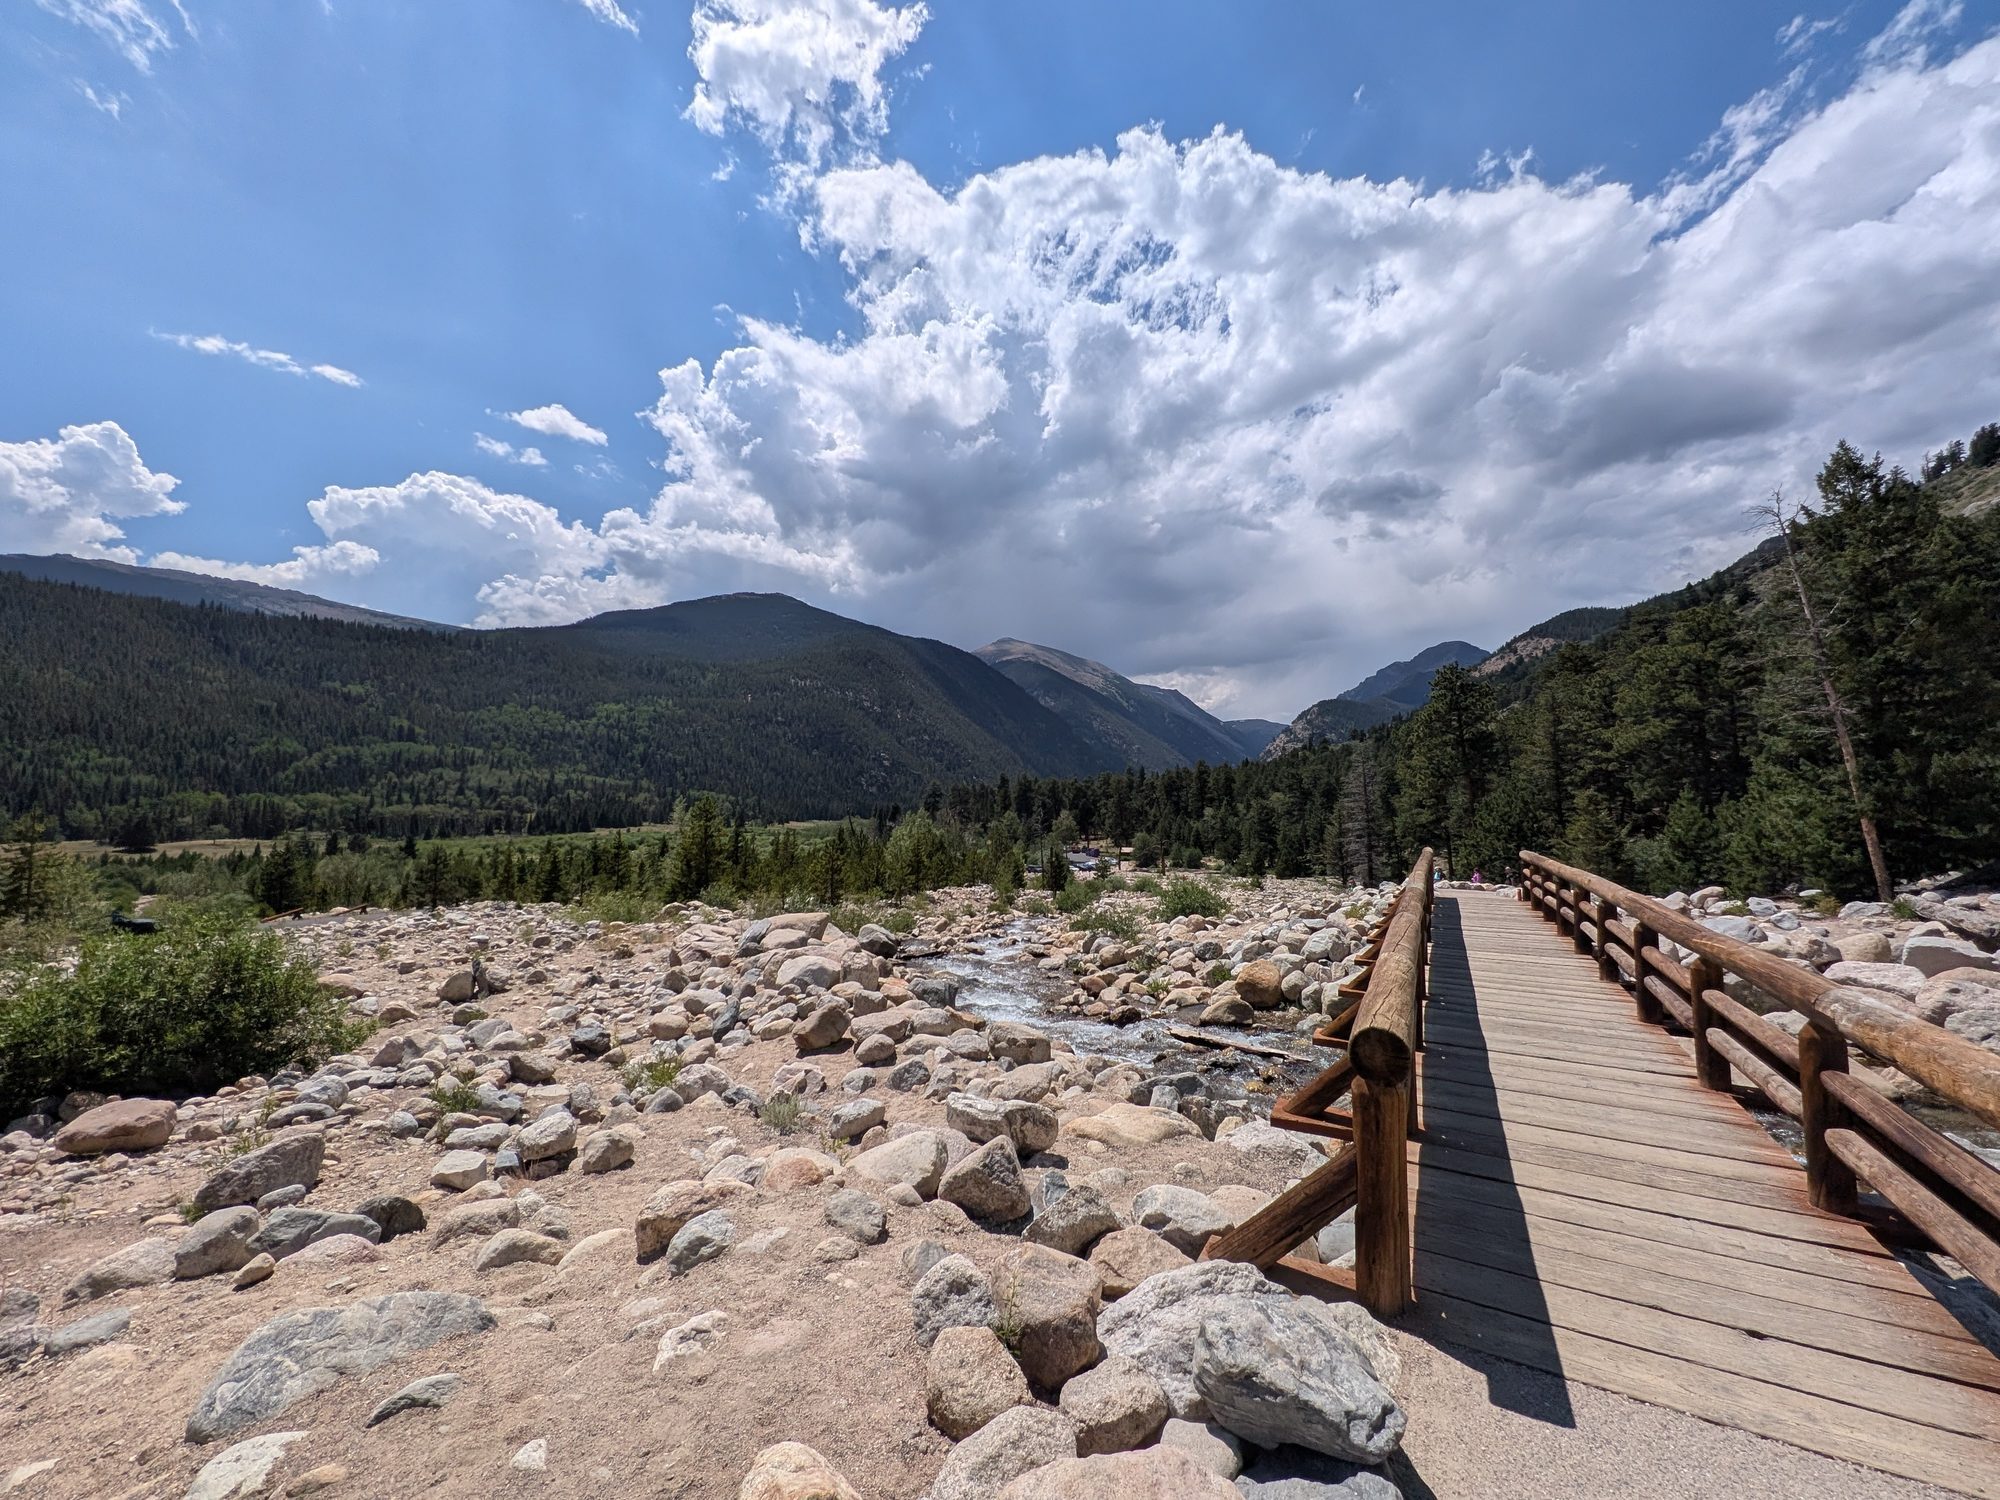
On the drive back toward Estes Park, we stopped at the Alluvial Fan, off Endovalley Road in Horseshoe Park. It's a big boulder field left behind by a 1982 flood, with a waterfall tumbling through it. A paved trail of about 1,850 feet connects the parking areas, with a footbridge over the creek. Most of it is gentle, though one short section is steep.
Kids love scrambling on the rocks here. Keep a close eye on them near the water, though, because the current is fast and the rocks are slippery.
Alluvial Fan: a quick, easy stop that kids enjoy
Crowds: For a midweek day in summer, it wasn't too busy. Parking at the overlooks filled up at times, but we never waited long. When we left around 2 p.m., we didn't see big lines at the entrance.
Day 2: Bear Lake Road and the Dream Lake Hike
Bear Lake Road is the most popular part of the park, and for good reason. Several alpine lakes sit within a couple of miles of one trailhead. We used the free park shuttle for this part of the day, which we'd recommend to any family.
Park & Ride and the Bear Lake Shuttle
We drove in through the Beaver Meadows Entrance on our 10 a.m. Bear Lake Road reservation and parked at the Bear Lake Road Park & Ride.
The Park & Ride lot is beautiful, but it's busy. We had to circle a few times to find a spot, so build in a little time.
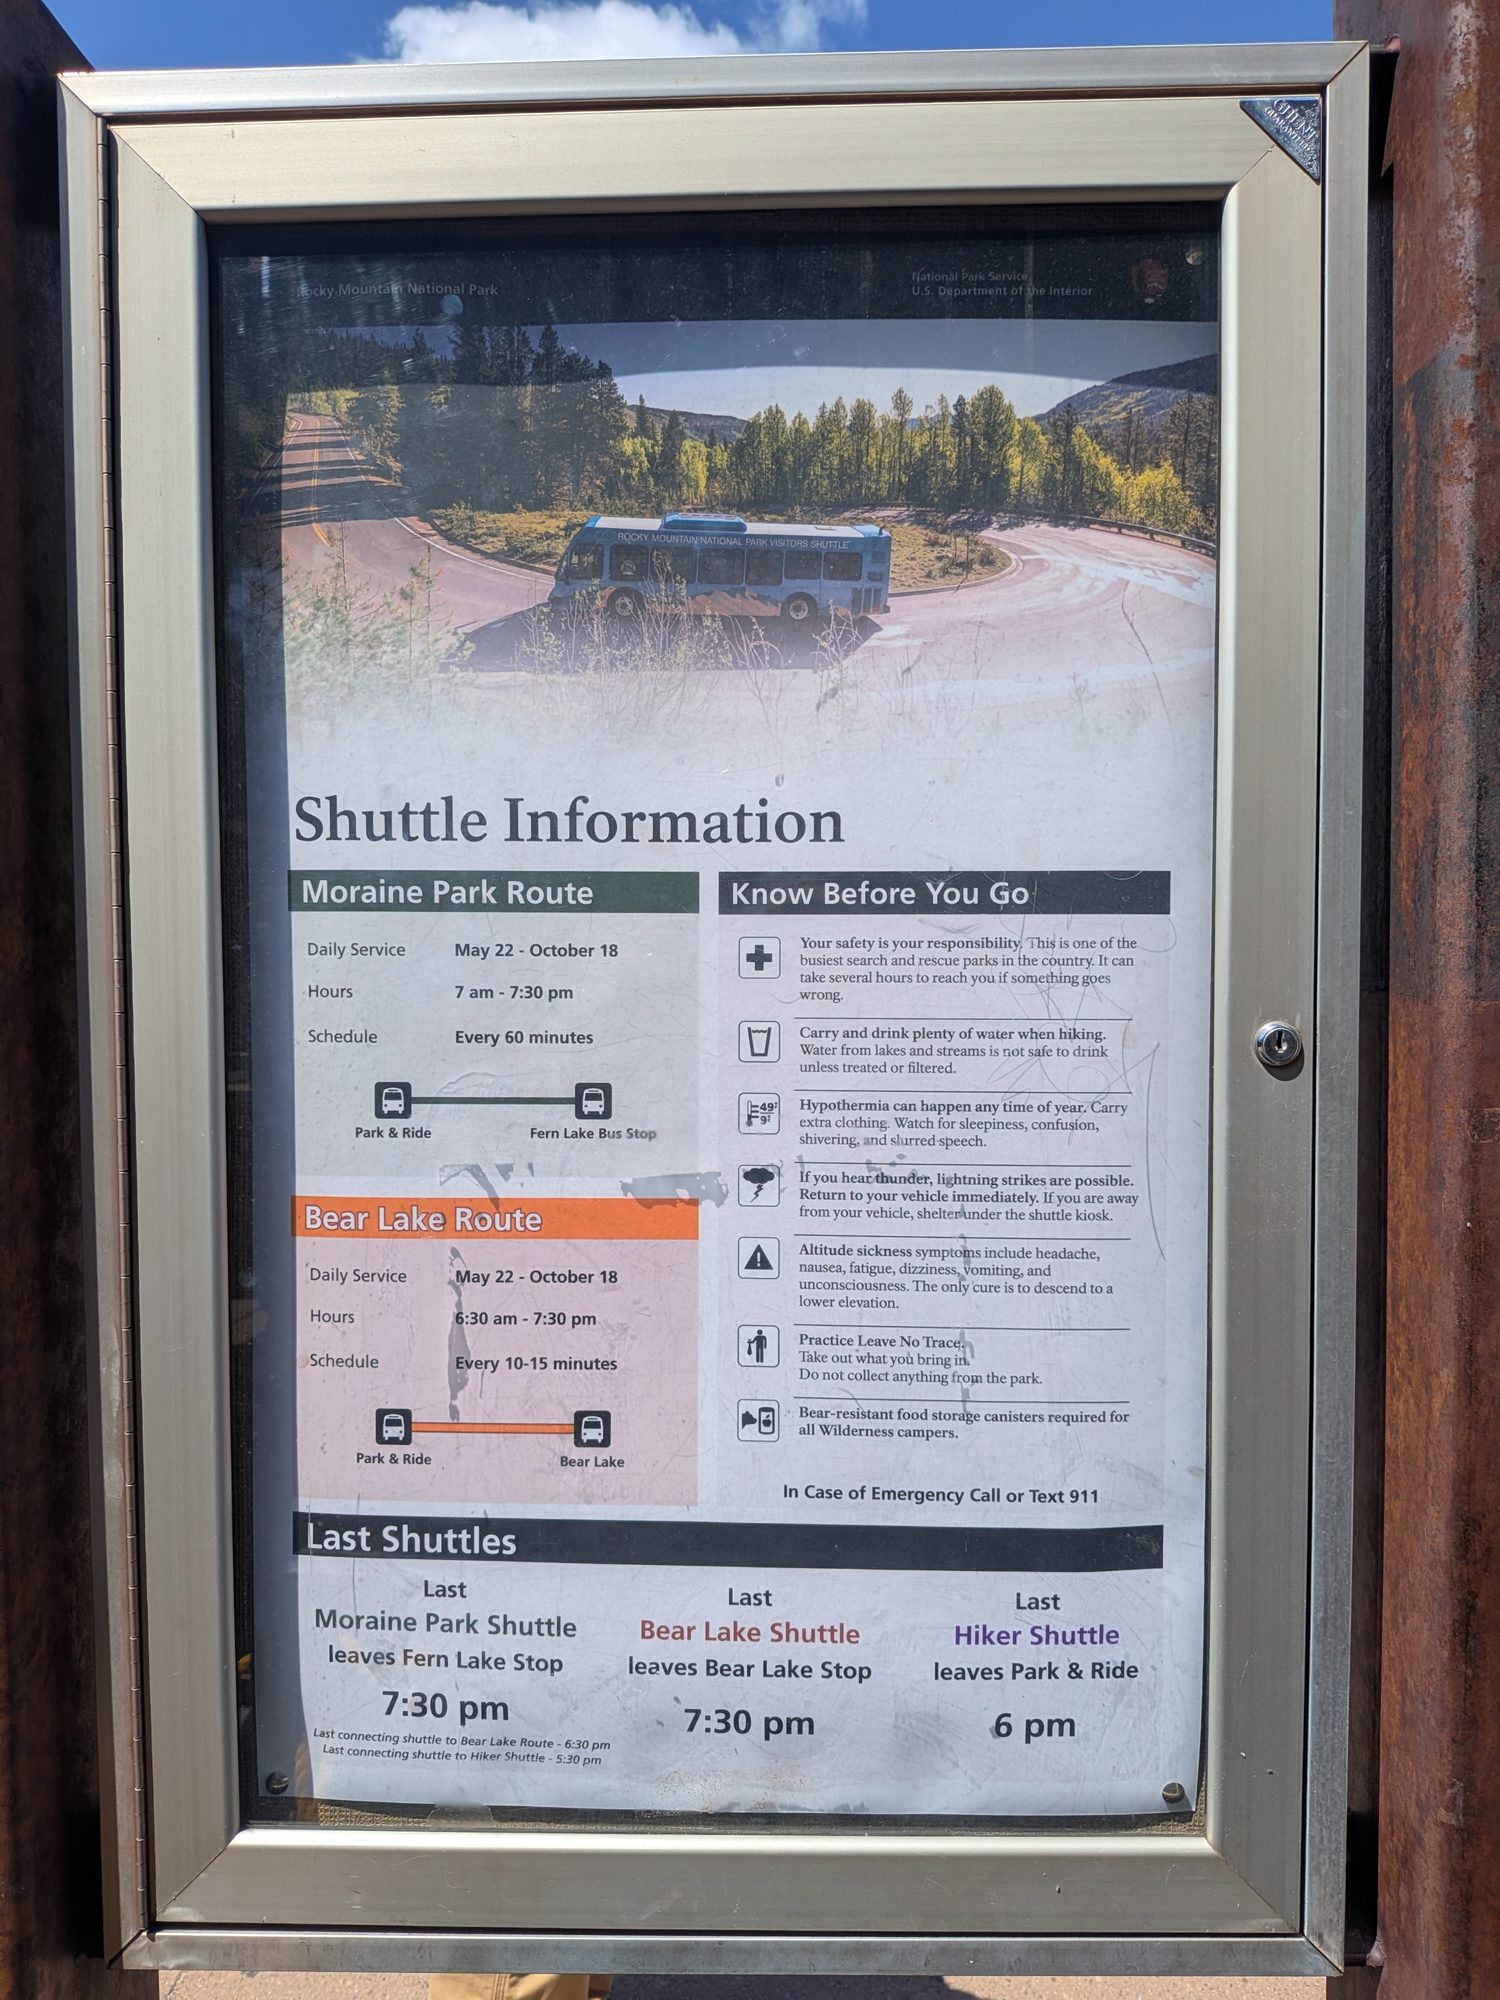
The shuttle was easy. When we visited, the Bear Lake route ran every 10 to 15 minutes from early morning to evening, and the last bus left Bear Lake at 7:30 p.m. We didn't wait long in either direction. Check the NPS shuttle page for this season's hours.
No Bear Lake reservation? The Hiker Shuttle from the Estes Park Visitor Center to the Park & Ride is another option. It needs a $2 ticket on Recreation.gov plus a park pass.
Shuttle information at the Park & Ride
Bear Lake
The shuttle drops you right at the Bear Lake trailhead. We walked to the main viewpoint for the classic view of the lake with Hallett Peak behind it, then skipped the full loop around the lake to save our legs for the hike. If your kids are younger, the flat 0.6-mile Bear Lake Loop is a great hike on its own.
Bear Lake from the main viewpoint
Nymph Lake (0.5 Miles)
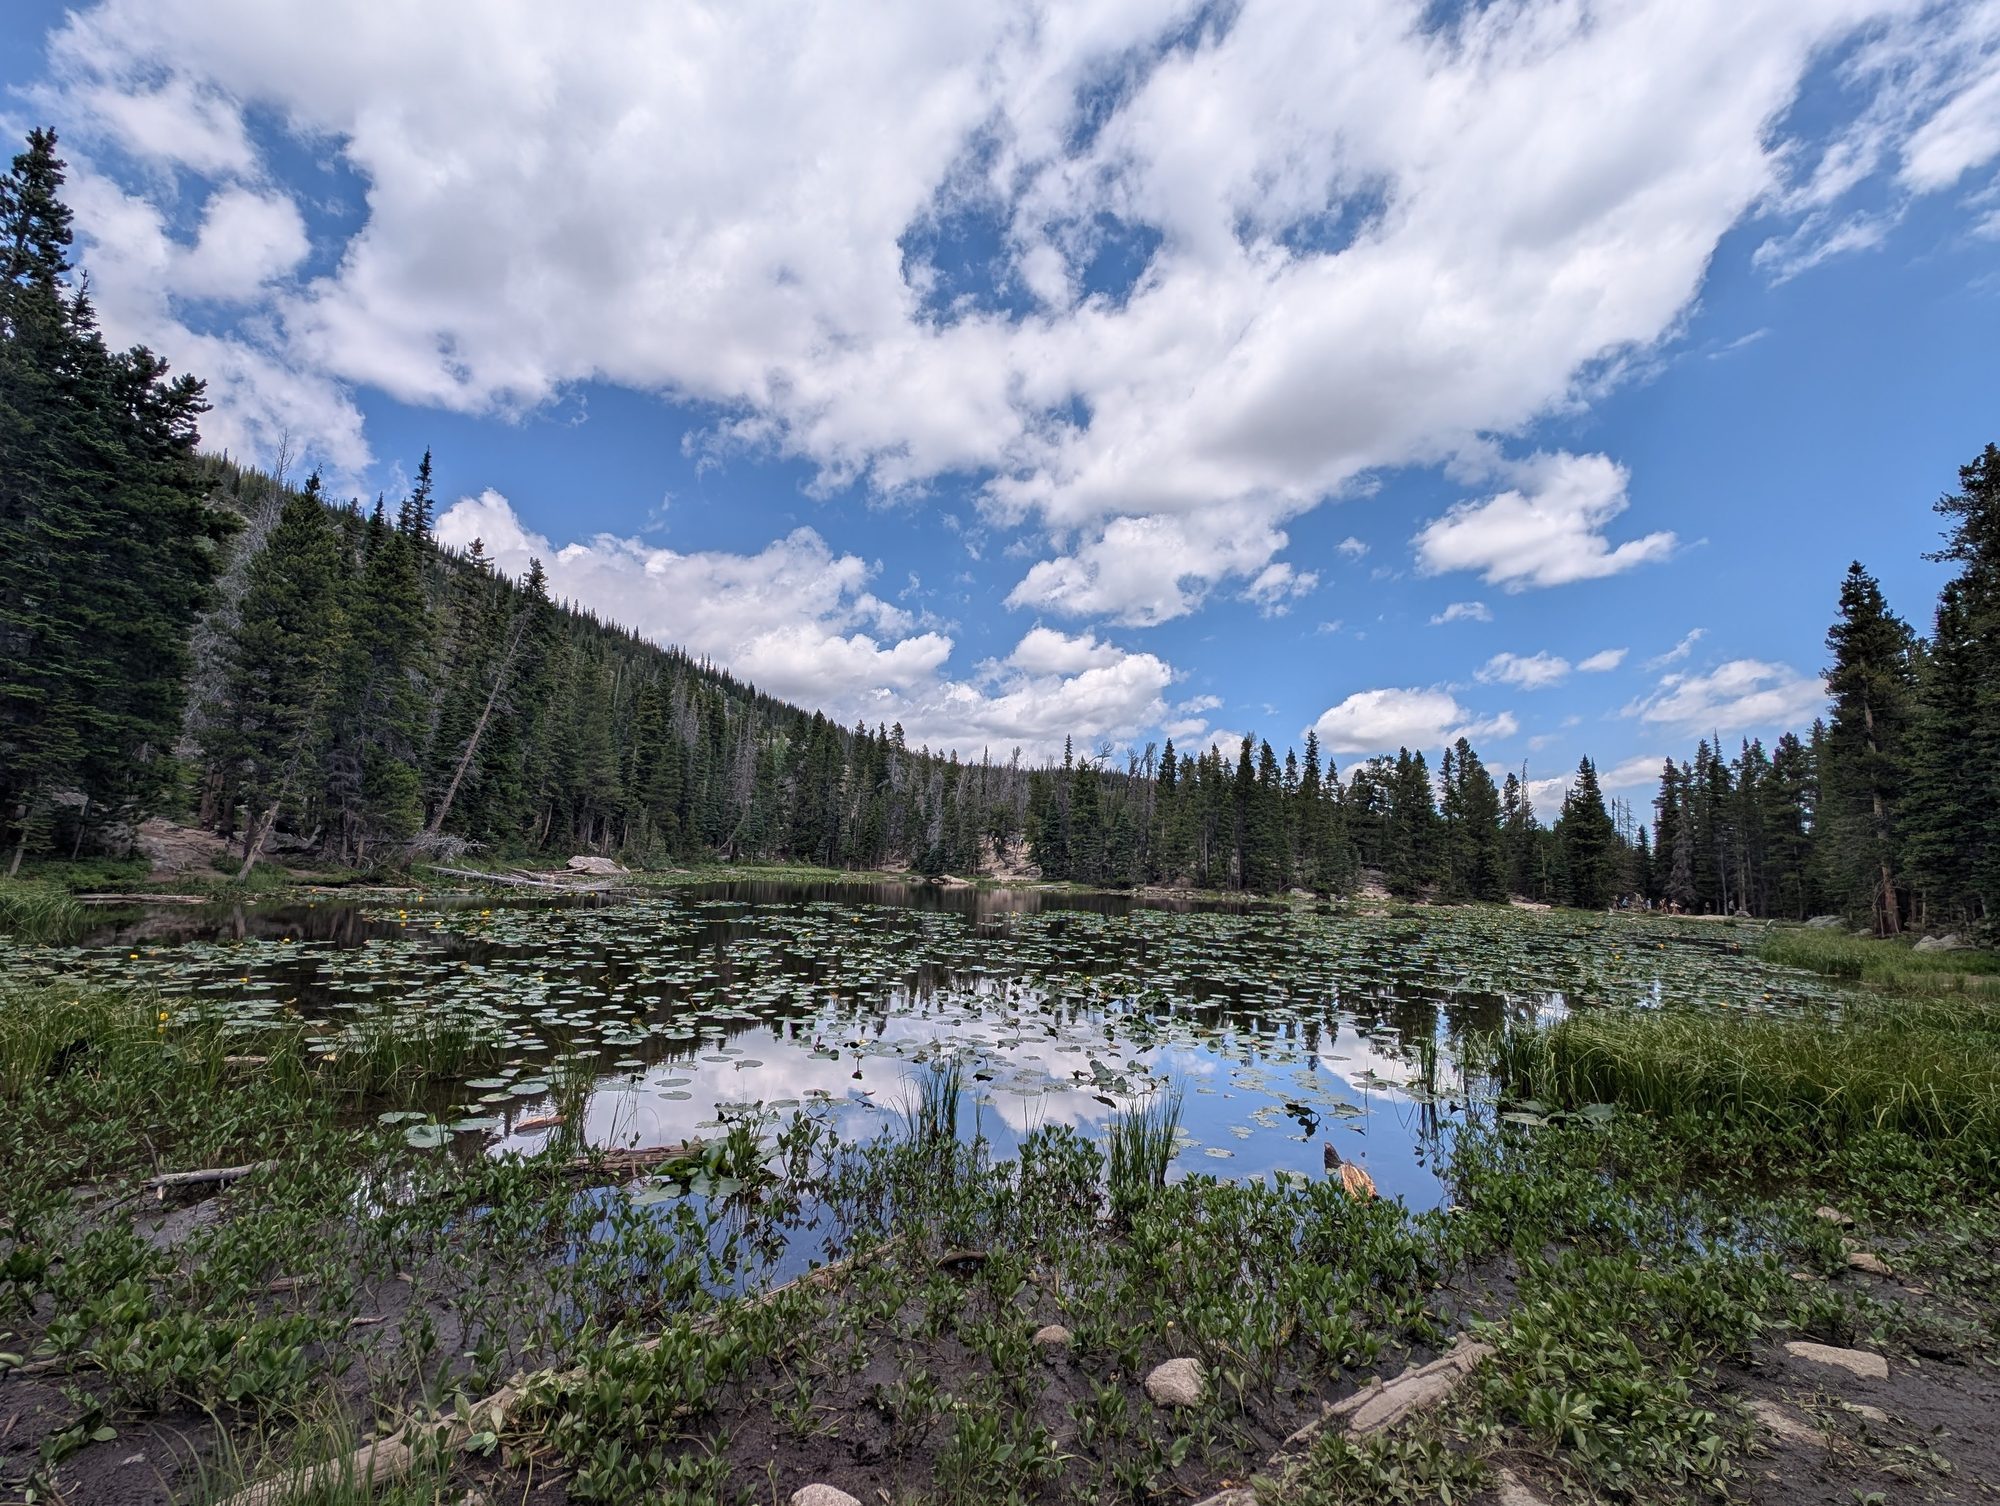
From Bear Lake, the trail climbs steadily through the forest to Nymph Lake, a small pond covered in lily pads. It's a natural first break and a good checkpoint for how everyone is handling the altitude.
Nymph Lake and its lily pads
Dream Lake (1.1 Miles)
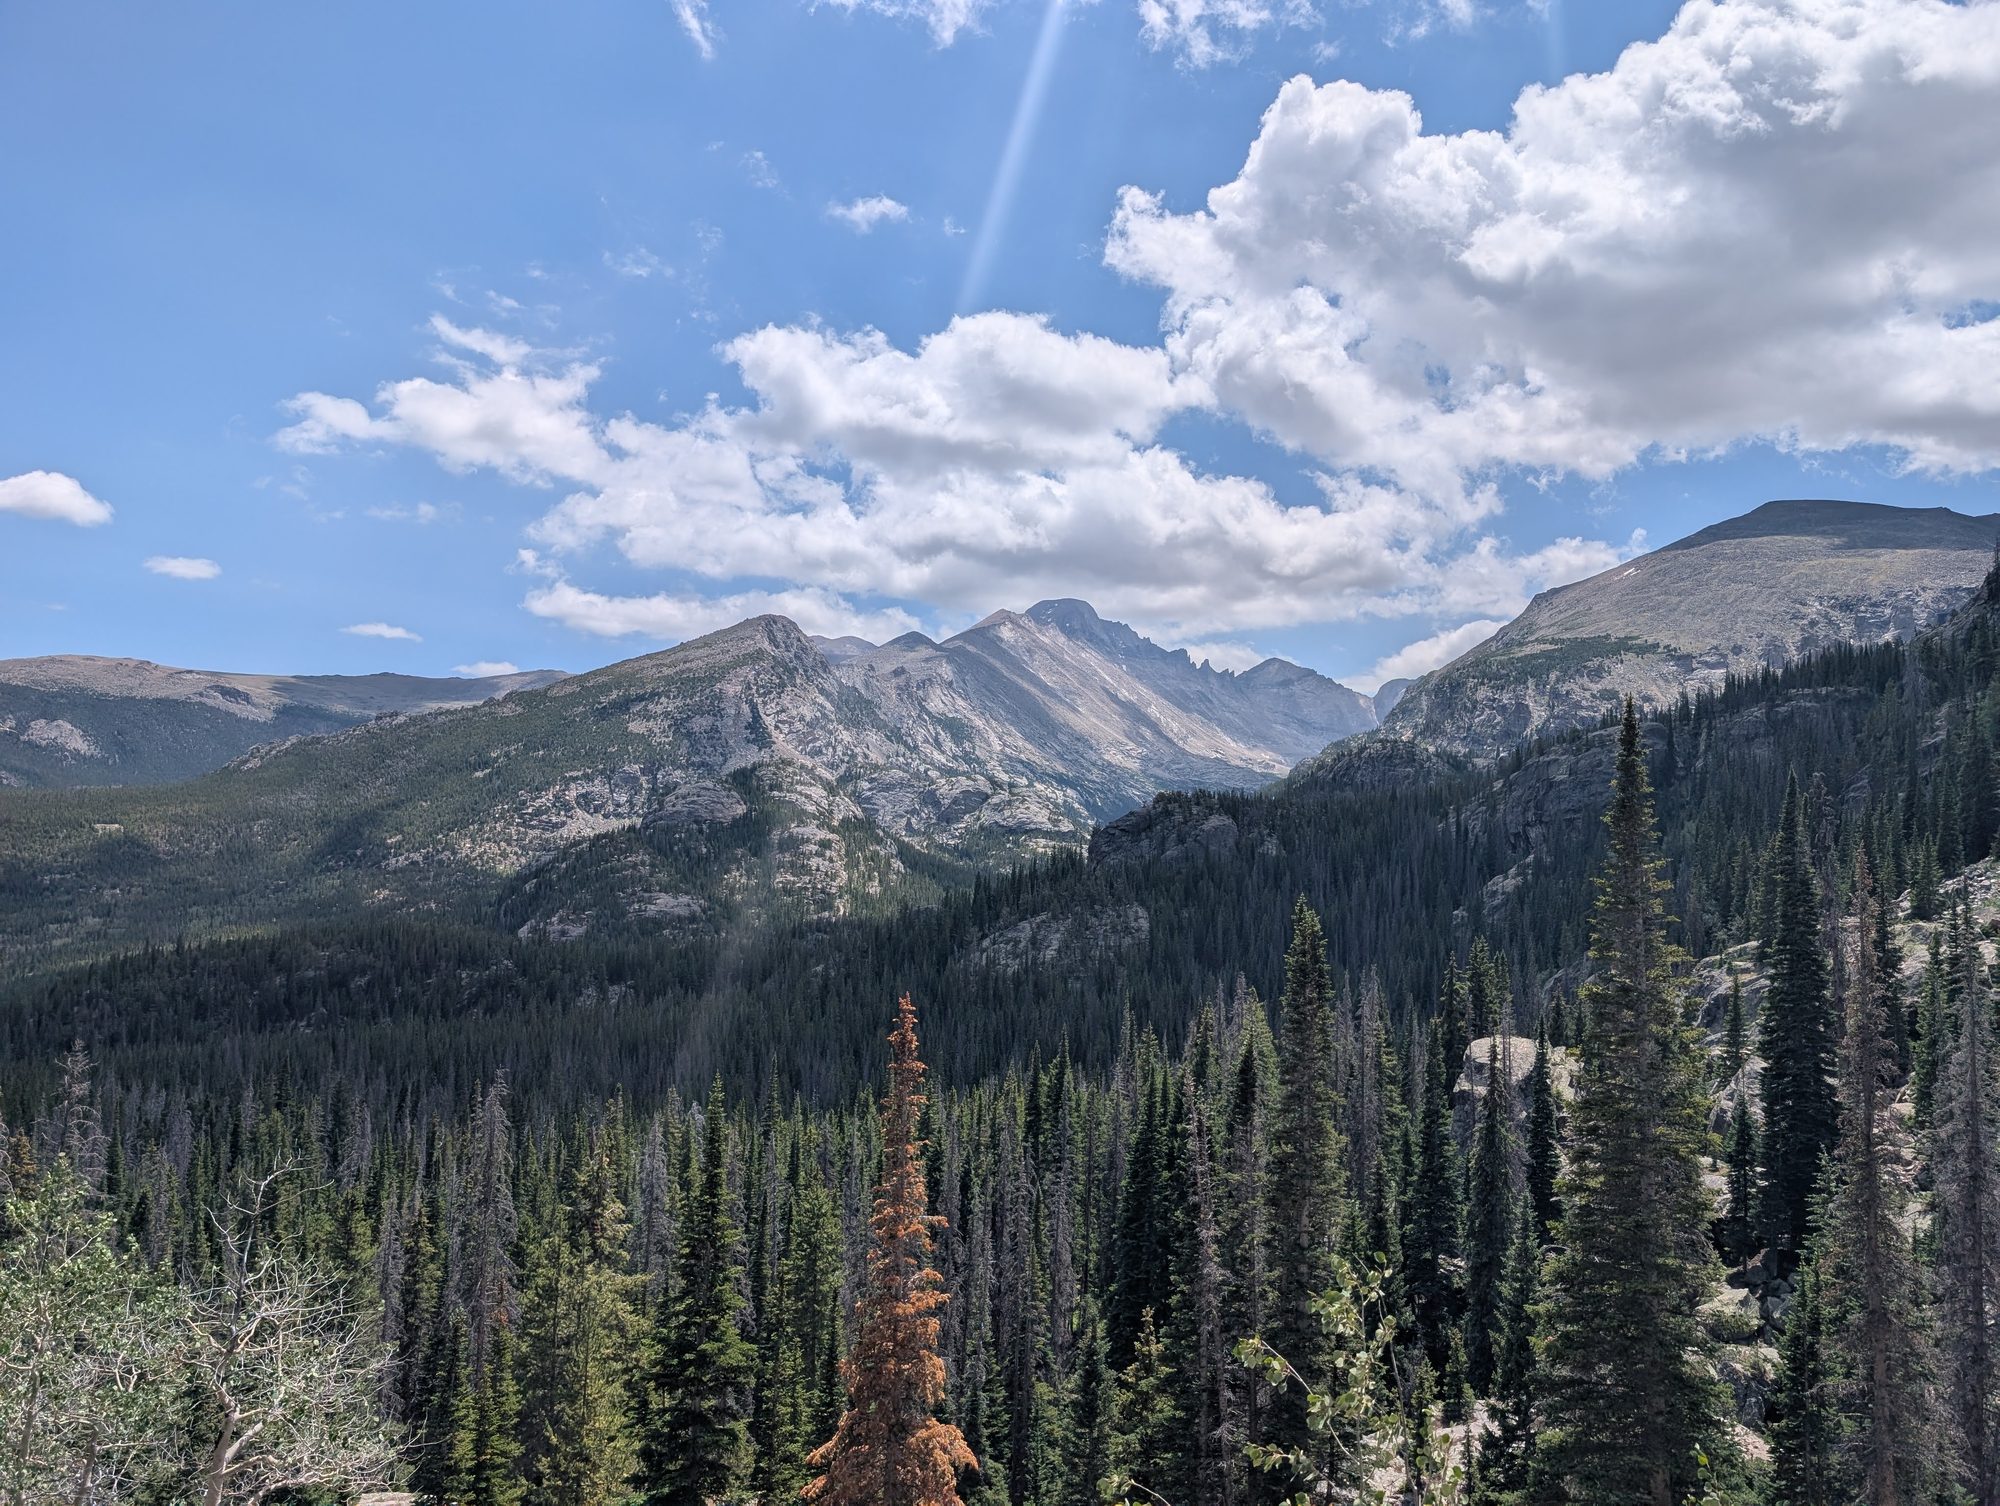
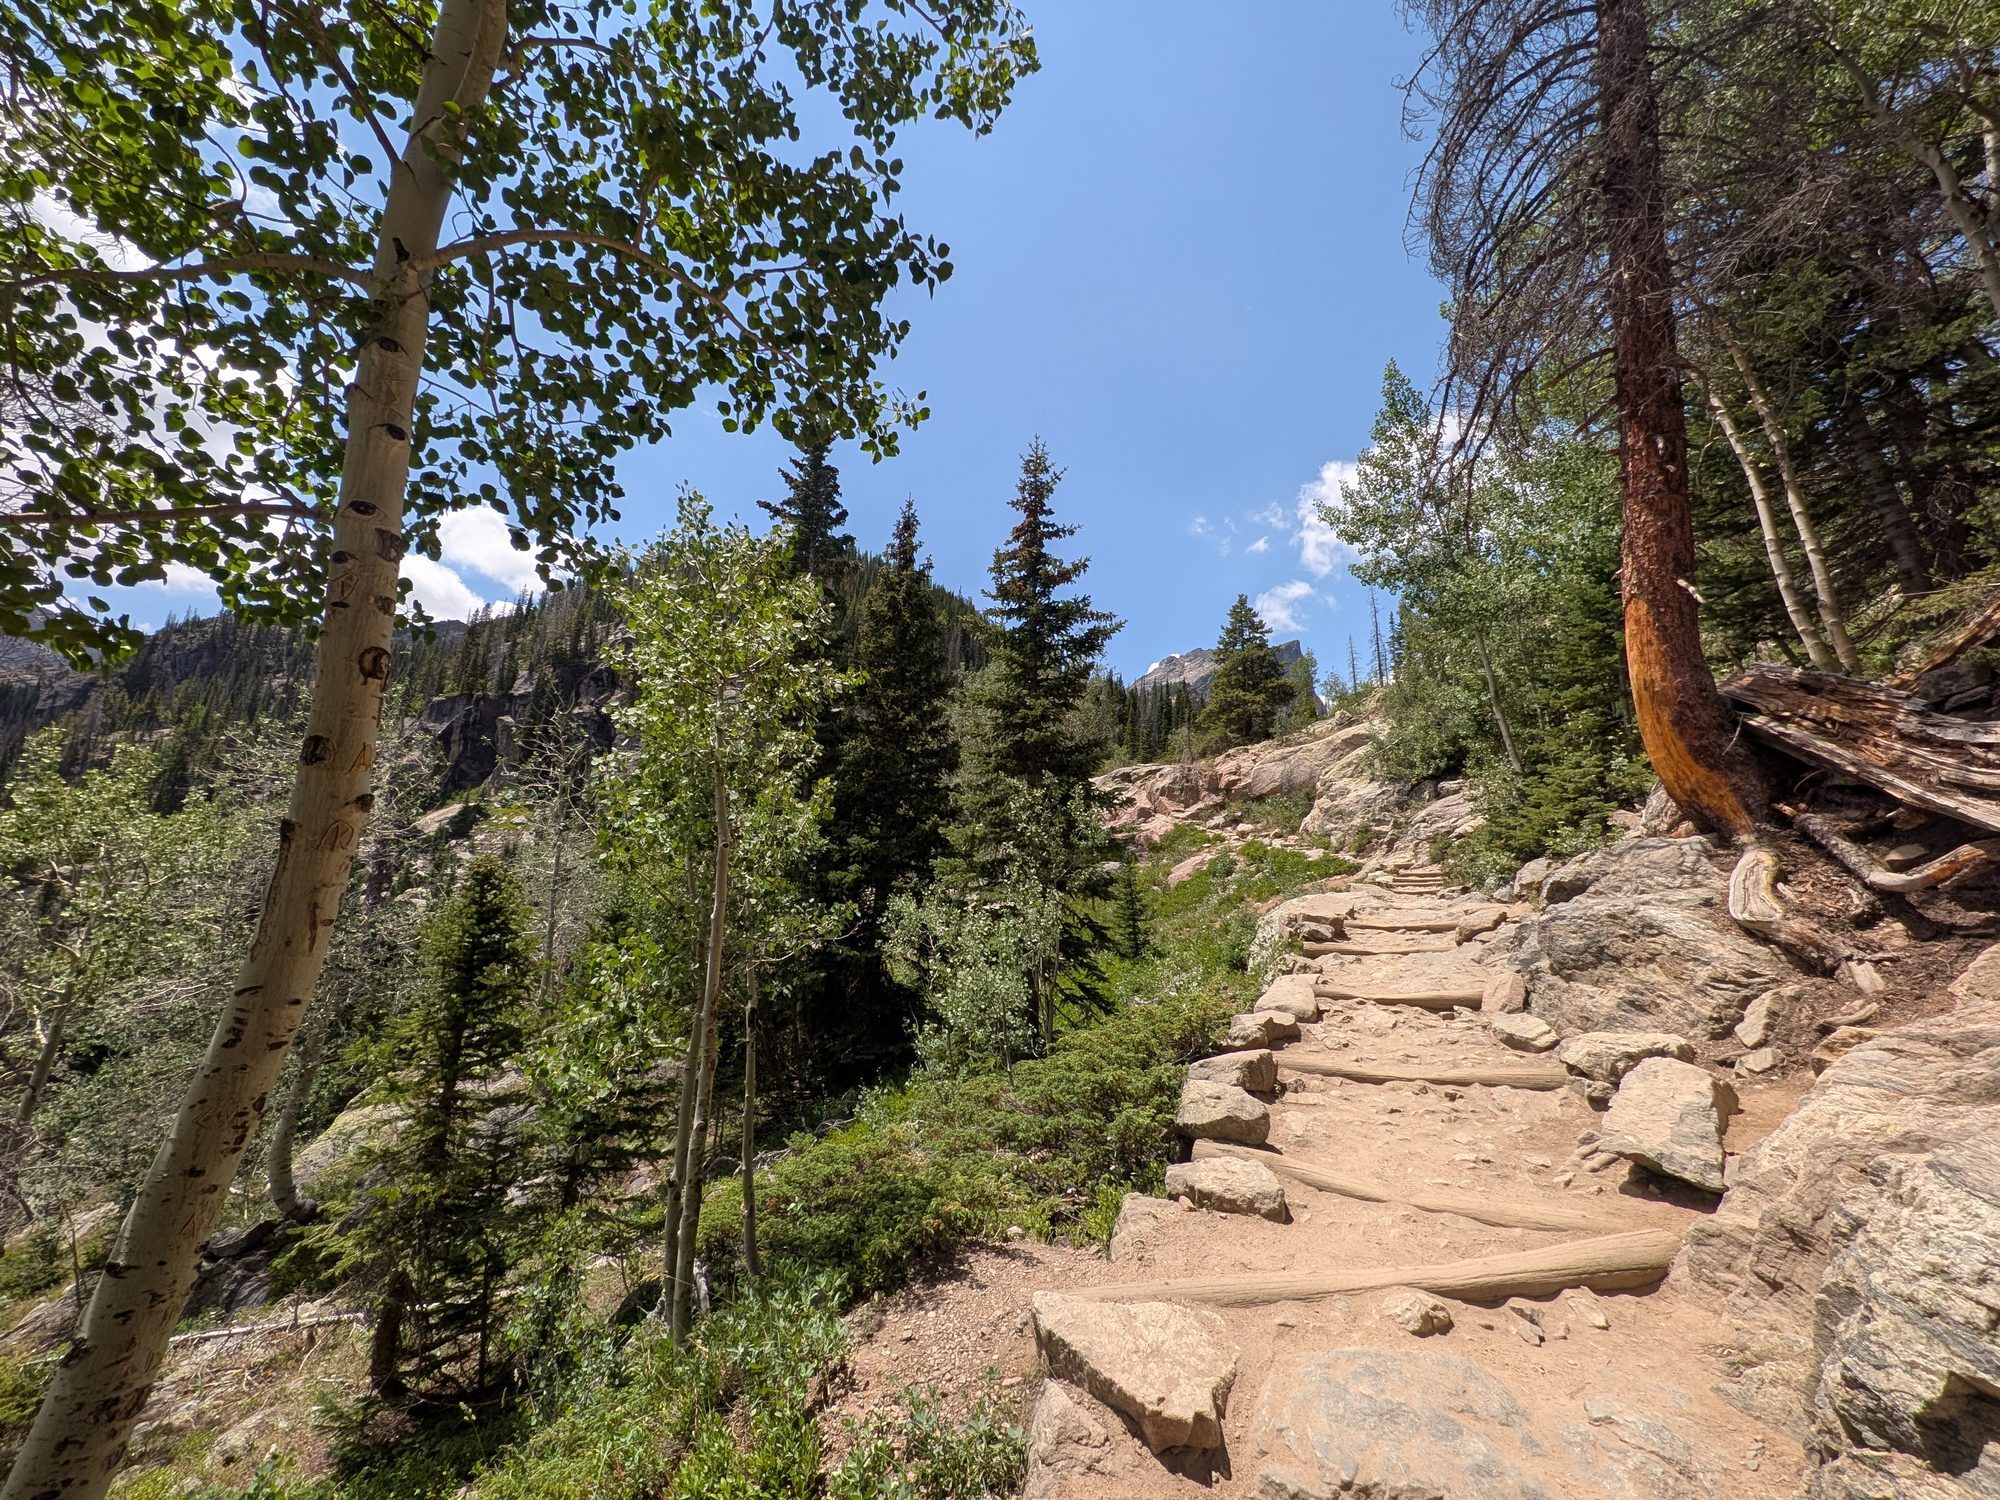
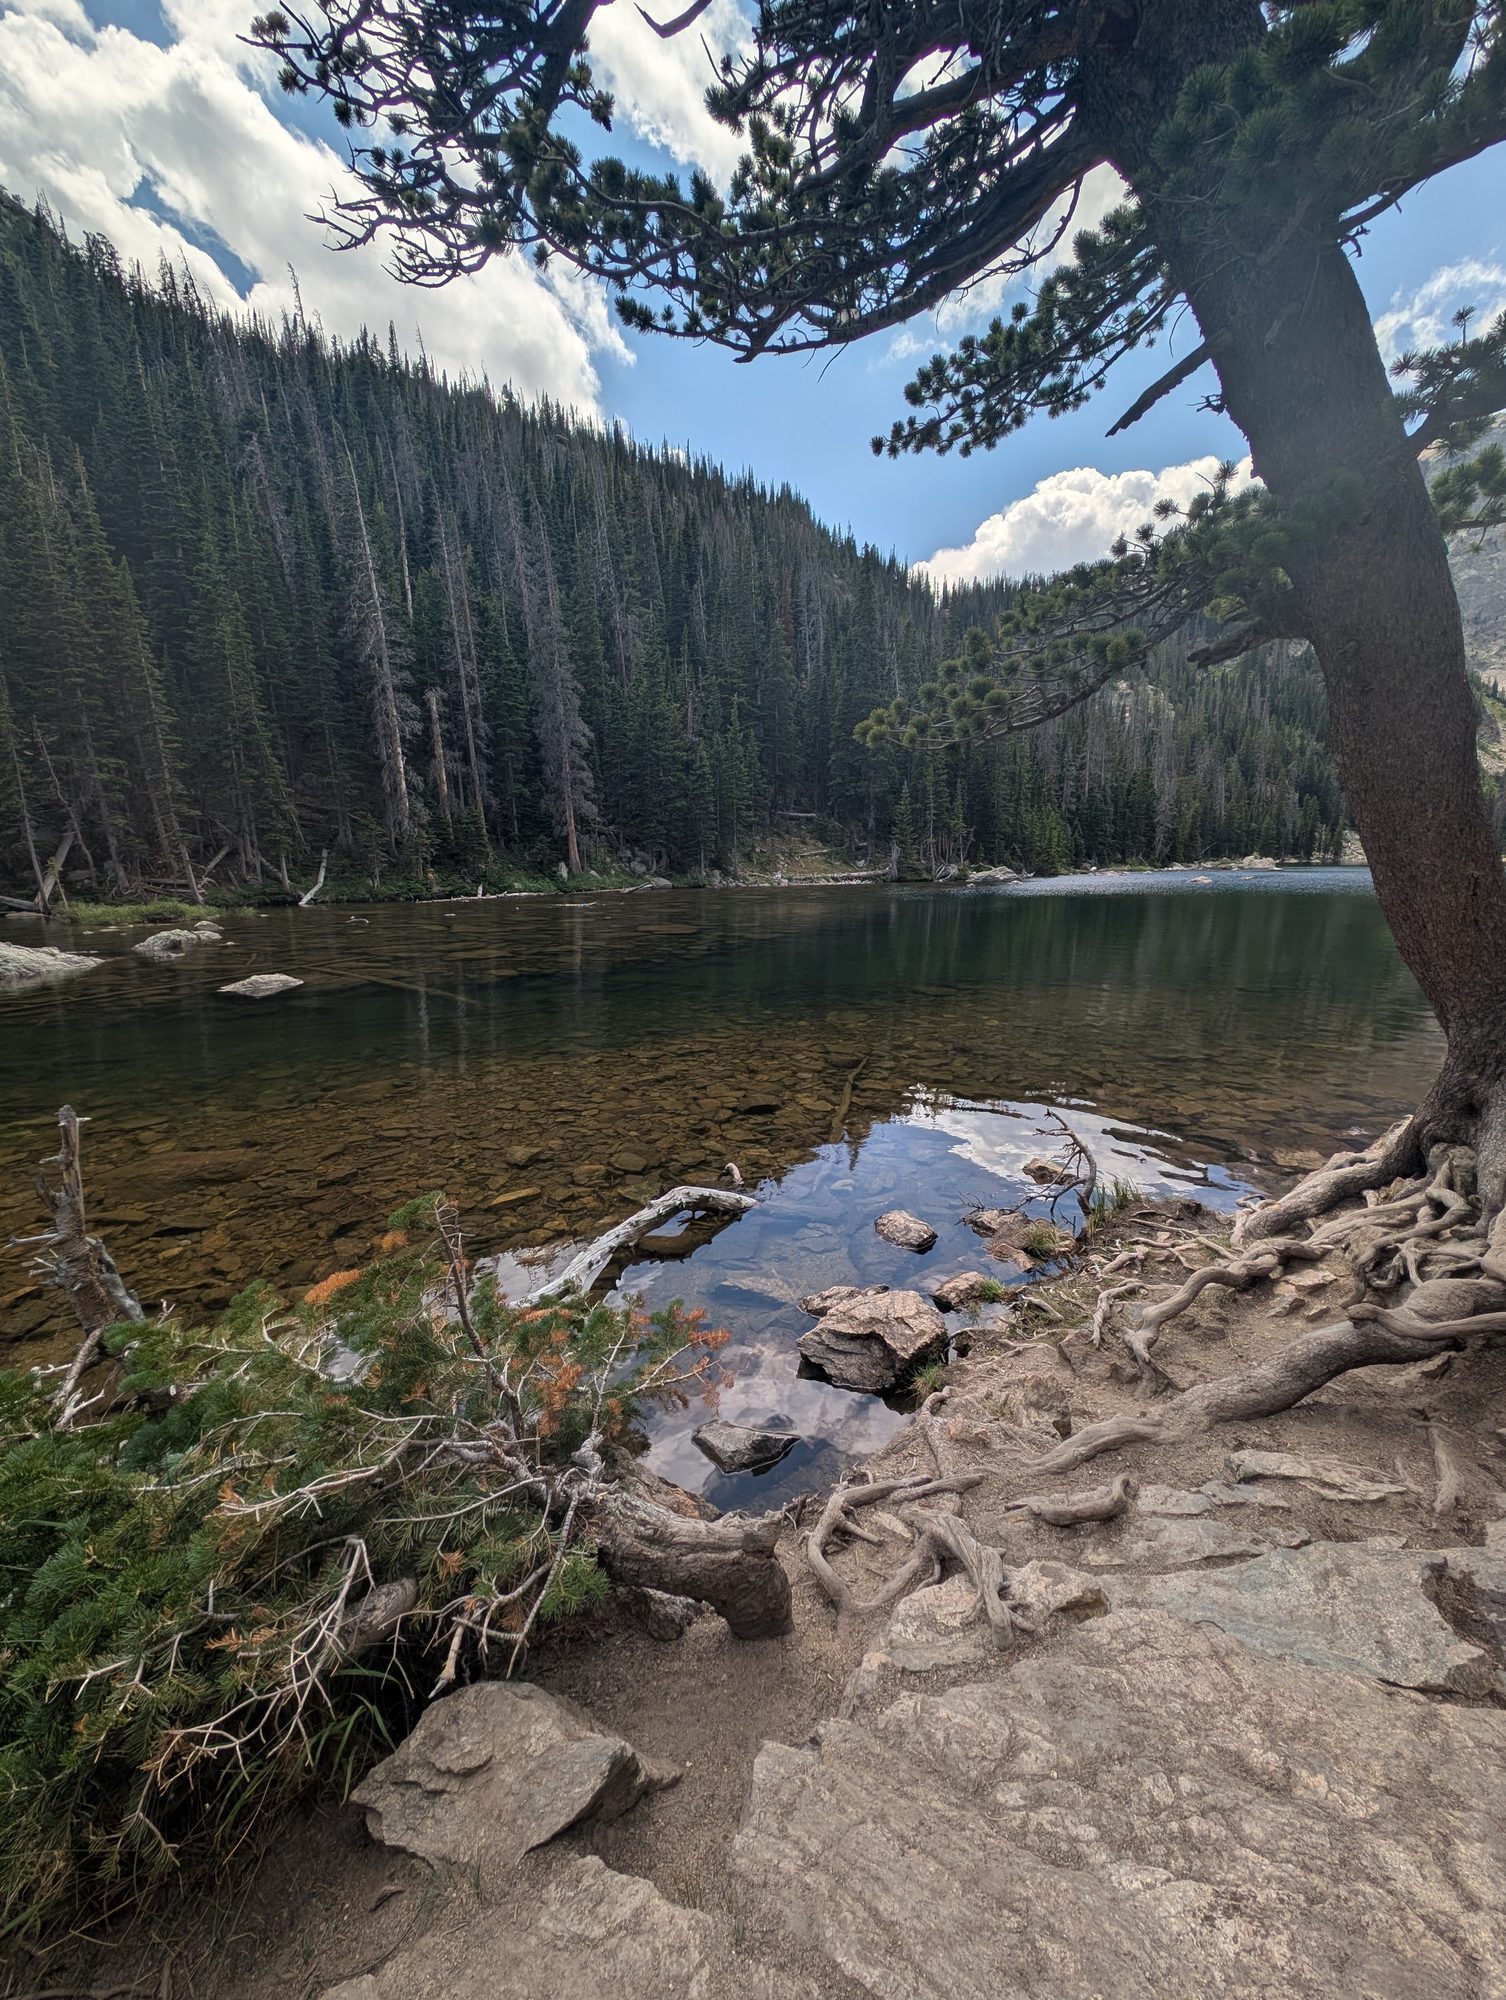
Past Nymph Lake, the trail keeps climbing along rocky steps, with big views opening up to the south, including Longs Peak. Then it levels out at Dream Lake, a clear, narrow lake with Hallett Peak towering over the far end. This was the highlight of our whole trip.
Views and rocky steps between Nymph Lake and Dream LakeDream Lake is a great spot for a picnic
We turned around at Dream Lake and skipped the extension to Emerald Lake, which is steeper and rockier. Our total was about 2.2 miles round trip with roughly 474 feet of elevation gain.
From Bear Lake trailhead to
One-way distance
Our take for kids
Bear Lake viewpoint
A few steps
Everyone can do this
Nymph Lake
0.5 miles
Steady uphill, good first goal
Dream Lake
1.1 miles
Our turnaround, the best payoff
Emerald Lake
1.8 miles
Steeper and rockier, for older or experienced kids
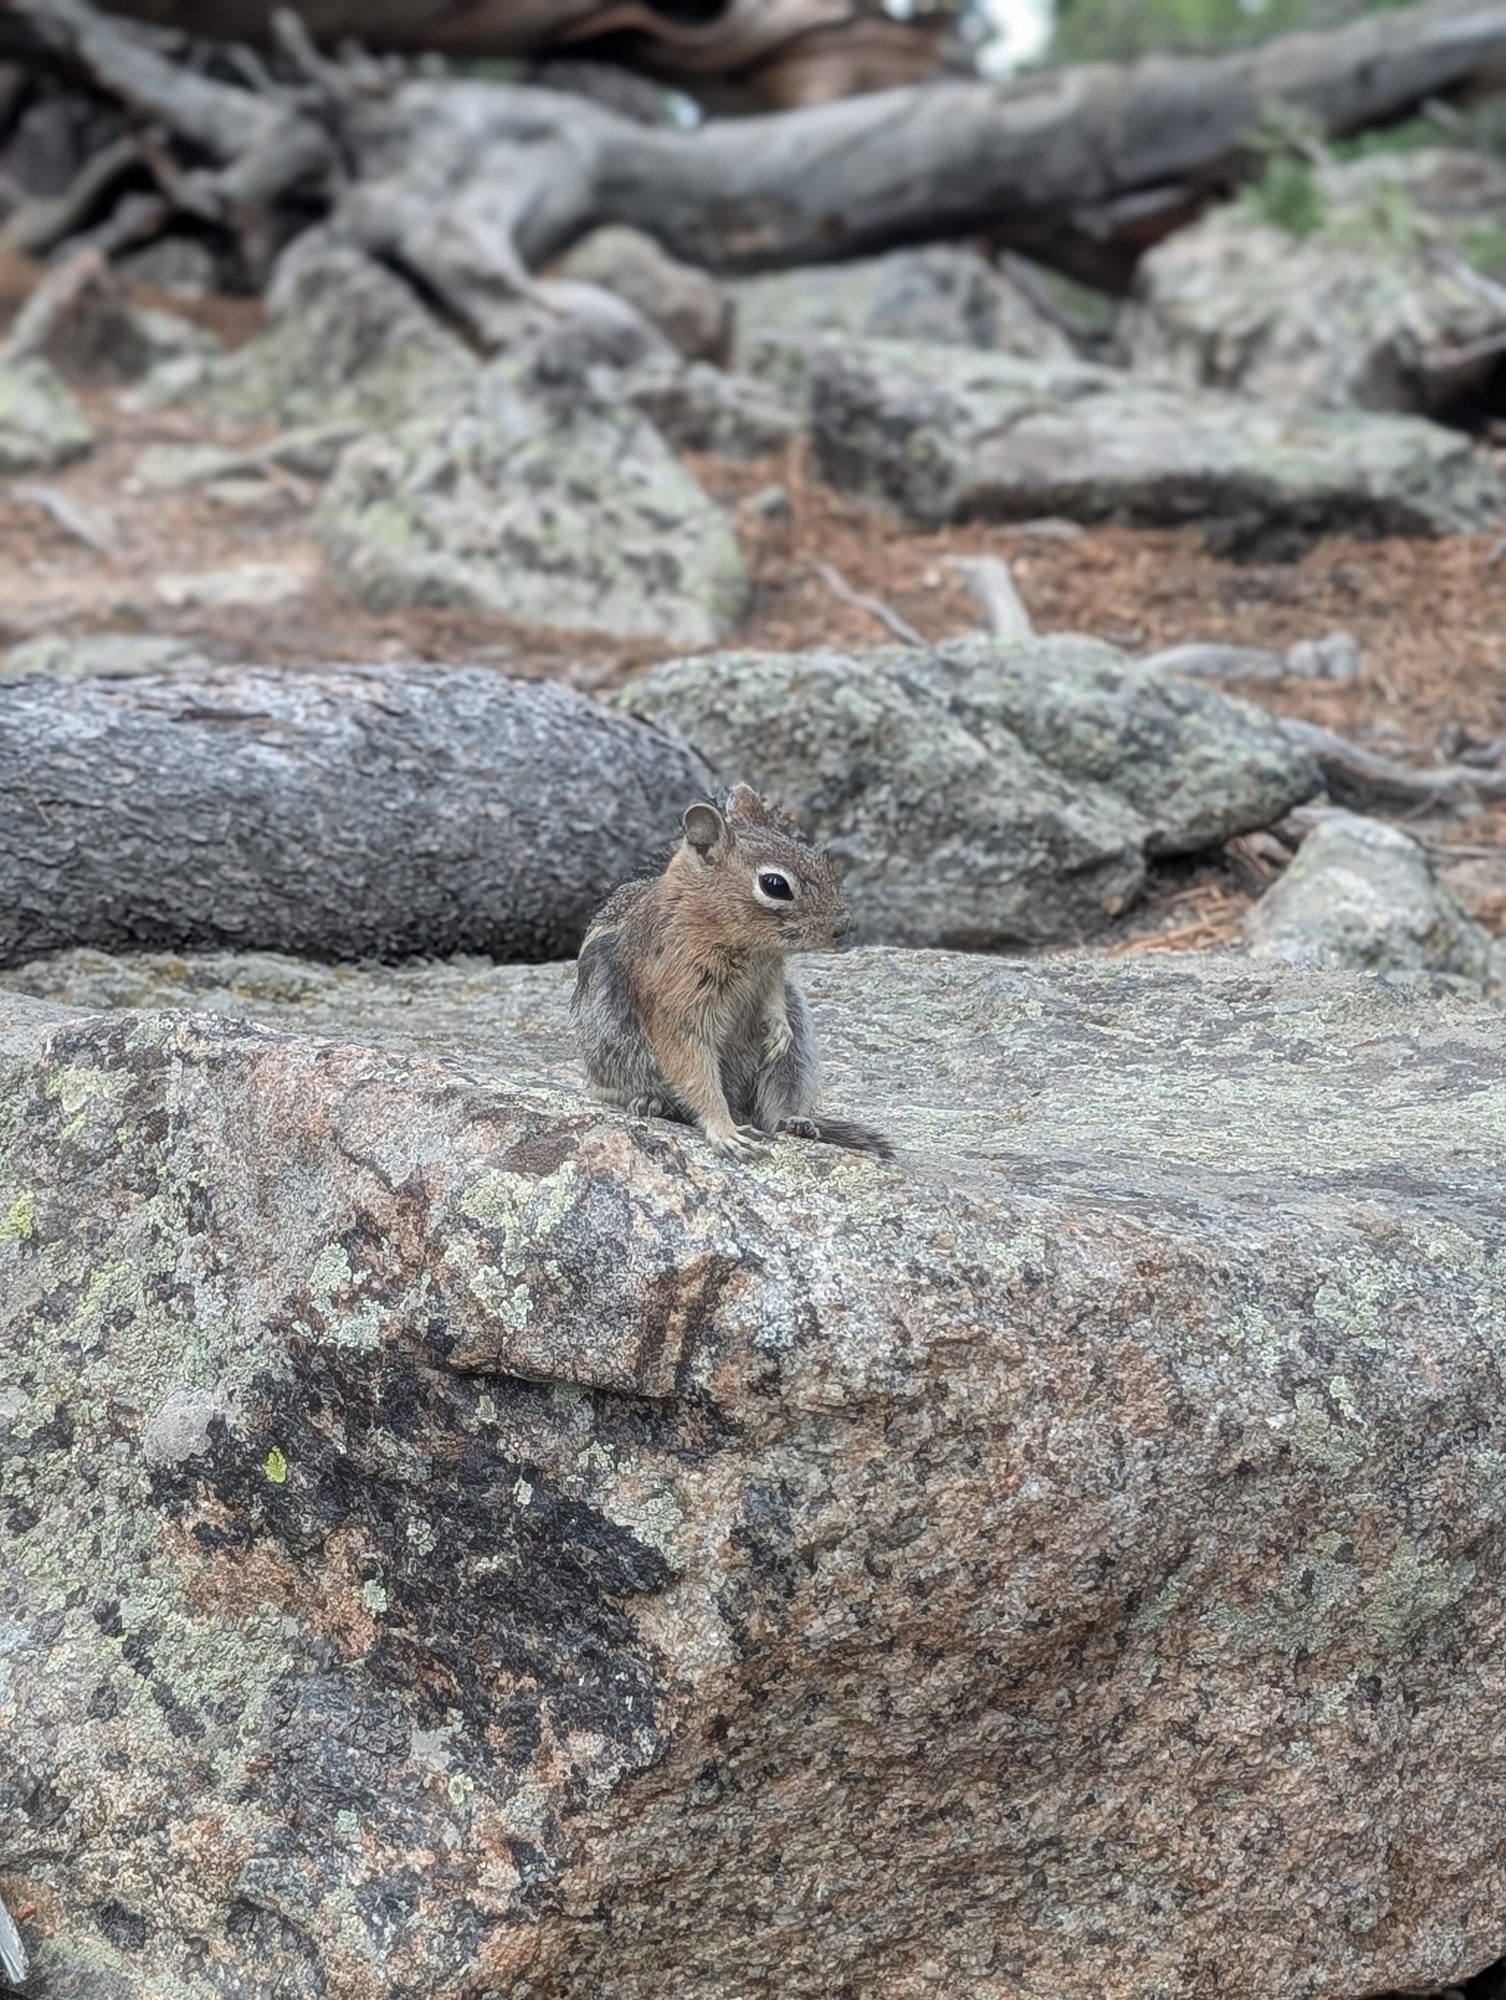
We also spotted golden-mantled ground squirrels sunning on the rocks near Dream Lake. They're used to people, but please don't feed them.
A golden-mantled ground squirrel near Dream Lake
Our Tips for the Dream Lake Hike with Kids
Bring more water than you think. The trail is uphill the whole way out, and the altitude makes it tougher than the numbers suggest. Coming back down was easy.
Pack a picnic and make Dream Lake your lunch stop. There's no food on the trail, and sitting by the lake is the best part. For allergy families, that also means you control exactly what everyone eats.
Start by late morning. Afternoon thunderstorms are common in summer, and you don't want to be on exposed rock when one rolls in.
Wear real shoes. The trail is well maintained but rocky in places, with stone steps above Nymph Lake.
Use the restrooms at Bear Lake. There are none on the trail.
Sprague Lake
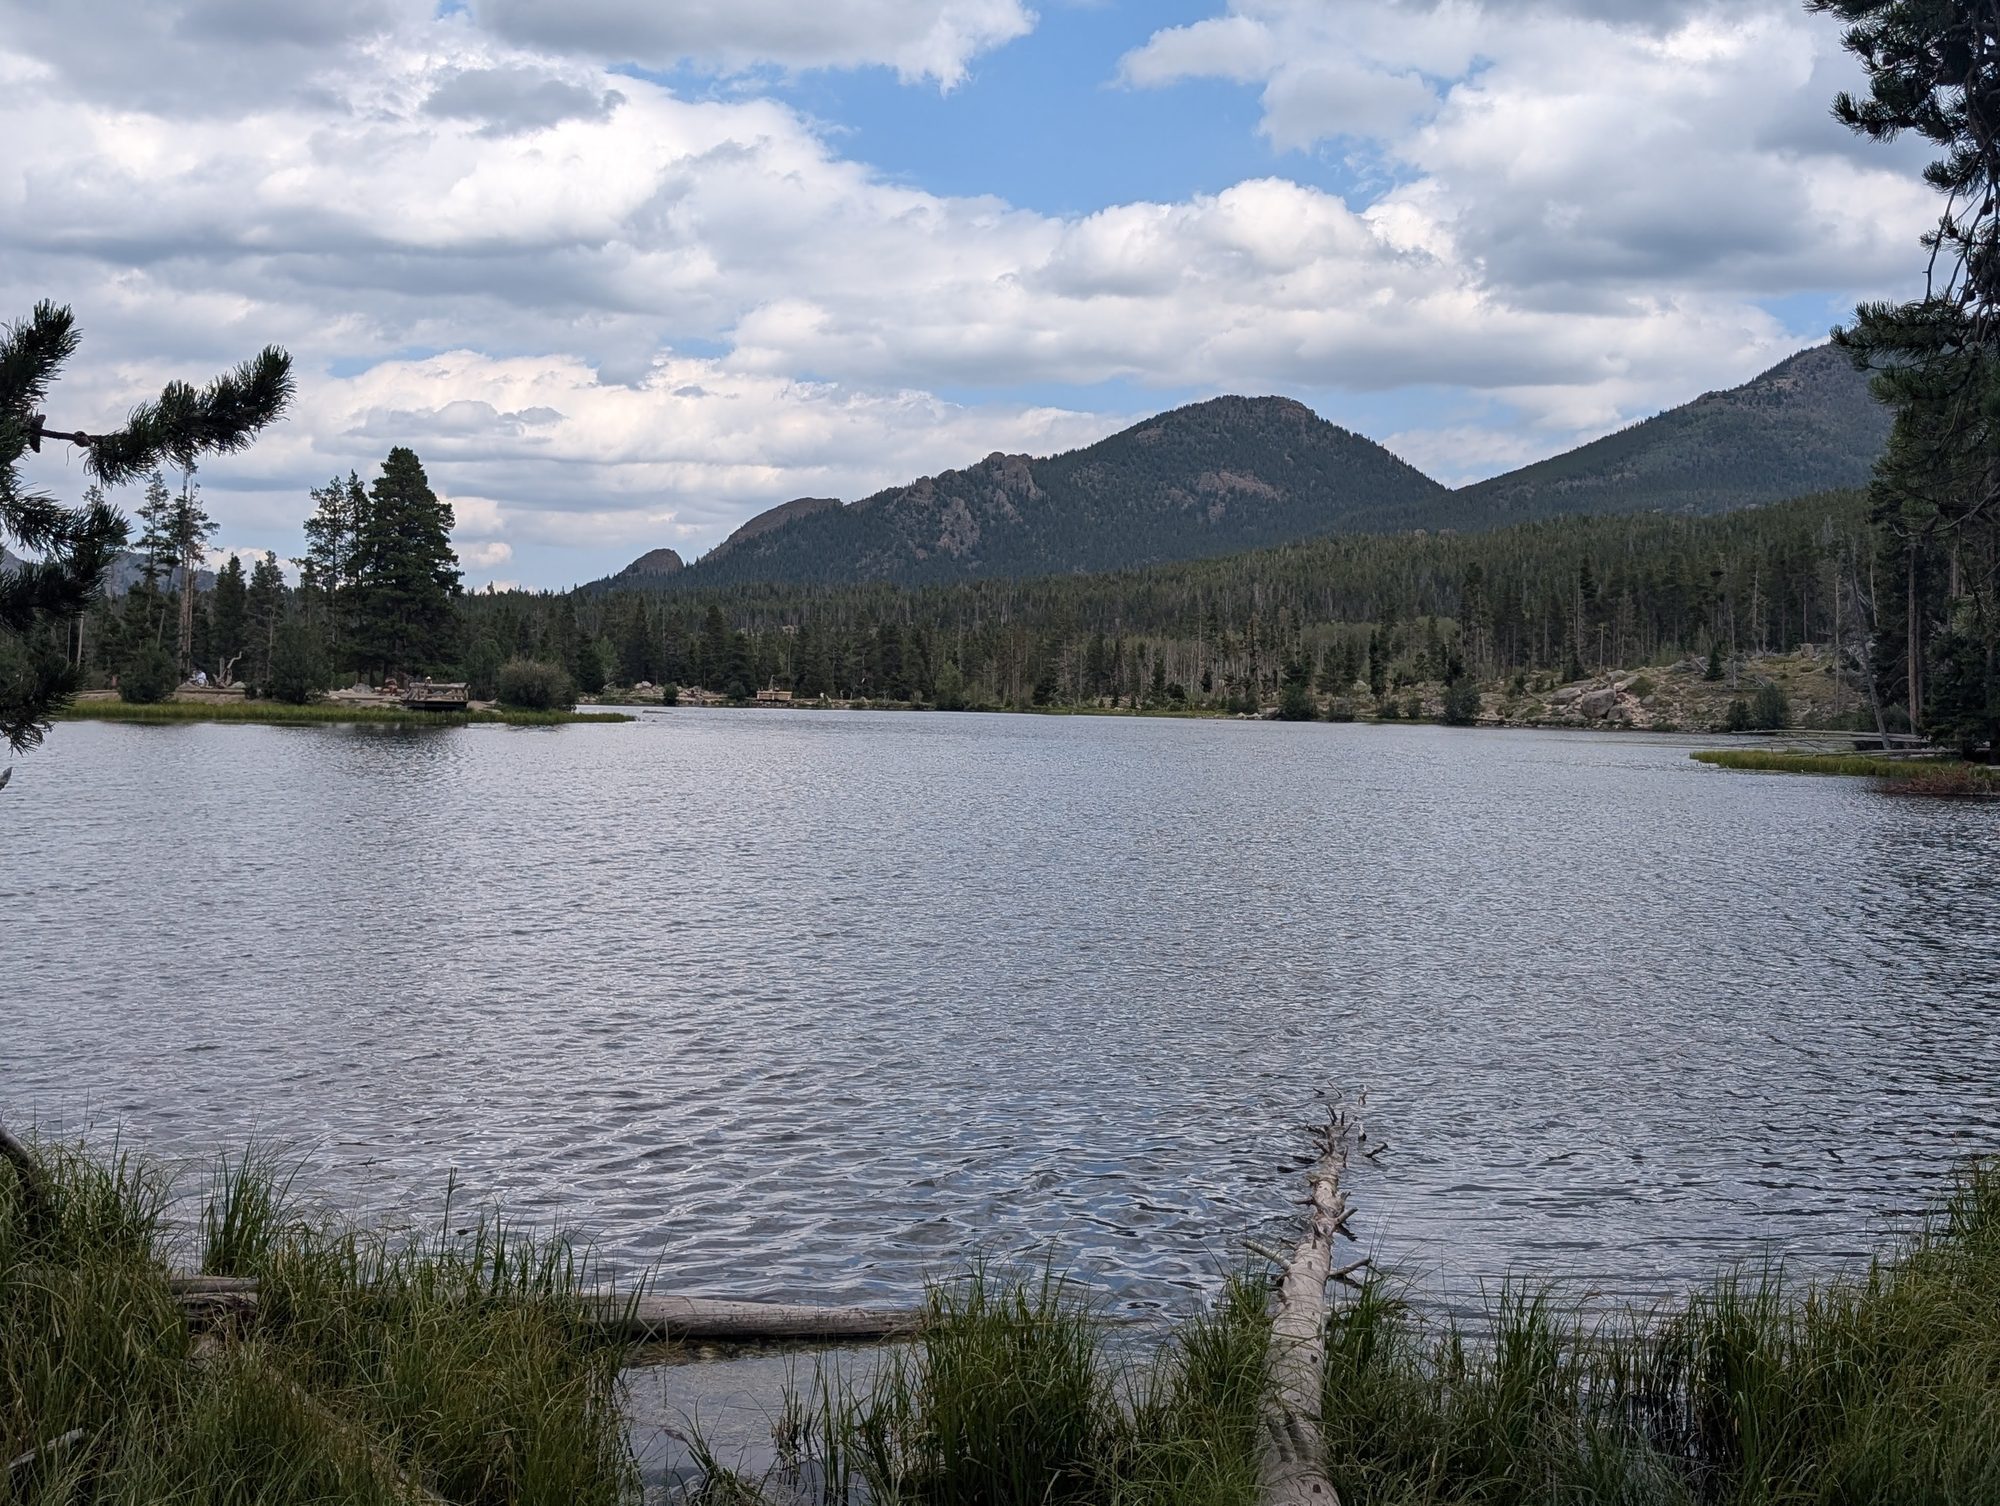
After the shuttle back, we drove to Sprague Lake. We walked only to the nearby shoreline viewpoint instead of doing the full loop. The lake is calm and wide open, with mountain views across the water. The short, flat loop around it is a good option if your kids still have energy.
Sprague Lake from the shoreline viewpoint
Moraine Park and the Discovery Center
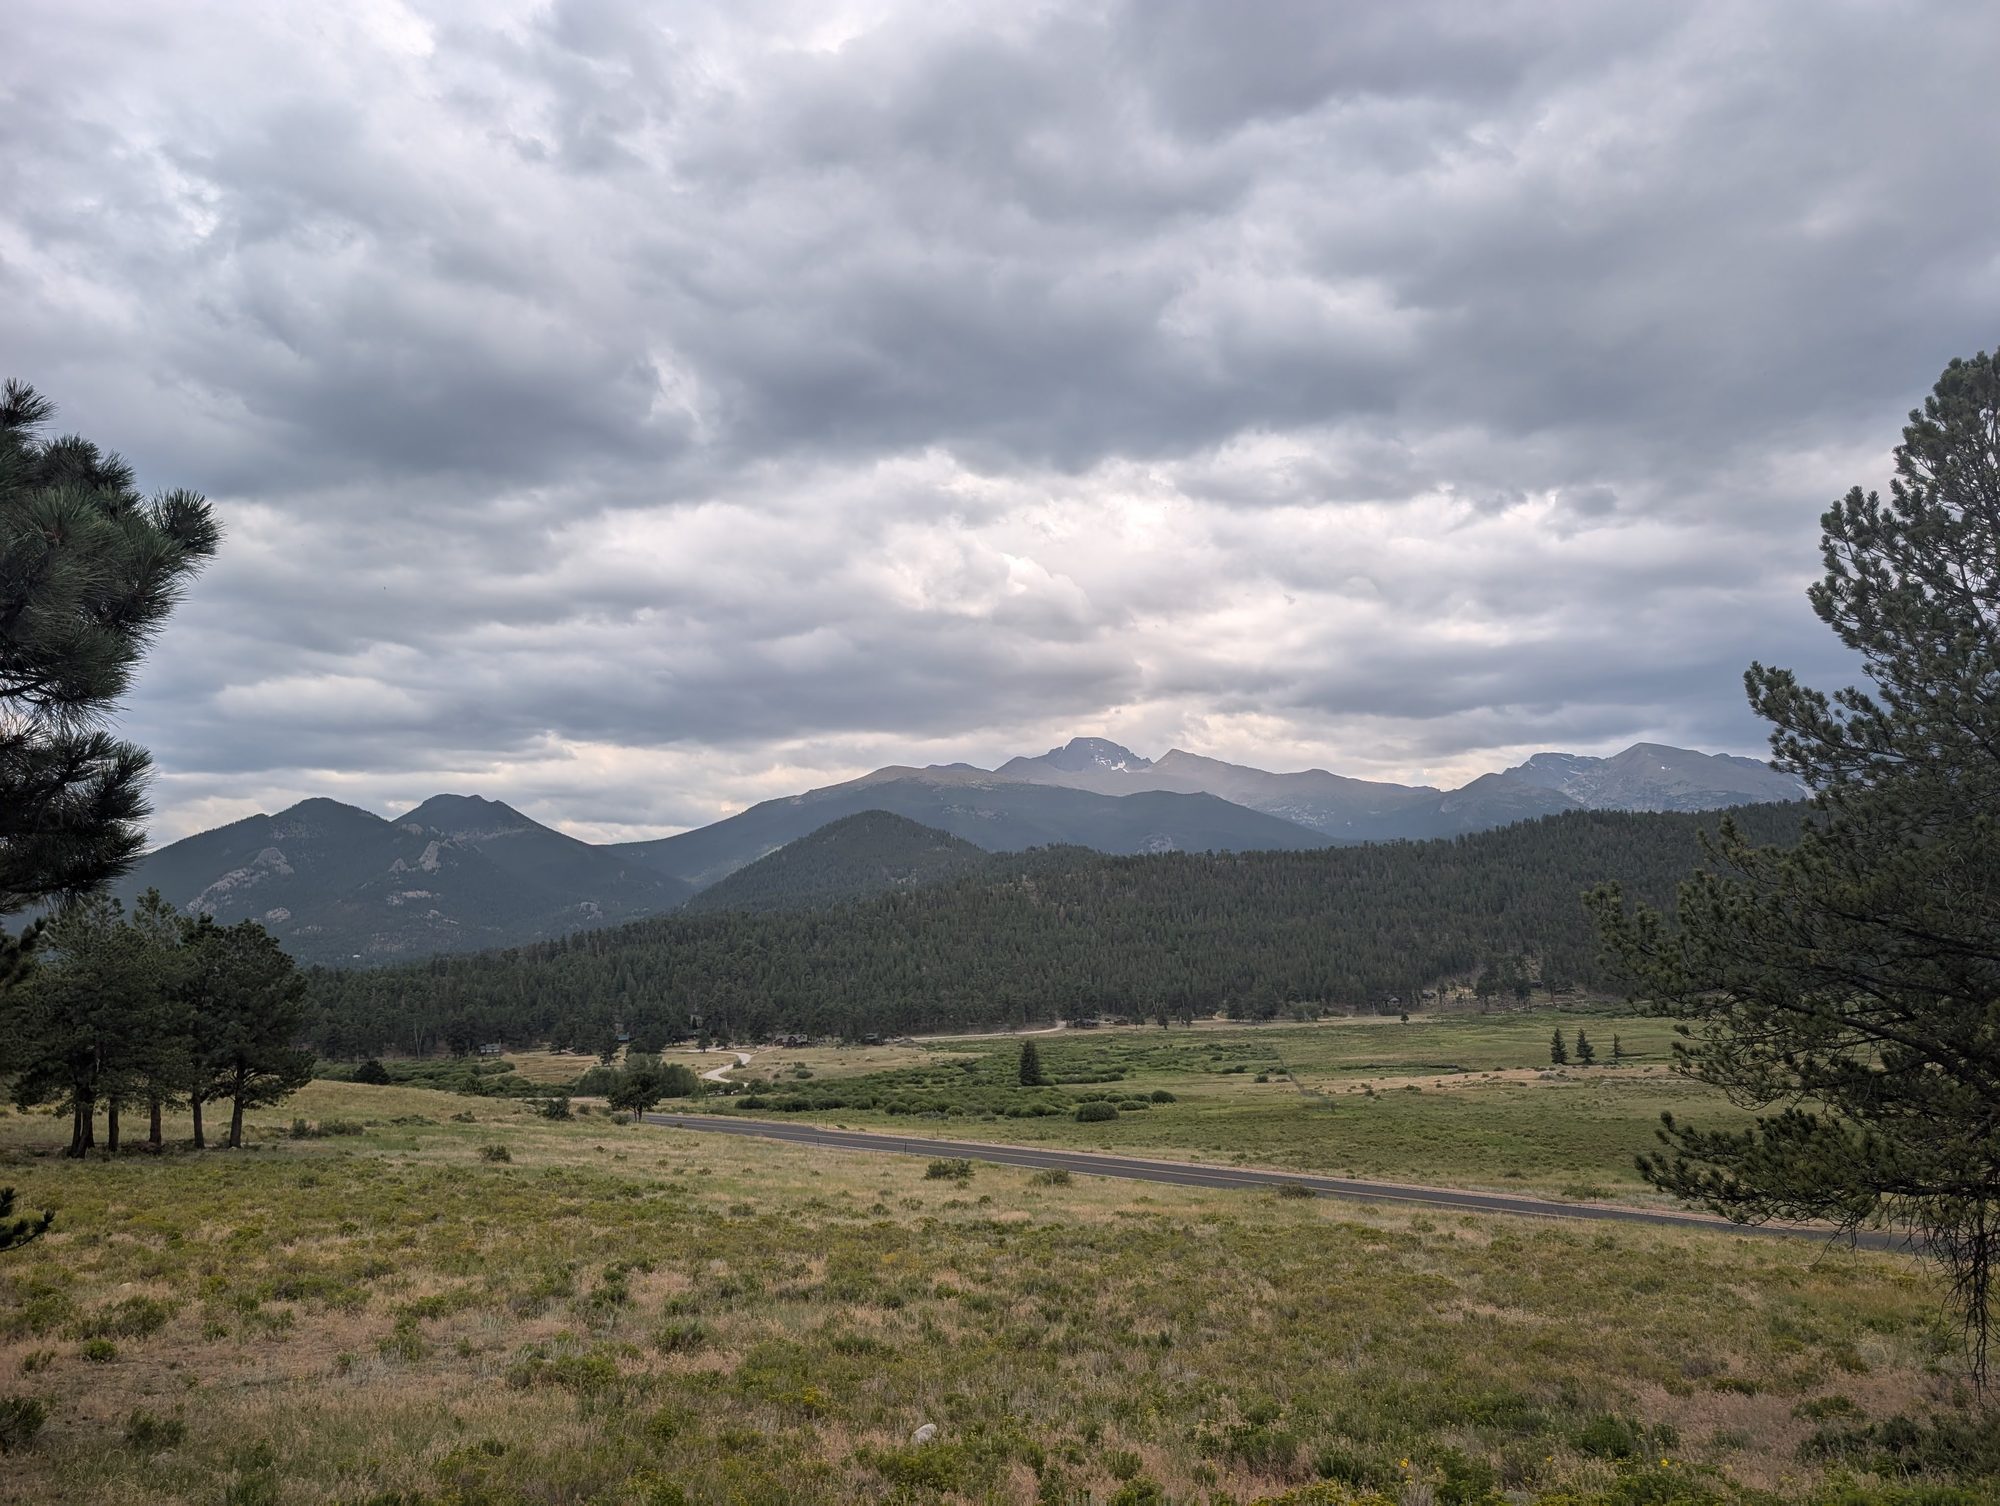
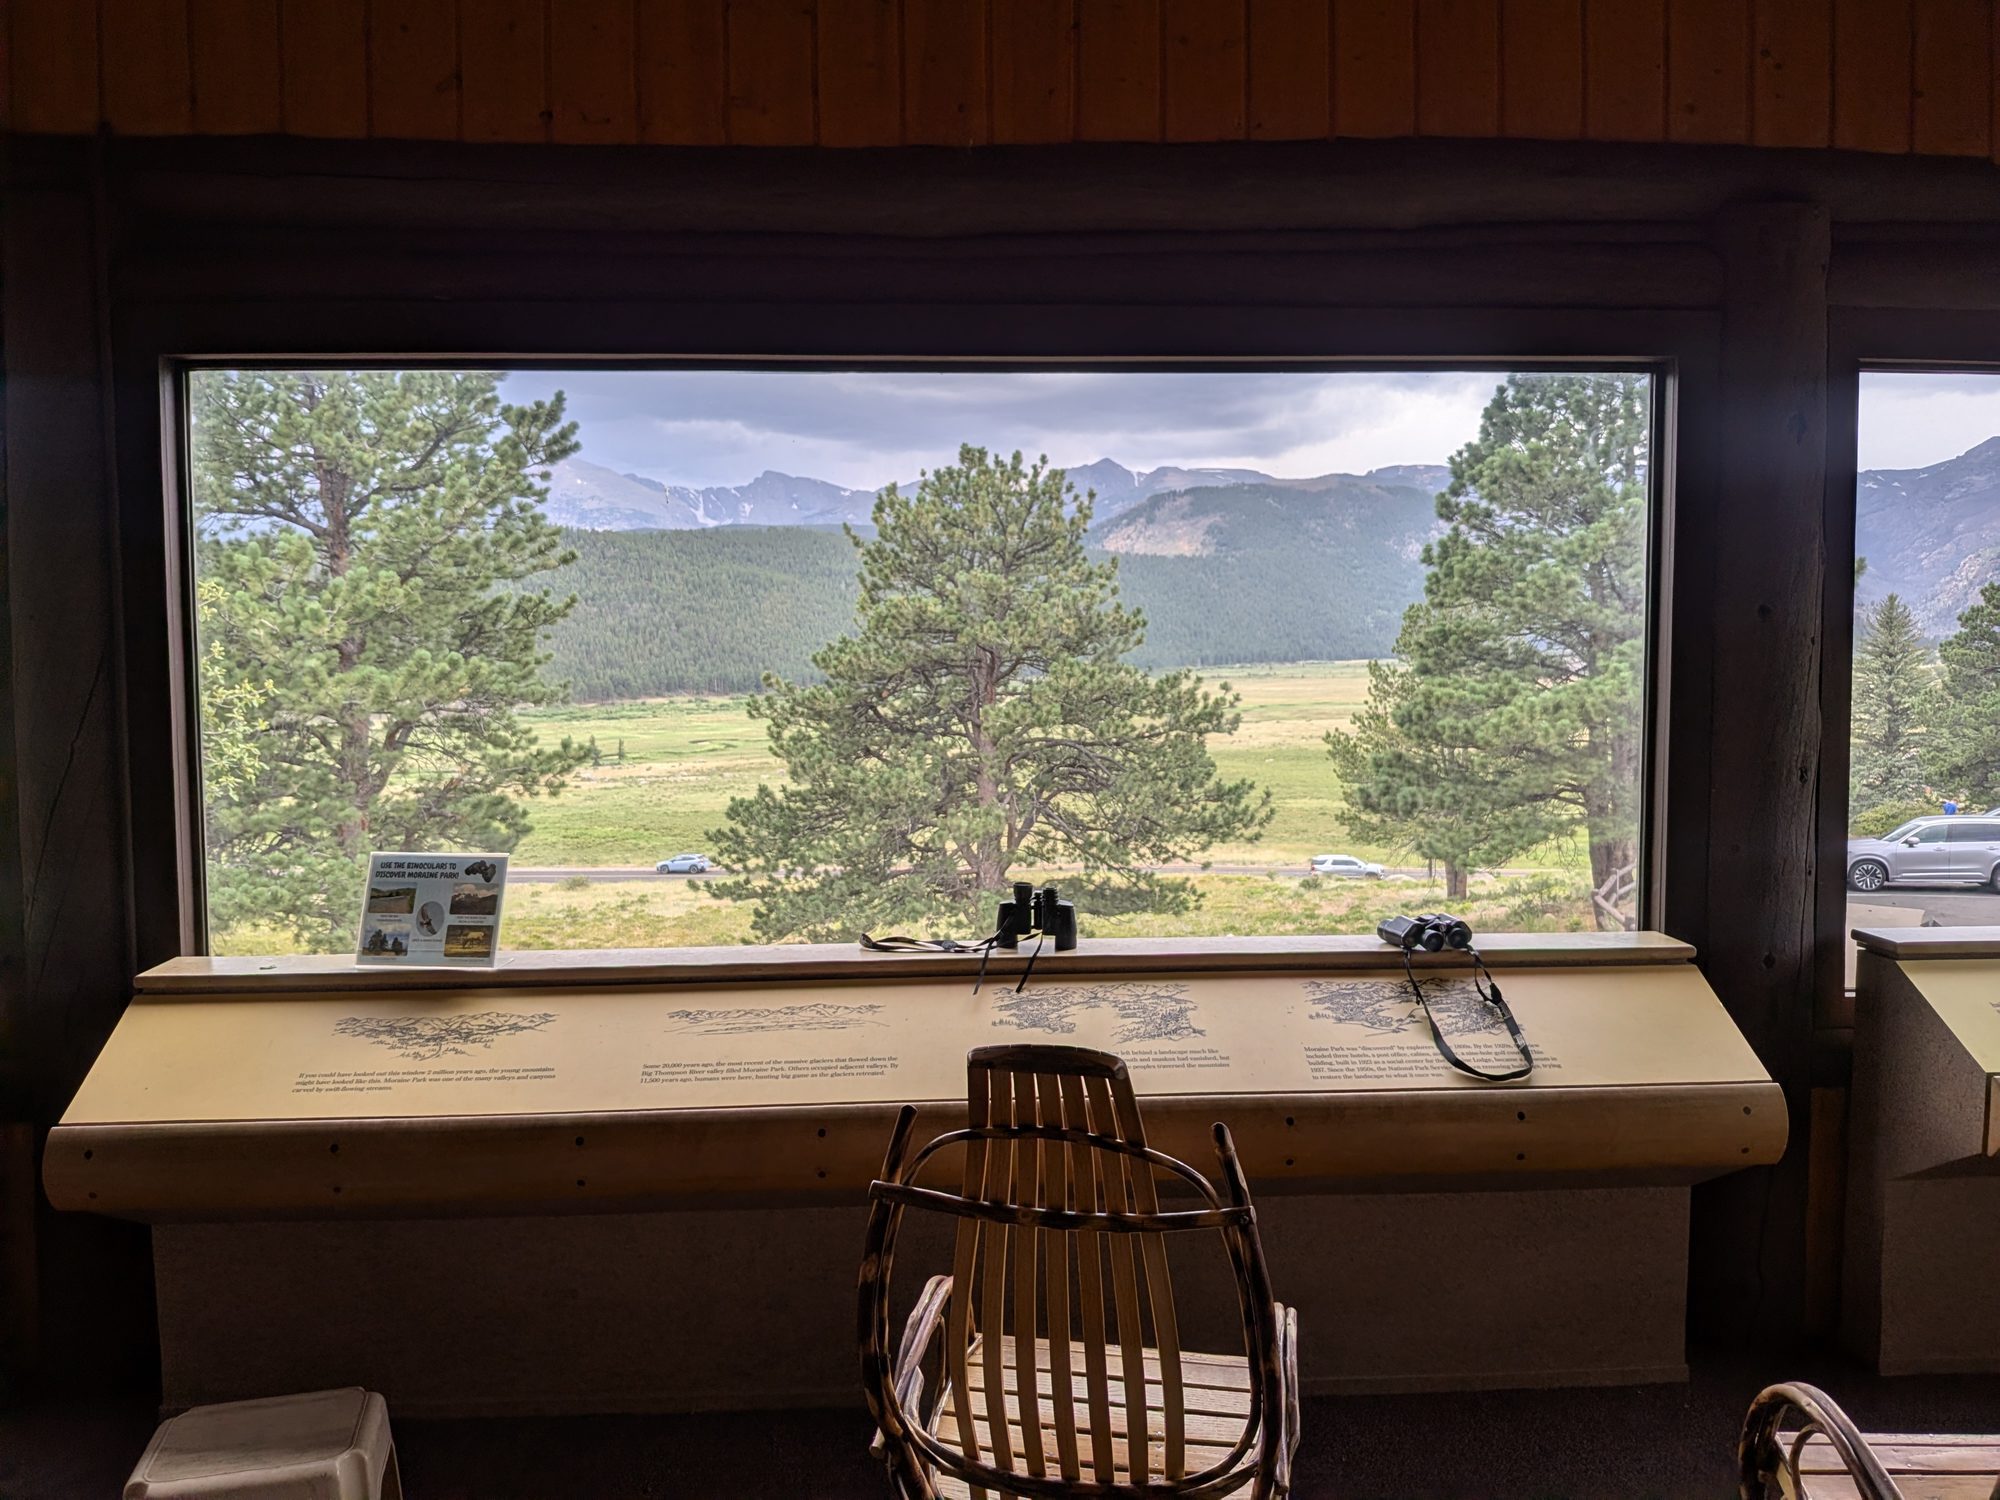
We finished the day at Moraine Park, a huge open meadow with the mountains all around it. It's one of the best places in the park to scan for elk, especially early or late in the day. The Moraine Park Discovery Center has small, kid-friendly exhibits about glaciers and geology, plus a big picture window looking out over the meadow.
Moraine Park and the view from the Discovery Center
Is Rocky Mountain National Park Good for Kids?
Yes, as long as you plan around altitude and reservations. Here's how we'd match this itinerary to different ages:
Under 6: Stick to the Trail Ridge Road overlooks, the Bear Lake Loop, Sprague Lake, and Moraine Park. All are short and mostly flat.
Ages 6 to 9: Add Nymph Lake. Dream Lake is possible with breaks and plenty of snacks.
Ages 10 and up: Dream Lake is a great fit. Our 10-year-old handled it well. Emerald Lake is a reasonable stretch goal for active kids.
Altitude matters. Estes Park is about 7,500 feet, and the Alpine Visitor Center is close to 12,000. Drink lots of water, go slow on the first day, and watch for headaches or unusual tiredness in kids.
Where to Stay and Eat
We based ourselves in Estes Park for three nights, which put us about 15 minutes from the Beaver Meadows Entrance. Our Estes Park family guide covers the drive from Denver International Airport, our hotel, the Riverwalk, and the restaurants we tried, including how they handled food allergies.
FAQ
Do you need a reservation for Rocky Mountain National Park?
From late May to mid-October, yes. You need a timed entry reservation to enter between 9 a.m. and 2 p.m., and a separate Timed Entry+ reservation for Bear Lake Road between 5 a.m. and 6 p.m. Book on Recreation.gov.
How long does Trail Ridge Road take with kids?
Plan on most of a day from Estes Park if you stop at the main overlooks and the Alpine Visitor Center. The drive itself is shorter, but you'll want time at each stop.
Is the Dream Lake hike hard for kids?
It's a moderate hike. It's about 2.2 miles round trip with roughly 474 feet of gain, uphill the whole way out. Most kids 6 and up can do it with breaks, water, and snacks.
Is the Bear Lake shuttle free?
Yes. The park shuttles from the Park & Ride to Bear Lake and Moraine Park are free with park entry. The Hiker Shuttle from the Estes Park Visitor Center needs a $2 ticket on Recreation.gov.
Can you buy food in Rocky Mountain National Park?
The main option is the cafe at the Alpine Visitor Center on Trail Ridge Road. There's no food on Bear Lake Road, so pack lunch and snacks, especially if anyone in your family has food allergies.
Final Thoughts
Two days gave us a great feel for Rocky Mountain National Park without wearing anyone out: one high-altitude scenic drive and one moderate lake hike. If you're planning a trip, book your timed entry the day reservations open, start each day early, and bring plenty of water. Then check our Estes Park guide to plan the rest of the trip.
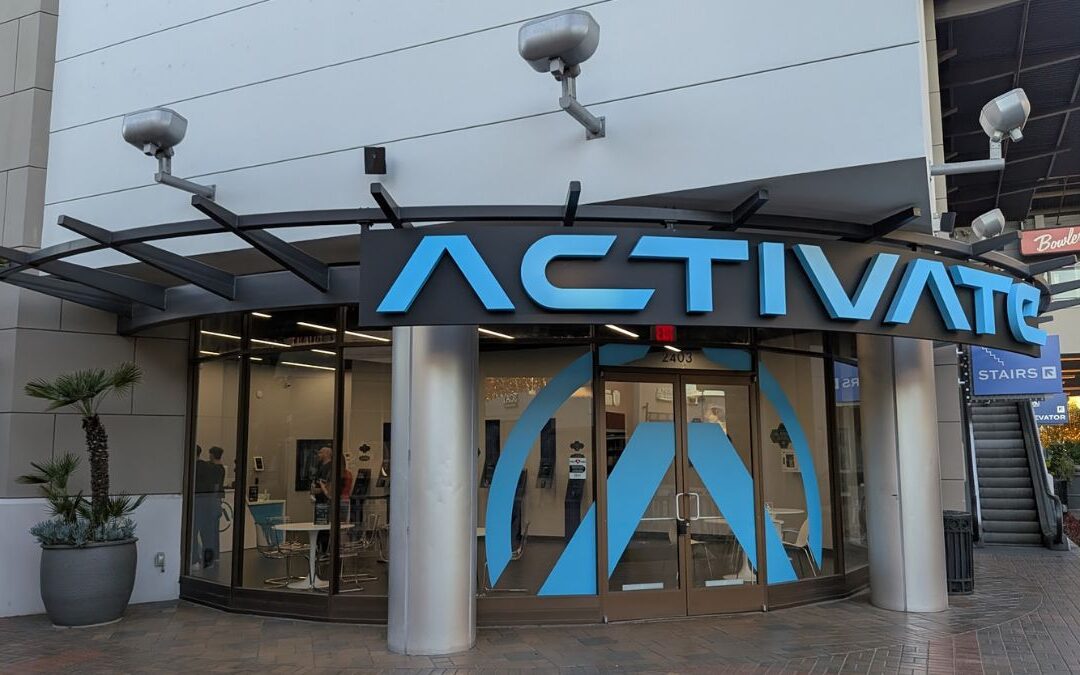
Activate Games continues to be one of the more unique entertainment concepts available for families, friends, and small groups—and after multiple visits to different locations, the Tustin site stands out as one of the strongest executions of the experience.
This visit confirmed that Activate still delivers on what it promises: fast-paced, interactive games that blend physical movement, problem-solving, and friendly competition, all wrapped in a format that works well for repeat visits.
What Is Activate Games?
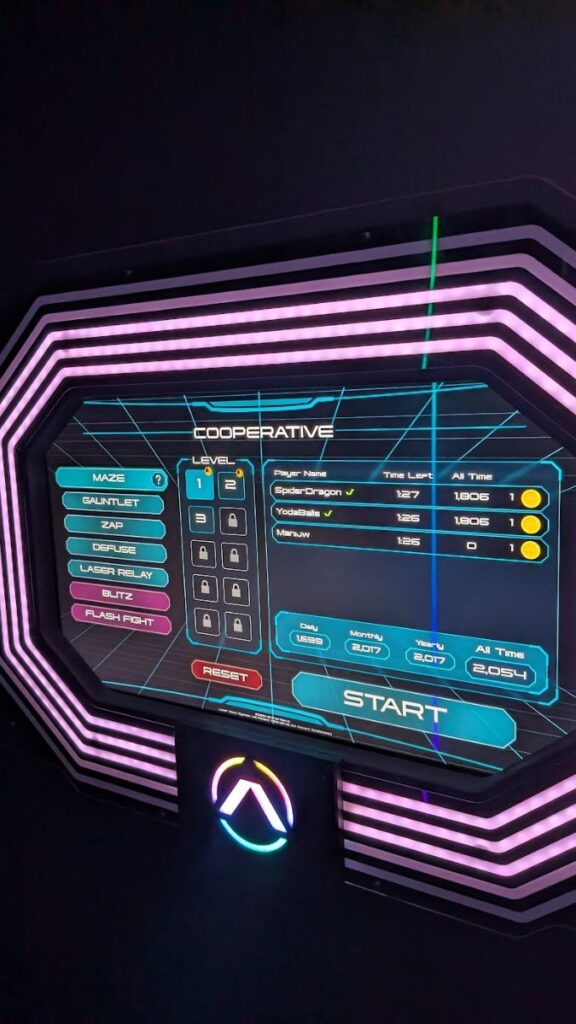
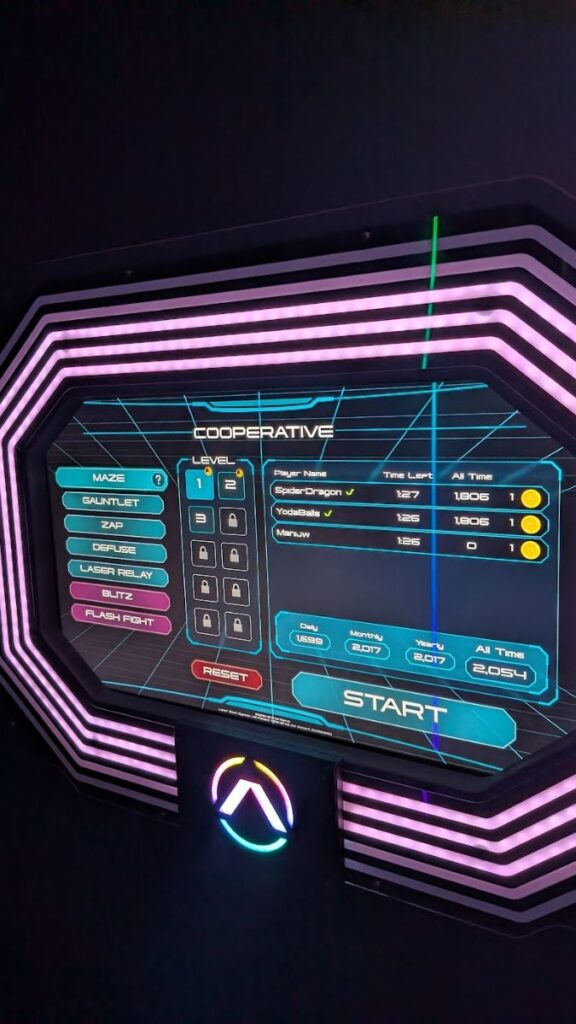
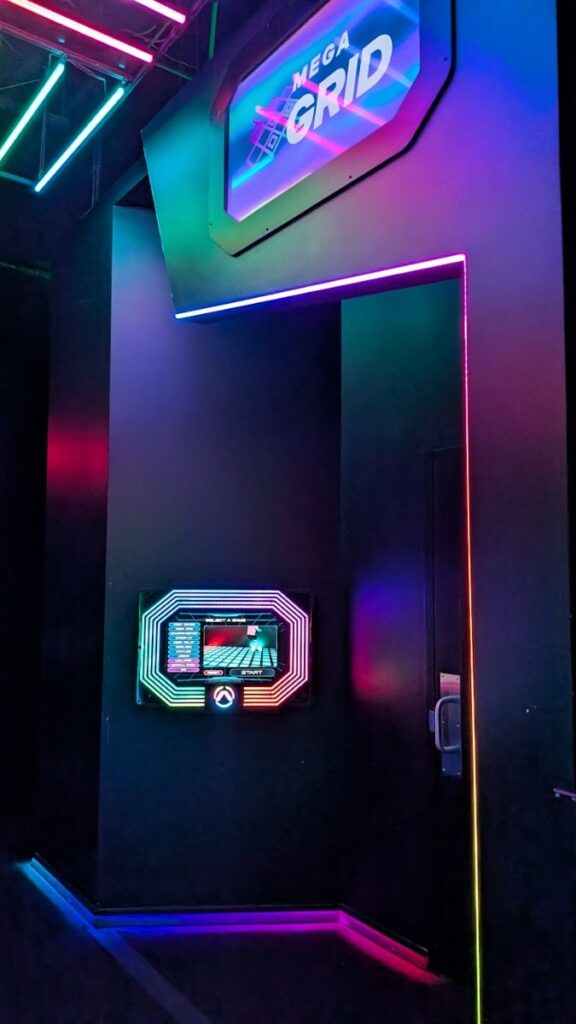
Activate Games is best described as a real-world video game. Instead of controllers and screens, players move through a series of interactive rooms where physical actions—running, jumping, climbing, reacting, and coordinating—drive the gameplay.
Each room hosts a different game. Players select a difficulty level, the room activates, and the goal is to score as many points as possible before time runs out. Games are short, intense, and designed to be replayed multiple times at increasing difficulty levels.
Game Variety and Replay Value
Activate offers dozens of games across several styles, including:
Reaction and speed-based games
Agility and climbing challenges
Memory and pattern-recognition games
Team coordination and communication games
Endurance-focused challenges
The variety is a major strength. Even after multiple visits, there are always games that haven’t been played yet or difficulty levels that change how familiar games feel. This built-in progression system makes Activate far more replayable than a typical one-and-done attraction.
How the Tustin Location Compares
We’ve previously visited Activate Games - Buckhead, which was a solid experience. That said, the Tustin location feels a step up, likely because it’s newer.
Notable improvements at Tustin:
No technology glitches or calibration issues
Rooms and equipment felt newer and more responsive
Smooth transitions between games
Overall more polished feel
Everything worked as expected, which matters for a concept that relies so heavily on timing, sensors, and interactive tech.
Staff, Setup, and Overall Experience
Staff consistency remains one of Activate’s strong points. Onboarding was clear and efficient, and staff were friendly, approachable, and quick to help when needed. They struck a good balance between being available and letting groups play uninterrupted.
For repeat visitors, this consistency is reassuring—it feels well-run and dependable rather than hit-or-miss.
Physical Intensity and Energy Management
Activate is moderate to high physical activity, depending on the games selected and the difficulty level chosen. Expect to move and expect to sweat.
For families, especially those with kids, pacing is important. Mixing high-energy games with more strategic or reaction-based rooms helps manage fatigue and keeps attention levels high. Short breaks between games go a long way.
This is not a passive experience, which is part of its appeal.
Age Suitability and Who It’s Best For
Activate works well across a wide age range thanks to its difficulty scaling.
Well suited for:
Families with elementary-age kids and up
Teens and friend groups
Date nights (interactive and low-pressure)
Group outings and celebrations
Less ideal for:
Very young children with limited attention span
Anyone looking for a non-physical activity
Mixed-age groups generally do well by choosing moderate difficulty levels and rotating game types.
Location Advantage: The District at Tustin Legacy
One of the biggest advantages of this location is its setting within The District at Tustin Legacy.
With plenty of restaurants, shops, and casual hangout options nearby, Activate easily fits into a larger outing. It works well as either the main activity or part of a longer day out.
Pricing and Value for Repeat Visits
Pricing is session-based rather than per game, which encourages experimentation and replay. While it may feel premium on a first visit, the value becomes clearer over time as you:
Try more games
Improve scores
Increase difficulty levels
Compete against your own past performance
For active families and groups, the experience tends to justify the cost, especially on repeat visits.
Locations and Expansion
Activate has expanded rapidly and now operates multiple locations across the United States and Canada, with new sites opening regularly. That growth speaks to the strength of the concept and makes it easy to revisit the experience in different cities.
Final Verdict
Activate Games Tustin delivers a polished, reliable, and genuinely fun experience that holds up well over time. Compared to other locations we’ve visited, Tustin stands out for its smooth technology, clean setup, and overall consistency.
Bottom line: Still worth repeat visits—for families, friends, and date nights—especially if you enjoy active, interactive experiences that go beyond traditional entertainment.
We visited Universal Studios Hollywood on a Wednesday in mid-January as a family with one elementary-age child. This wasn’t our first visit, and that actually helped—we knew what usually goes wrong, which made it easier to appreciate when almost nothing did.
If you’re looking for a calmer, more predictable Universal Studios experience—especially with kids—January mid-week is about as good as it gets.
Food strategy with multiple food allergies in mind
Ticket and annual pass costs (and when they make sense)
Park strategy that works during both slow and busy seasons
Arrival, Traffic, and Parking (A Rare Win)
We drove in from the Huntington Beach area and dealt with standard LA traffic. Nothing unusual, nothing dramatic. Total drive time was about 1 hour and 20 minutes, arriving around 10:30 a.m.
Parking was surprisingly easy. No lines, no congestion, no second-guessing whether we should’ve left earlier. Compared to visits during summer or school holidays—where parking alone can eat up 30–45 minutes—this was a huge stress reducer.
CityWalk was also very quiet. It felt open, uncrowded, and relaxed, which is not a sentence you often get to write about theme parks.
Weather: Sunny, mid-60s, ideal for walking. No heat fatigue, no layers to juggle.
Overall Park Strategy: Why Flexibility Matters
The usual advice—go straight to the Lower Lot first—is still correct. Lower Lot rides build the longest waits later in the day because most guests start at the front of the park.
That said, flexibility paid off immediately.
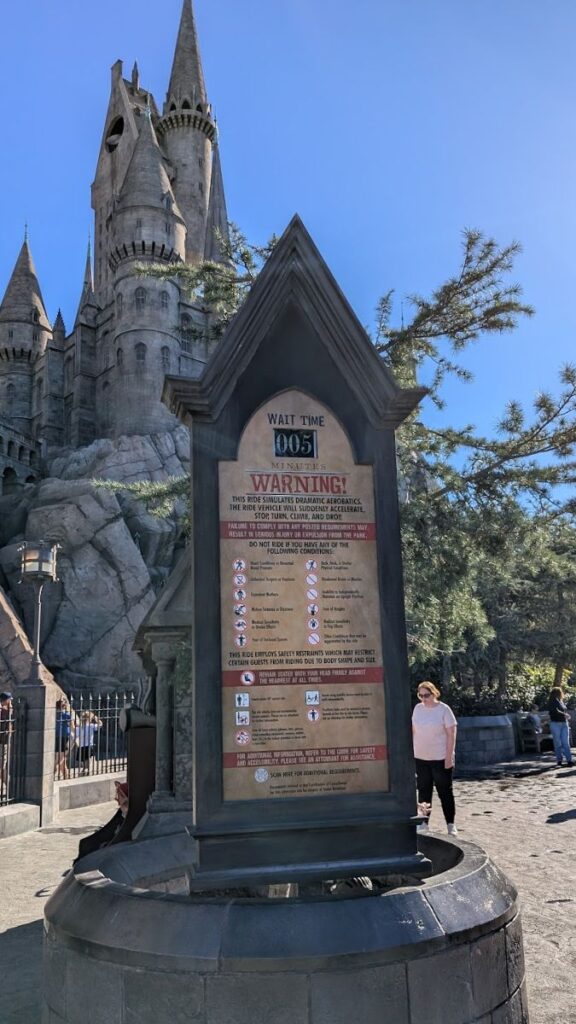
As we passed through the Upper Lot, we saw Harry Potter and the Forbidden Journey posting a 5-minute wait. This ride regularly hits 60–90 minutes during busy seasons, so we adjusted plans on the spot.
One recurring theme at Universal: Posted wait times are often more reliable than your original itinerary.
Harry Potter and the Forbidden Journey
This is one of Universal’s flagship attractions and still holds up extremely well.
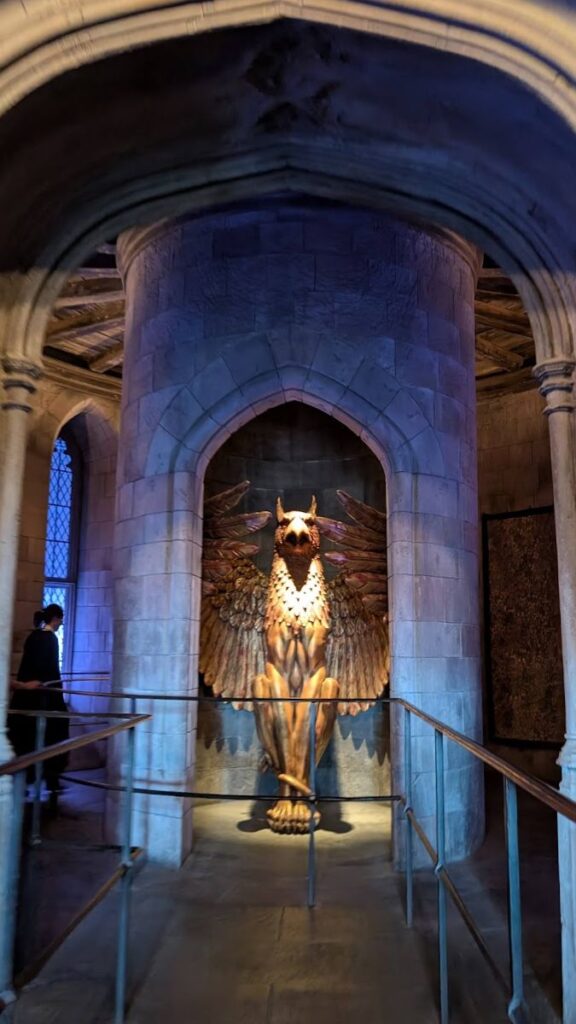
The ride combines robotic arm technology, large projection screens, and physical sets, taking you through Hogwarts Castle before launching into the ride itself.
Height requirement: 48 inches
Intensity: Moderate; motion sickness is possible
Typical busy-day waits: 60–90 minutes
Our wait: ~5 minutes
The queue itself is detailed and immersive, but skipping most of it due to low crowds was a trade we were very happy to make.
Flight of the Hippogriff (Ideal for Younger Kids)
Right next door is Flight of the Hippogriff, a small outdoor roller coaster that’s especially good for kids who want “a coaster” without anything too intense.
Height requirement: 39 inches
Ride length: Short
Intensity: Mild
Typical busy-day waits: 30–45 minutes
Our wait: ~5 minutes
Because the line was so short and the ride itself is quick, we rode it twice back-to-back. For kids who are coaster-curious but not thrill-seekers, this is a great confidence-builder.
Heading to the Lower Lot (Mario Kart Reality Check)
Our original plan was to start with Super Nintendo World and Mario Kart: Bowser’s Challenge, which is often the longest-wait ride in the park.
Unfortunately, Mario Kart was temporarily unavailable, likely due to maintenance. This does happen, and it’s worth knowing in advance that this ride can go down unexpectedly.
Disappointing, yes—but not a dealbreaker if you have backup priorities.
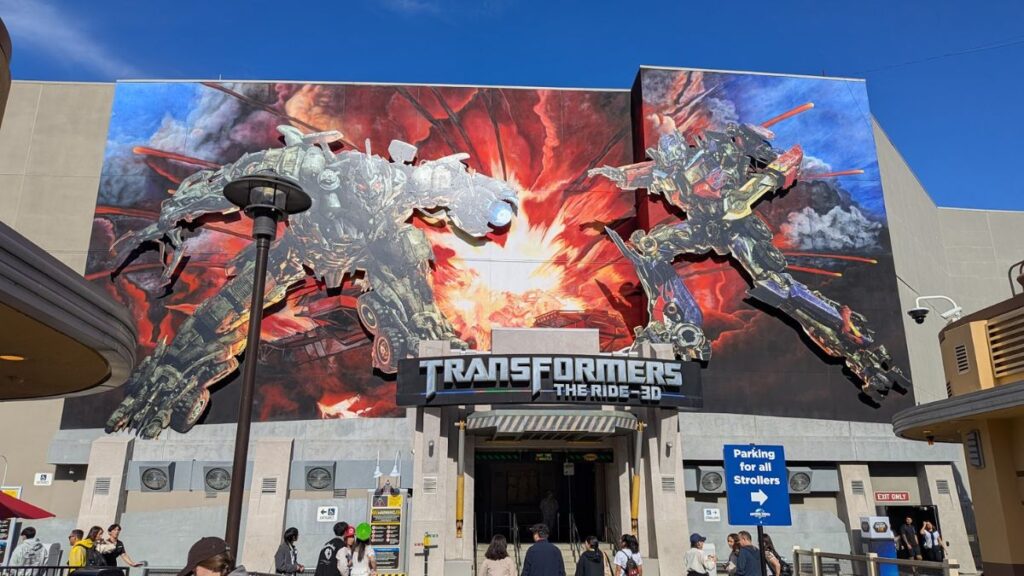
Transformers: The Ride 3D (Still a Favorite)
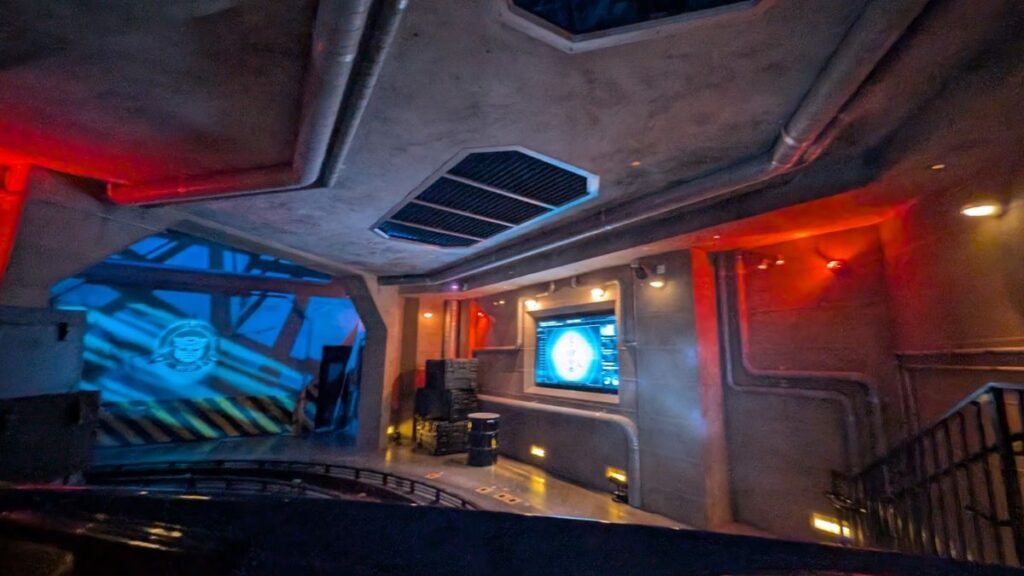
We pivoted to Transformers: The Ride 3D, which remains one of our most repeatable rides at Universal.
Height requirement: 40 inches
Intensity: Moderate to high
Ride type: 3D dark ride with motion simulation
Typical busy-day waits: 45–75 minutes
Our wait: ~5 minutes
We rode it twice. The combination of physical sets, motion vehicles, and 3D visuals still works well, even after multiple visits.
Busy-day tip: If you’re visiting during peak season, this should be a rope-drop ride. Most guests don’t reach the Lower Lot immediately.
Studio Tour: A Consistent Crowd-Pleaser
The Studio Tour is often overlooked by guests chasing rides, but it remains one of Universal’s best experiences.
Length: About 60 minutes
Intensity: Low
Includes: Working soundstages, outdoor sets, and themed segments
It’s also one of the best ways to rest your feet while still doing something substantial. Even repeat visitors usually find it worthwhile.
Food Strategy (With Food Allergies in Mind)
This is an important part of how we travel.
Our child has multiple food allergies, so we prioritize known safe foods over novelty or convenience. At Universal, allergy awareness among staff can be hit or miss depending on who you talk to.
Some team members are excellent and will check ingredients carefully. Others are less confident. Because of that, we generally stick to foods we already know work.
On this visit:
Cheese pizza from Luigi’s was a reliable option
Panda Express in the Lower Lot was ordered online and picked up quickly
Ice cream afterward was an easy, safe treat
If you’re traveling with food allergies, planning ahead matters more here than at some other parks. Universal can accommodate allergies, but consistency varies.
The Simpsons Ride
Later in the day, The Simpsons Ride posted about a 30-minute wait, which felt reasonable.
Height requirement: 40 inches
Intensity: High motion (motion sickness risk)
Typical busy-day waits: 60+ minutes
It’s fun, but it’s not a top priority for us if waits are long.
Dino Play Area: A Useful Reset Spot
The Dino Play Area in the Lower Lot is easy to miss but extremely helpful for families.
It gave our child time to play and reset while adults sat down and recovered a bit. If you’re visiting with kids, this is a smart built-in break.
Ollivanders Wand Experience (Magic With a Caveat)
One of the most memorable moments of the day was the wand-choosing experience at Ollivanders.
Our child was selected during the show, which made it genuinely special. The presentation is well done and immersive.
Wand cost: Around $60
Interactive spell locations: Throughout the Wizarding World
Most spell locations worked well, but one major effect didn’t respond properly. That led to some frustration—especially given the price. Worth setting expectations that spell activation can be inconsistent.
Ticket Prices, Annual Passes, and Why Gold Is the Sweet Spot
Ticket prices vary by day, but generally:
Single-day tickets: Often land in the $109–$149 range
Express passes: Add significant cost but reduce waits
If you plan to visit more than twice in a year, an annual pass quickly becomes worth considering.
Why the Gold Pass Works Best
The Gold Pass tends to be the sweet spot for many families:
Free parking (with some blockout considerations)
15% off most food and merchandise
Fewer blackout dates than lower-tier passes
For us, an annual pass made sense for about a year. After that, once you’ve done the rides multiple times, the novelty wears off a bit.
Best Time to Visit Universal Studios Hollywood
Based on both experience and widely reported crowd patterns:
Best:
Mid-January
Tuesday–Thursday
Outside school holidays
Worst:
Summer
School breaks
Holiday weeks
During peak times, popular rides regularly exceed 90 minutes.
Peak-Time Survival Strategy
If you must visit during busy periods:
Arrive 45 minutes before park opening
Go straight to the Lower Lot
Prioritize Mario Kart and Transformers first
Final Thoughts
This visit was one of our smoothest Universal Studios Hollywood experiences. Low crowds, short waits, easy parking, and good weather made a huge difference.
The only real disappointment was Mario Kart being unavailable, but everything else more than made up for it. For families—especially those managing food allergies—January mid-week is a smart, low-stress choice.
Other Attractions Worth Adding to Your Universal Studios Trip
If you’re already heading to Universal Studios Hollywood, it usually makes sense to turn it into a broader Los Angeles itinerary rather than a one-and-done park visit. Many travelers add one or two nearby attractions to balance out a full theme park day with something a little different.
The experiences below are some of the most commonly paired attractions with a Universal trip. They’re well-reviewed, easy to plan around, and work especially well if you have a free morning, an extra afternoon, or a rest day between park visits.
Disclosure: The links below are affiliate links. If you choose to book through them, WizTrip may earn a small commission at no additional cost to you. This helps support the site and allows us to keep our travel guides free.
Flights to Los Angeles
If you're flying to Los Angeles to visit Universal Studios Hollywood, you have several airport options. The best one for you usually depends on flight prices, where you're staying, and how much LA traffic you're willing to deal with.
Los Angeles International Airport (LAX)
Los Angeles International Airport (LAX) is the largest airport in Southern California and the most common entry point for visitors.
Distance to Universal Studios Hollywood: about 25 miles
Typical drive time: 35 minutes to 1 hour+ depending on traffic
Most domestic and international flight options
Often the lowest airfare prices
LAX has the most airlines and routes, which means it's usually the easiest place to find good flight deals. However, the airport itself can be busy and traffic around it is famously chaotic.
If you're renting a car or taking a rideshare to Universal Studios, LAX is still a solid choice.
Long Beach Airport (LGB)
Long Beach Airport (LGB) is a much smaller airport, but it's often a favorite among frequent travelers.
Distance to Universal Studios Hollywood: about 35 miles
Typical drive time: 45–75 minutes depending on traffic
Much smaller and easier to navigate
Short security lines and quick baggage claim
If you can find a reasonably priced flight here, LGB is a very pleasant airport experience compared to LAX. Many travelers say it's one of the easiest airports in Southern California.
Other Airports Worth Considering
If you're flexible, you may also want to check:
Hollywood Burbank Airport (BUR) – the closest airport to Universal Studios (about 6 miles away)
John Wayne Airport (SNA) – located in Orange County
Flights into these airports can sometimes be more expensive, but they may save time and stress depending on your itinerary.
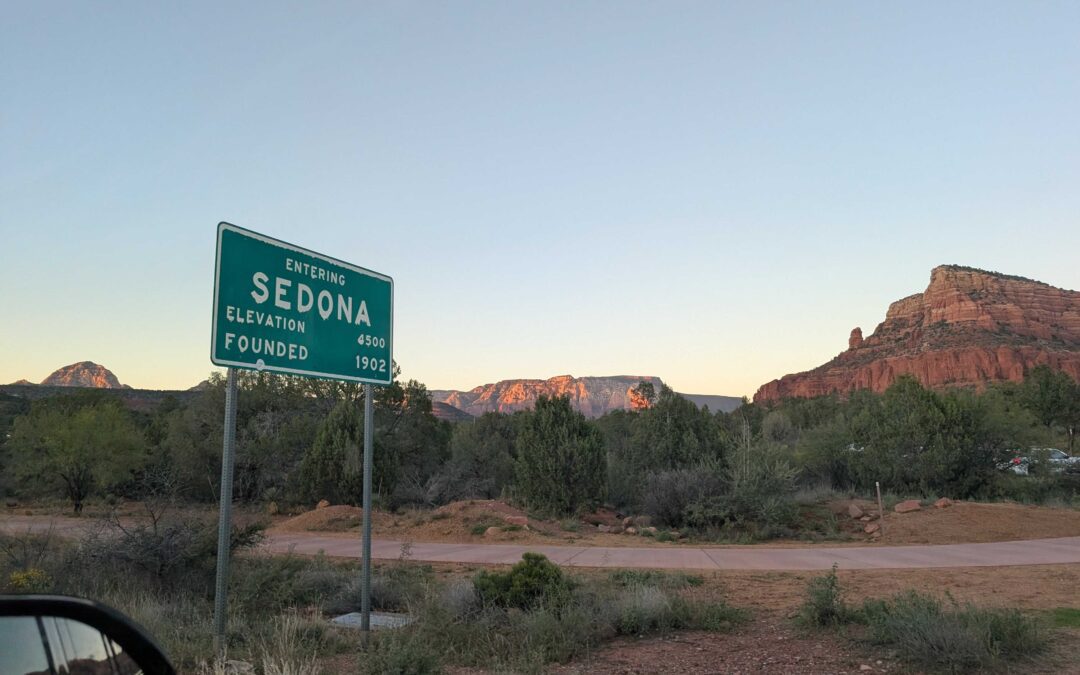
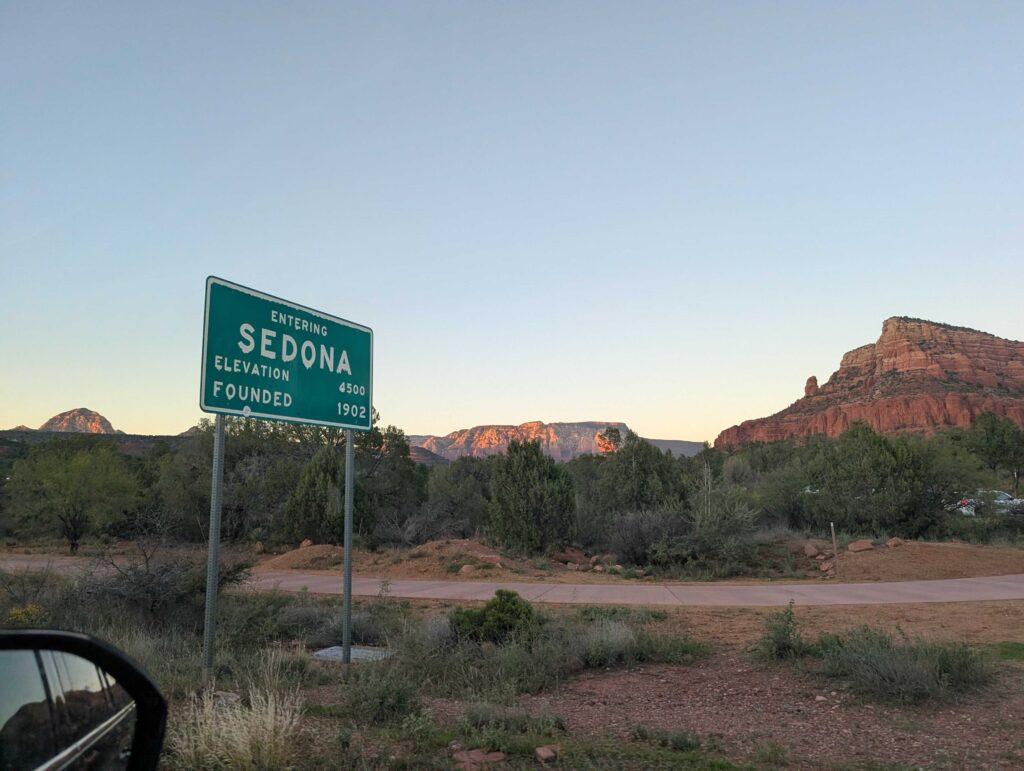
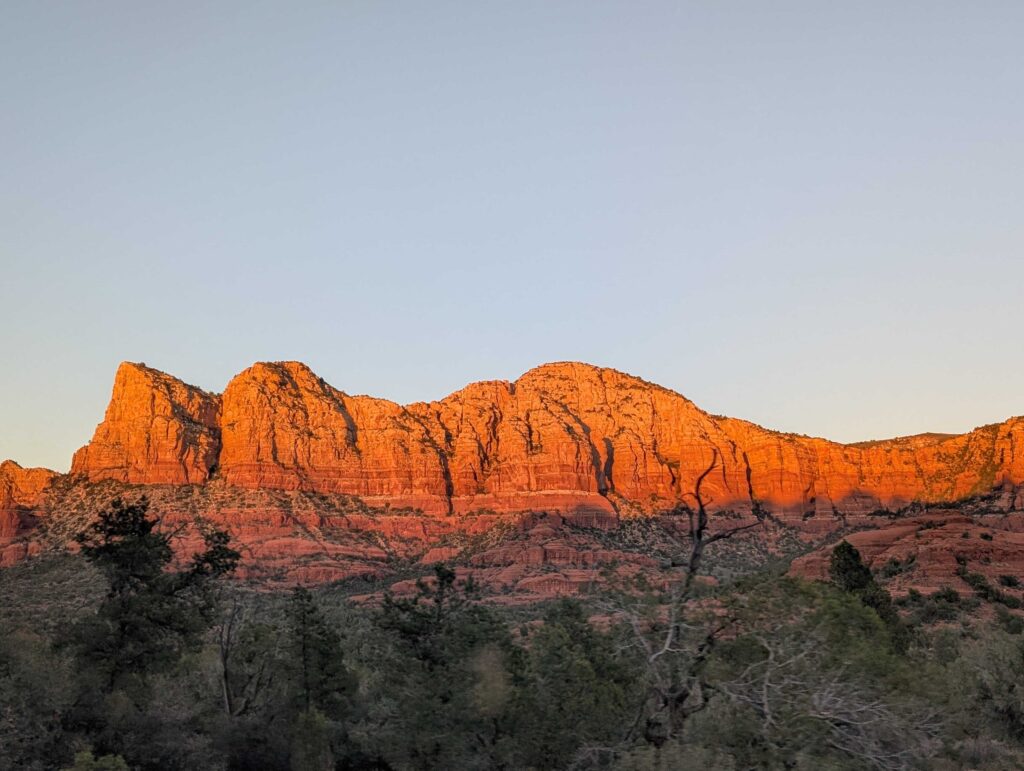
Sedona is famous for spectacular hikes, but you don’t need to tackle another long or strenuous trail to enjoy the landscape. If you want beautiful views, short walks, scenic drives, cultural stops, and relaxing experiences that let you soak in the scenery without exertion, this guide highlights the best ways to enjoy Sedona when a big hike isn’t on your agenda.
Stunning Views With Minimal Effort
Airport Mesa Viewpoint
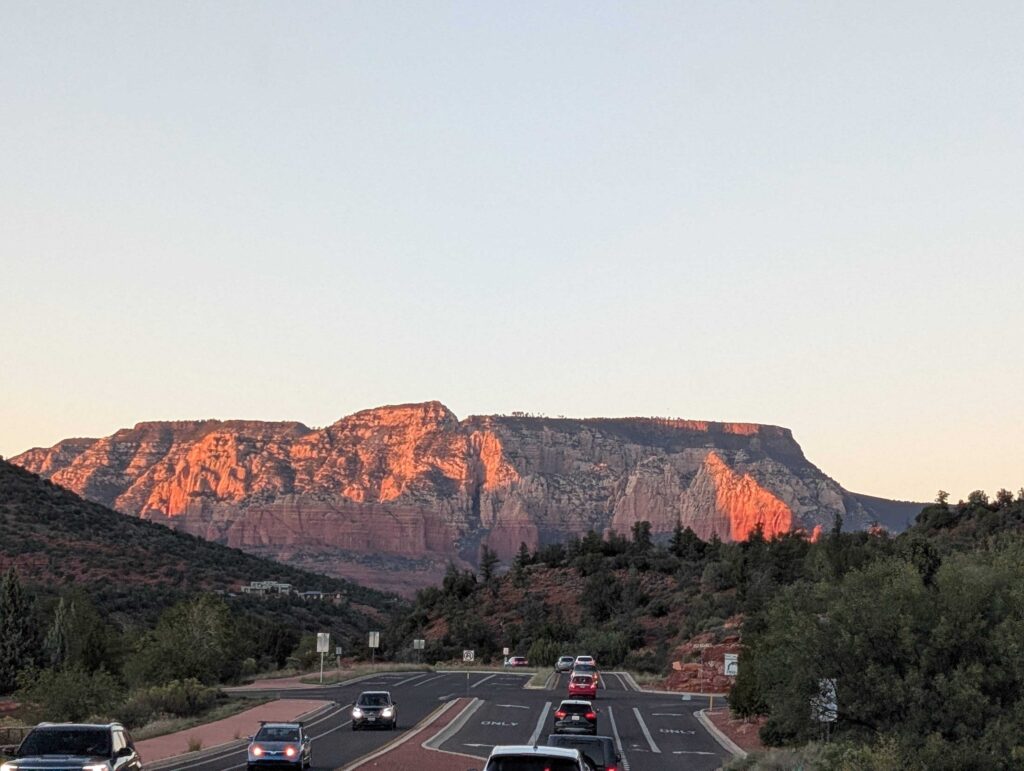
One of the easiest places to take in sweeping red rock panoramas is the Airport Mesa Viewpoint. A short walk from the parking area brings you to a scenic overlook where you can enjoy broad vistas of formations like Cathedral Rock, Courthouse Butte, Chimney Rock, and Bell Rock. It’s a particularly beautiful spot at sunrise or sunset.
Red Rock Crossing and Crescent Moon Ranch
Red Rock Crossing and Crescent Moon Ranch offer classic reflections of Cathedral Rock in Oak Creek. From the parking area you can stroll short, flat paths by the water to take in the views and capture memorable photos. It’s a great blend of water and red rock scenery that requires minimal walking.
Chapel of the Holy Cross
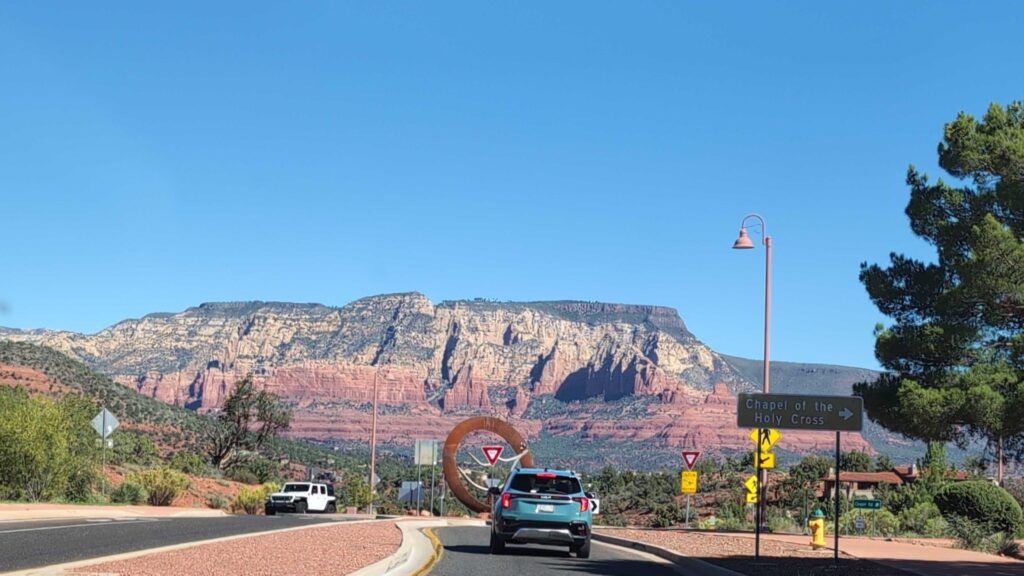
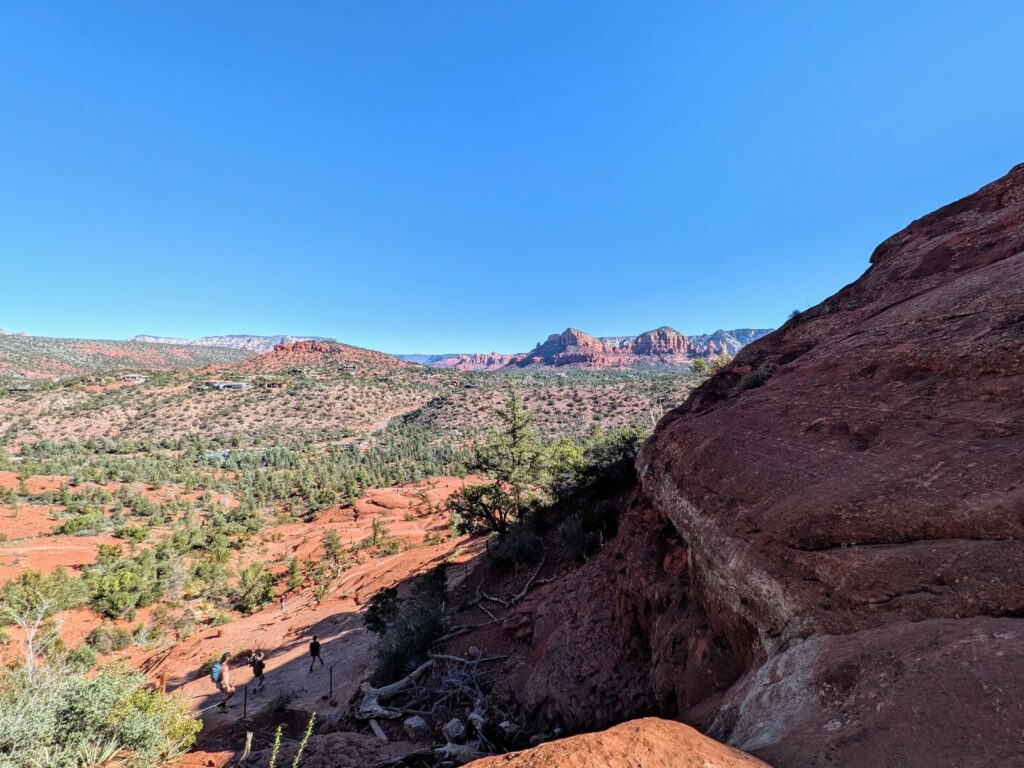
The Chapel of the Holy Cross is set dramatically into the red rocks and offers striking views with only a short, paved walk from the parking area. You can explore the architecture and overlook the landscape without hiking. The setting itself makes the stop worthwhile.
Scenic Drives That Show It All
Red Rock Scenic Byway (SR 179)
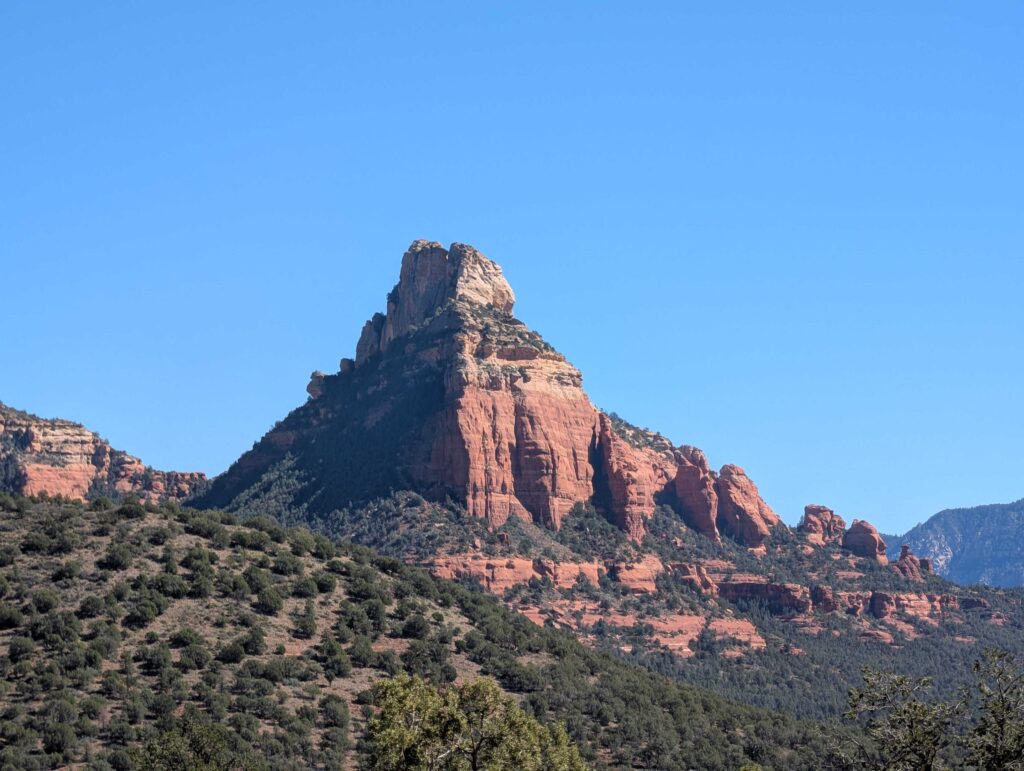
The Red Rock Scenic Byway is one of the most memorable ways to enjoy Sedona without hiking. This scenic route has multiple pull‑offs where you can stop, enjoy views of red rock formations, and take photos right from your car or with just a short stroll.
Oak Creek Canyon Drive (SR 89A)
Just north of Sedona, the drive through Oak Creek Canyon offers lush roadside scenery and towering canyon walls. There are several places to pull over and enjoy views of the creek or surrounding cliffs. This drive also connects easily with other scenic stops.
Red Rock Loop Road and Dry Creek Road
For a quieter scenic experience, explore Red Rock Loop Road or Dry Creek Road. These roads wind through open desert views and red hills with plenty of chances to stop and appreciate the surroundings with very little walking.
Easy Nature and Short Paths
Bell Rock Area Views
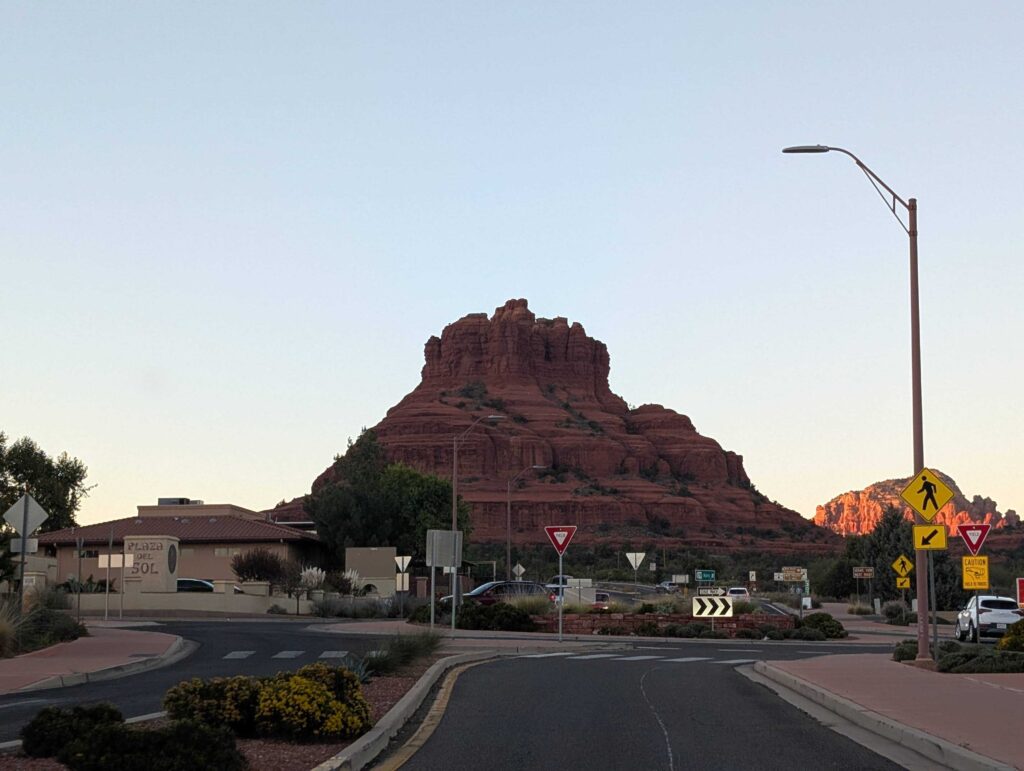
The Bell Rock area offers great views right from the roadside. You don’t have to hike far to appreciate the classic red rock scenery — even a short stroll from the parking area brings you into the heart of the red rock setting.
Slide Rock State Park (Easy Access Areas)
Slide Rock State Park is famous for its natural waterslides, but even if you skip the water play, the easy paths near the parking area and creek let you enjoy shade and canyon scenery with minimal effort.
Creekside Picnic Spots
Places such as Grasshopper Point and other accessible areas along Oak Creek offer flat, scenic spots to enjoy a picnic or relax by the water with red rock cliffs around you.
Cultural, Town, and Urban Exploration
Uptown Sedona and Tlaquepaque Arts and Crafts Village
Sedona’s Uptown area is fun to explore on foot. Galleries, artisan shops, cafes, and restaurants are all set among striking rock backdrops. Tlaquepaque Arts and Crafts Village showcases a charming plaza with boutiques, fountains, and spaces perfect for casual strolling.
Village Streets and Vortex Stops
Driving through neighborhood streets or stopping briefly at easily accessible vortex sites such as Airport Mesa or the Bell Rock area gives you additional ways to experience the landscape without committing to long hikes.
Fun Alternatives to Hiking
Jeep and Off‑Road Scenic Tours
If you want to see more rugged terrain without hiking, consider a scenic jeep or off‑road tour. These guided experiences take you deeper into red rock areas and often include stops for views and photo opportunities without requiring physical effort.
Garden or Picnic Walks
Short paths in picnic areas or shaded gardens near creekside parks let you enjoy nature up close with minimal exertion, making for relaxed breaks between other activities.
Tips for Easy Scenic Days
Plan scenic drives or viewpoint stops in the early morning or evening when the light is best and temperatures are cooler.
Pack water, snacks, and sunscreen even for short walks and lookout stops.
Use scenic pull‑outs along SR 179, SR 89A, and Red Rock Loop Road so you can stop safely and take photos.
Short paths and accessible overlooks deliver rewarding views without a long trail.
Whether you are here for a short visit or you’re winding down after a bigger hike, Sedona’s scenery is stunning and accessible almost anywhere you go. From viewpoints and scenic drives to creekside spots and urban exploration, there are plenty of ways to enjoy red rock beauty without another demanding trail.
References and Further Reading
If you want more detail or travel ideas, check out these helpful guides:
A guide to scenic drives around Sedona, including the Red Rock Scenic Byway and Oak Creek Canyon. Ambiente® Sedona